To use your Char-Broil Patio Bistro electric grill correctly, you need to first confirm your exact model number from the label on the grill, then pull the matching manual from Char-Broil's site or ManualsLib. The Patio Bistro line includes several closely related electric and TRU-Infrared electric models, and some online listings mislabel them as 'gas' grills, which causes real confusion when you're trying to find assembly instructions or troubleshoot a no-heat problem. Once you have the right document in hand, nearly every common issue, including no power, no heat, and wiring faults, has a clear path to a fix without calling a technician.
Char-Broil Patio Bistro Electric Grill Manual: Find, Use

Grant Mercer
6 May 2026
Identify your exact Patio Bistro model before anything else
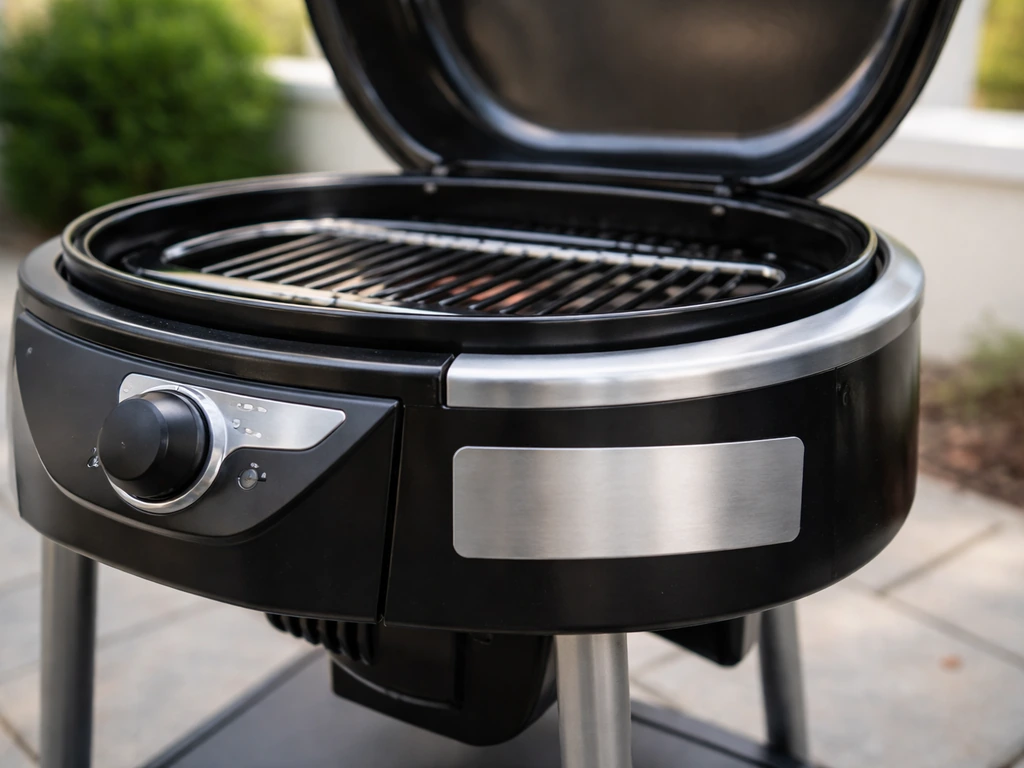
The model number is the single most important piece of information you need. It tells you which manual applies, which replacement parts fit, and whether your grill is a standard Infrared Electric or a TRU-Infrared Electric variant. These grills look nearly identical from the outside, so don't guess.
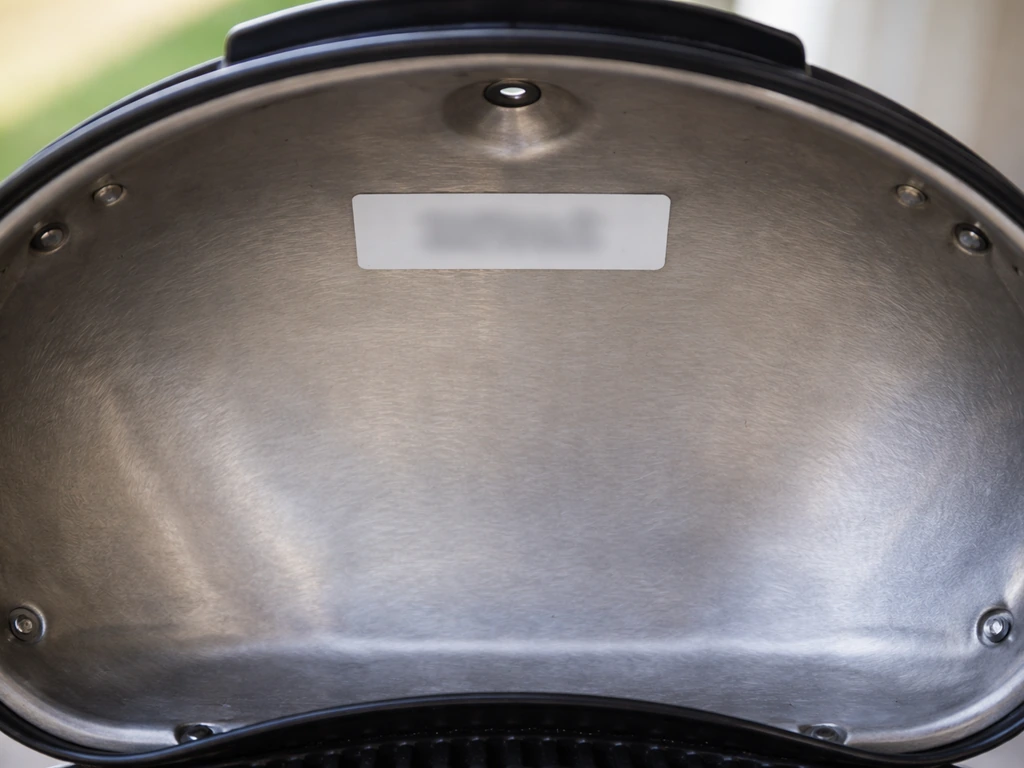
Look for the model number label on the inside of the lid, on the back panel near the power cord entry point, or on the bottom of the firebox. It will be a string like 12601578 or 20602107-01. Write it down exactly, including any suffix like -C1. Common confirmed Patio Bistro Electric model numbers include:
- 20602107-01: Char-Broil Patio Bistro TRU-Infrared Electric Grill
- 12601514-C1: Patio Bistro Infrared Electric Grill
- 11601559: Patio Bistro Infrared Electric Grill (Graphite)
- 10601578: Patio Bistro Infrared Electric Grill (Red)
- 12601559, 12601578, 12601663, 12601664, 12601665, 12601688: all covered by the same ELECTRIC assembly guide family
If you bought or found a grill described anywhere as a 'Patio Bistro gas grill' but the unit has a standard power cord and no propane connection, it is almost certainly an electric model that was mislabeled in the listing. Check the physical unit, not the product listing, for confirmation. There is no Patio Bistro model that runs on both electricity and gas.
Find and verify the right manual for your model
Once you have the model number, go to two places: Char-Broil's official parts page at charbroil.com and ManualsLib. On Char-Broil's site, enter your model number in the parts/product search to confirm the official product name and access any linked documentation. On ManualsLib, blank" rel="noopener noreferrer">search by model number and look specifically for documents labeled 'Assembly Guide' or 'Owner's Manual' that show your model number in the header. On ManualsLib, you can search by model number and find documents labeled “Assembly Guide” or “Owner's Manual” that show your model number in the header blank" rel="noopener noreferrer">search by model number and look specifically for documents labeled 'Assembly Guide' or 'Owner's Manual'.
The Assembly Guide printed as 'ELECTRIC (English)' with revision code 42804641 dated 09/14/11 covers a wide range of Patio Bistro Electric models, including 12601559, 12601578, 12601663, 12601664, 12601665, 12601688, 12601514, and 12601514-C1. If your model number appears in that list, this is your assembly document. The TRU-Infrared models like 20602107-01 may have a separate or updated guide, so confirm the header of any document you download shows your exact model number before following any steps.
There are three types of documents you might encounter, and they serve different purposes:
| Document Type | What It Covers | When You Need It |
|---|---|---|
| Assembly Guide | Step-by-step build from box, hardware list, part diagrams | First setup, verifying correct assembly |
| Owner's Manual / Instructions | Operation, temperature settings, safety rules, basic care | Day-to-day use, first-use guidance |
| Parts/BOM Page (charbroil.com) | Exploded diagram, part numbers for ordering replacements | Troubleshooting, ordering specific components |
If you're having trouble with assembly or the grill came unboxed without paperwork, the Assembly Guide is your starting point. If you specifically need the char-broil patio bistro 240 assembly instructions, use your model number to locate the exact assembly guide in the manual header and follow that document's steps. If the grill is assembled but not working, skip to the Owner's Manual and the parts diagram.
Related guides covering the Patio Bistro 240 assembly instructions and the Char-Broil Electric Patio Caddie manual follow a similar model-number-first approach if you're working with those variants. If you're also working with a Char-Broil Electric Patio Caddie, the manual will use the same model-number-first method to point you to the right assembly and troubleshooting sections Char-Broil Electric Patio Caddie manual.
For the specific Patio Bistro 240 assembly instructions, use the Assembly Guide that matches your model number and follow the steps in order.
Assembly checklist and safe first-use setup
Even if you bought the grill used or partially assembled, it's worth running through a quick verification checklist before plugging in for the first time. Skipping this step is how people end up with loose grids, ungrounded connections, or a grill that trips a breaker on the first use.
Assembly verification checklist
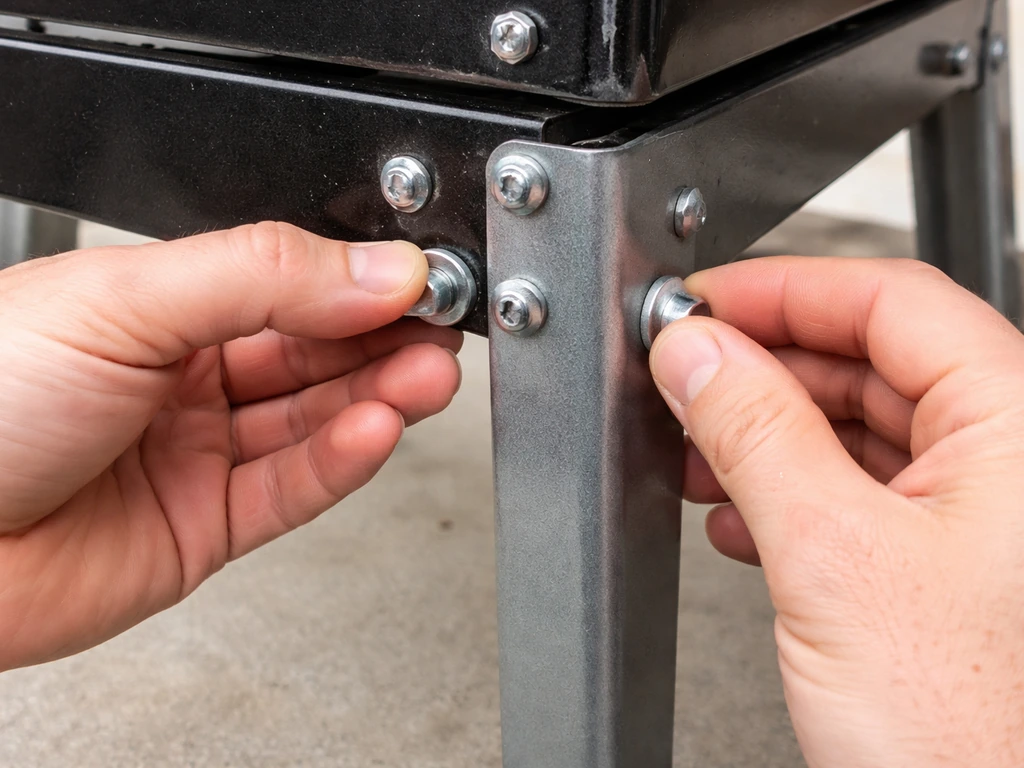
- Confirm all bolts and screws are finger-tight plus a quarter turn, especially the leg-to-firebox connections. Loose legs on these grills are a tipping hazard.
- Check that the cooking grate sits flat and flush. If it rocks, the support rails may be misaligned.
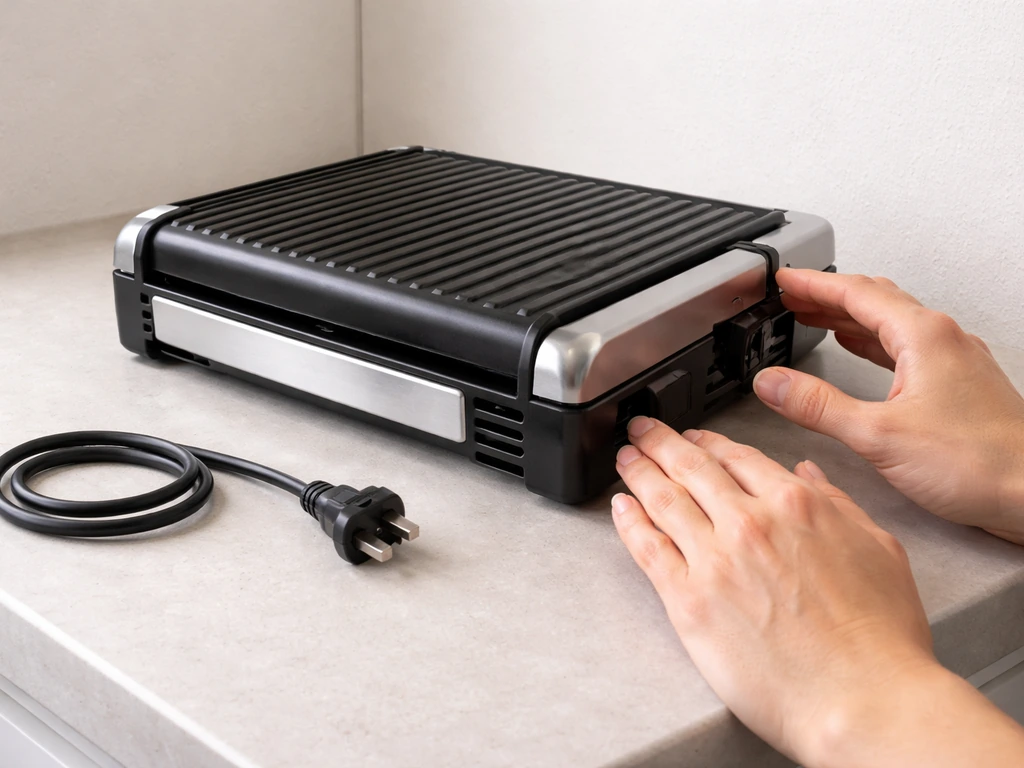
- Inspect the power cord for any visible damage, kinks near the plug, or fraying where it enters the firebox. Do not plug in a damaged cord.
- Verify the drip tray is seated correctly under the firebox. It should slide in without forcing.
- Make sure the lid opens and closes fully without catching on the side shelves or the firebox edge.
- Confirm the grounding prong on the plug is intact. This grill must be used on a grounded 120V outlet, ideally a GFCI outlet outdoors.
First-use burn-in and seasoning

Before cooking any food, run the grill empty for about 20 minutes at its highest setting. This burns off any manufacturing residue, oils, and protective coatings on the infrared element and cooking grates. You'll likely see some smoke and smell an odor during this process. That's normal. Keep the lid open during the first few minutes to let fumes vent, then close it for the remainder of the burn-in cycle.
After the burn-in, let the grill cool until the grates are warm but not hot. Wipe the grates lightly with a paper towel dipped in cooking oil (vegetable or canola works fine) to season them. This prevents food from sticking during your first cook and starts building a protective layer on the cast iron or porcelain-coated grates. Do not use spray oil near the heating element while the grill is on.
Troubleshooting no-power and no-heat problems with your manual
Most Patio Bistro electric grill problems fall into two categories: the grill gets no power at all, or it powers on but produces no heat (or very uneven heat). Your manual's wiring diagram and parts list are your diagnostic tools here. Work through these in order before assuming the heating element is dead.
No power at all
- Check the outlet first. Plug a lamp or phone charger into the same outlet to confirm it has power. Outdoor GFCI outlets trip easily and often go unnoticed.
- Reset the GFCI outlet. Press the reset button on the outlet face. If it trips again immediately when you plug the grill in, the grill itself has a short, not the outlet.
- Inspect the power cord at both ends. Look for burn marks, melted insulation, or a plug that feels loose in the outlet. Replace a damaged cord before using the grill.
- Check the thermal limiter or reset button on the grill if your model has one. On some Patio Bistro models, there is a small red or black reset button near the heating element or on the back panel. Press it firmly and try again.
- If none of these restore power, consult the wiring diagram in your manual and check for continuity at the heating element with a multimeter set to resistance. A reading of OL (open loop) on the element means it has failed and needs replacement.
Powers on but no heat or uneven heat
- Confirm the temperature control dial is turned past the minimum click. These dials can feel like they're at a setting when they're actually still in the off position.
- Check the infrared emitter plate (the ceramic or glass panel above the heating element). If it's cracked or broken, heat distribution will be severely uneven. The parts diagram in your manual identifies this component by part number so you can order a replacement.
- Look for grease or food debris blocking the emitter plate holes. A heavy blockage can choke airflow and reduce heat output significantly.
- If the element glows but the grill doesn't reach temperature, check that the lid gasket (if present) is sealing properly and that you're waiting a full 10 to 15 minutes for preheat.
Maintenance and care schedule from the manual
Electric grills are lower maintenance than propane, but they still need regular attention to stay safe and functional. Following this schedule based on standard Patio Bistro manual recommendations will extend the life of your grill significantly.
| Frequency | Task |
|---|---|
| After every use | Empty and wipe the drip tray. Brush the cooking grates while warm. |
| Monthly (or every 4-5 uses) | Wipe down the firebox interior with a damp cloth. Check the power cord for wear. |
| Seasonally (every 3 months) | Inspect the infrared emitter plate for cracks. Check all hardware for corrosion and tighten any loose bolts. |
| Before storage | Deep clean all surfaces, re-season grates, coil and inspect the power cord, and cover or store indoors. |
| After storage / first use of season | Run a full burn-in cycle before cooking. Inspect the cord and element connections again. |
Corrosion is the main long-term enemy of these grills, especially in humid or coastal environments. Pay close attention to the screws and brackets around the firebox bottom and the leg assembly. At the first sign of rust on structural hardware, clean with a wire brush, treat with a rust-inhibiting primer rated for high heat, and replace any fasteners that have corroded through. Replacing a two-dollar bolt is always better than a failed leg mid-cook.
For cleaning, avoid abrasive pads on the porcelain exterior. Use warm soapy water and a soft cloth. For the grates, a brass-bristle grill brush works well when the grates are warm. Never use oven cleaner or harsh chemical degreasers near the heating element or wiring.
Safety first: wiring, connections, corrosion, and when to stop DIY
This grill runs on 120V household current, and that means electrical safety rules apply throughout any inspection or repair. Always unplug the grill before opening any panel, touching internal wiring, or inspecting the heating element. Not 'turn it to off and then check.' Unplug the cord from the wall outlet. Every time.
When inspecting wiring and connections, look for these specific warning signs:
- Burn marks or discoloration around any terminal, connector, or wire junction
- Melted insulation or exposed copper wire anywhere along the cord or internal wiring
- Corroded or pitted terminal connections (green or white buildup on metal contacts)
- A plug that feels warm or hot after normal operation (a sign of a loose or resistive connection)
- Any burning smell during operation that doesn't go away after the initial burn-in
If you find any of those signs, stop using the grill and do not plug it back in until the issue is resolved. Burnt terminals and damaged cord insulation are not things to work around temporarily.
Most heating element replacements, drip tray swaps, and grate replacements are well within DIY range using the parts diagram from Char-Broil's website and basic hand tools. However, there are situations where you should call a qualified appliance repair technician instead of proceeding yourself:
- Any internal wiring repair beyond replacing a clearly identified component with a plug-in connector
- A grill that trips a breaker repeatedly even after replacing the power cord
- Visible arcing or sparking from inside the firebox during operation
- Uncertainty about whether a component is properly grounded after a repair
The goal here is to fix what you reasonably can, not to take risks that put you or your home in danger. An appliance repair technician for an electrical grill issue is a much smaller bill than an electrician and a damaged outlet circuit.
How to actually use your manual to solve problems faster
Most people download a manual, skim it once, and never look at it again. That's a mistake with the Patio Bistro, because the manual contains two things that are genuinely useful beyond initial setup: the parts diagram and the troubleshooting flow.
Start by finding the exploded-parts diagram. This is usually near the back of the assembly guide or the owner's manual. Every component is numbered, and those numbers correspond to an official Char-Broil part number that you can search on their website or through third-party parts suppliers. When something breaks, you're not guessing at a description. You're ordering the exact part by number.
The troubleshooting section, if your manual includes one, is organized by symptom. The symptom headings typically match what you'd type into a search bar: 'grill does not heat,' 'temperature too low,' 'uneven cooking.' Go directly to your symptom and follow each check in the listed order. Manuals structure these flows from simplest fix to most complex for a reason. Don't skip ahead to replacing the element before confirming the outlet and reset button are not the actual problem.
If you have a TRU-Infrared model like the 20602107-01, pay special attention to the emitter plate section of the diagram. The TRU-Infrared system works differently from a standard open-coil electric element, and the parts are not interchangeable with older Infrared Electric models even if the grill looks similar. The model number on your label is the only way to confirm which system you have and order the correct components. This same model-number-first rule applies across the Patio Bistro line, including the Patio Bistro 240 and related variants, where instructions and assembly guides differ between configurations.
Keep a digital copy of your manual somewhere easy to find, whether that's a bookmarked browser tab, a folder on your phone, or a printed copy in a zip-lock bag stored with the grill cover. You won't regret having it ready the first time the grill doesn't fire up on a Saturday afternoon. If you’re trying to locate the masterbuilt mps 20b patio 2-portable propane smoker manual, use the model number and document revision to make sure you get the correct guide for your smoker.
FAQ
What should I do if my Char-Broil Patio Bistro electric grill trips a breaker or loses power immediately when plugged in?
If your grill trips a breaker when you plug it in, do not keep trying to reset. Unplug the grill, inspect the power cord for nicks, melting, or loose strain relief, then check whether the outlet is GFCI-protected and functioning. A breaker trip on first power often points to a short or a failing connection, not just a heating element, so verify the wiring continuity through the manual’s troubleshooting flow before ordering parts.
How can I tell whether my Patio Bistro is TRU-Infrared or standard Infrared Electric if the listing is unclear?
Paint or labels that show “TRU-Infrared” can still be confusing because some listings call the unit “gas.” Use the model number label and match it to the document header. If your model number belongs to the TRU-Infrared family, the emitter plate and related components are not interchangeable with standard Infrared Electric parts, even if the grill exterior looks identical.
My grill powers on but won’t heat consistently, what checks should I do first to avoid replacing the wrong part?
Before troubleshooting, confirm the electrical basics: the outlet must be live, the grill must be fully plugged in, and any inline switch or control setting must be at the correct position per the manual. Also check that you are not using an undersized extension cord, if you rely on one, because voltage drop can cause low or uneven heating. The manual troubleshooting steps should have you verify power delivery before replacing parts.
Can incorrect reassembly after cleaning or a parts swap cause no-heat or uneven heat symptoms?
Yes. If you replaced a component like a grate or drip tray, re-check the placement exactly as shown in the parts diagram. Misalignment can interfere with how heat is distributed across the infrared emitter area and can mimic a heating problem. Use the numbered diagram to confirm every bracket and spacer is seated before running the grill.
Does the manual revision code matter, or can I use any Char-Broil Patio Bistro electric manual for my model number?
Most Patio Bistro users should rely on the unit’s model number to choose the correct document and parts list. The revision code matters when you are ordering parts, because small changes can alter part numbers even within the same model family. If your manual header revision does not match the version in your parts search, prioritize the exact part numbers from the parts page for ordering.
My first cook stuck badly, I followed the setup, what could cause sticking despite normal cleaning?
If the grates look clean but food sticks on the first real cook, it usually means the grill was not properly burn-in seasoned or residue is still present. Run the empty high-temperature burn-in for the recommended time, cool, then lightly wipe with cooking oil as described in the manual guidance. Avoid coating near the heating element during operation.
I lost my manual, can I find the right one without the printed model number, and what if the model label is hard to read?
If your manual is missing, don’t guess based on “Patio Bistro 240” text alone. Locate the model number label and include any suffix characters (for example, a “-C1” style ending) exactly as printed. Search that exact string on the official parts site and the manual repository, then confirm the document header shows the same model number before following instructions.
Are there any cord or wiring issues that mean I should stop using the grill immediately?
Do not use the grill if you see damage on the cord insulation, charred terminals, or a loose internal connection. Because these are 120V appliances, “temporary” fixes are not safe. Use the manual’s wiring diagram to identify the affected section, replace the damaged cord or the specific connector parts, and only test again after the grill is unplugged and reassembled correctly.
What’s the best way to prevent corrosion long term, and when does rust become a safety concern?
For corrosion prevention, the biggest win is addressing rust early at structural hardware like brackets and firebox-bottom screws. Clean rust as soon as you see it, then use a high-heat rated rust-inhibiting primer and replace any fasteners that are pitted or partially broken. If corrosion advances into the area around electrical connections, stop and have a technician inspect before restoring power.