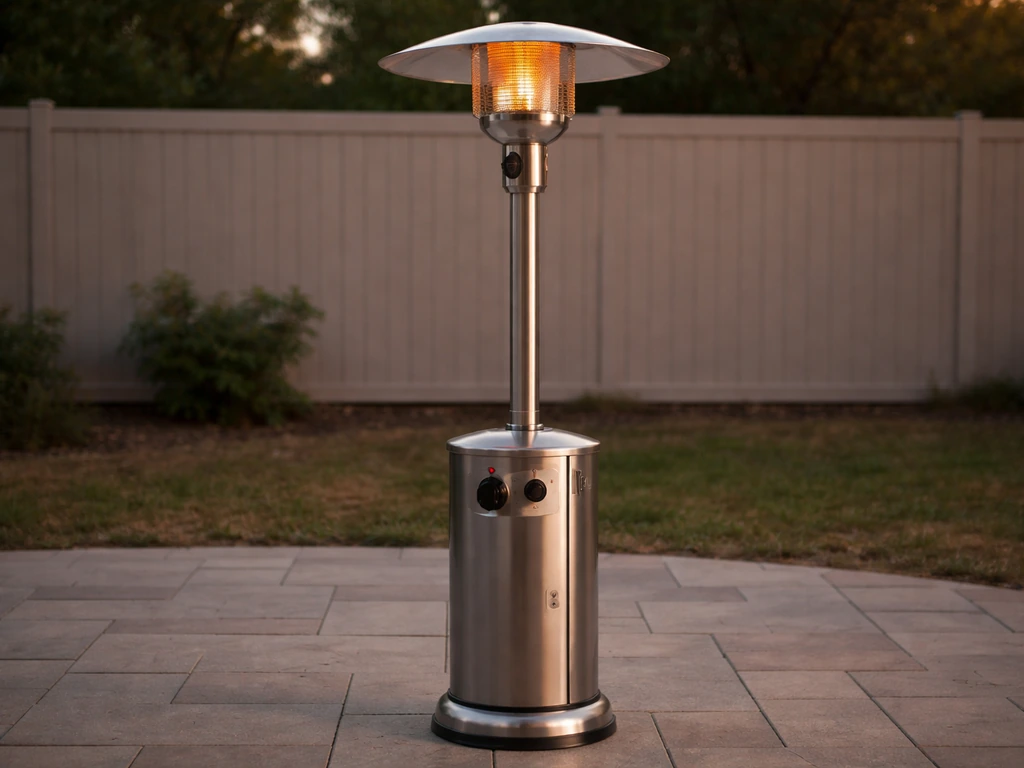
Assembling an Amazon Basics propane patio heater (models B00LILH3V4, B00LILH47C, and B010VFKZEO) takes about 30 to 45 minutes with a Phillips screwdriver and a wrench. The process runs from filling the weighted base, stacking the post sections, mounting the head, and routing the gas hose, through connecting the regulator to your propane tank and doing a mandatory leak test before you ever strike a flame. If you follow the steps in the right order and don't skip the leak test, you'll have a working heater on your first try. If you want the full end-to-end process from start to first light, follow this guide on how to assemble outdoor patio heater step by step.
Amazon Basics Patio Heater Assembly Instructions and Checklist

Grant Mercer
14 May 2026
Before you start: safety, model checks, and tools
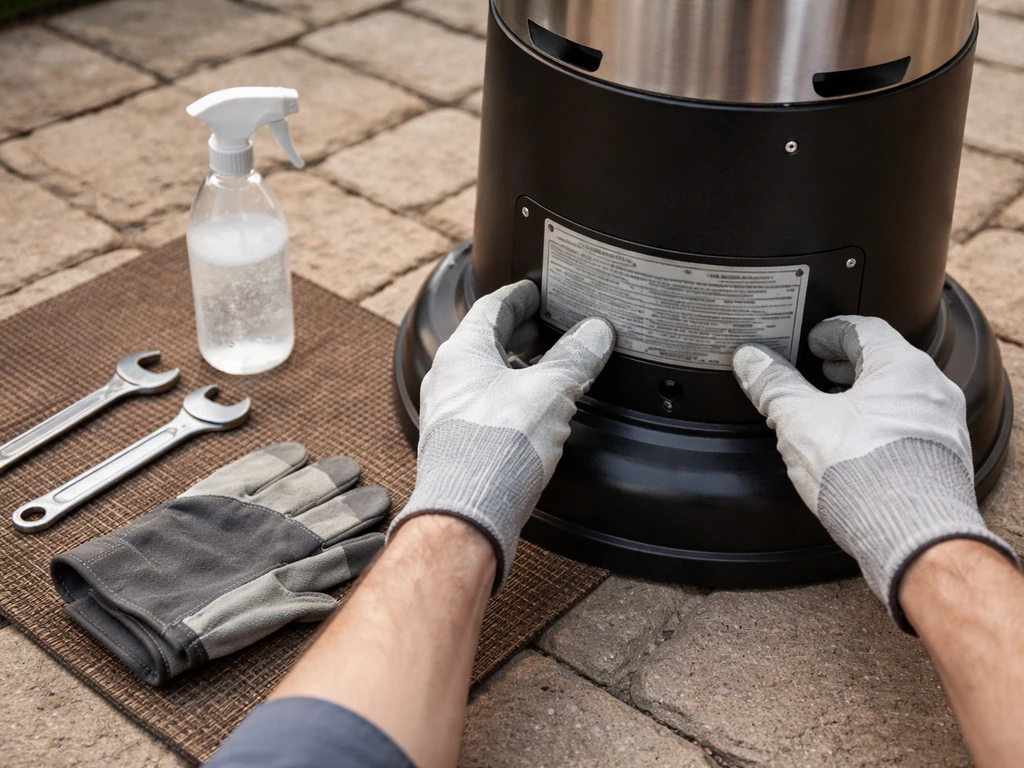
First, confirm you actually have one of the models this manual covers. Flip the box or look at the label on the base of the heater itself. The canonical Amazon Basics manual (document 14-0979) covers B00LILH3V4, B00LILH47C, and B010VFKZEO. If your model number doesn't match any of those, stop and find the correct manual before proceeding, because gas connections and regulator specs can differ between product families.
This is an outdoor-only propane heater. The manual is unambiguous: do not use it inside a building, garage, or any other enclosed area. Set it up outside where you plan to use it, not in your living room or garage for convenience during assembly. Carbon monoxide buildup in an enclosed space is a real danger.
Gather these tools before you open the box. The heater ships with its own hardware, but tools are on you:
- Phillips screwdriver
- Adjustable wrench or appropriate open-end wrench
- Leak-test solution (make your own: mix one part liquid dish soap with three parts water — you need about 2 to 3 oz)
- Small cup or spray bottle for the leak solution
- A standard 20 lb propane tank (not included)
Before touching anything, make sure you're working on a flat, stable surface outdoors. Keep the area clear of combustible materials, and don't assemble near open flames or flammable vapors. If you smell gas at any point during assembly, stop, move away, and don't attempt to light anything.
Unboxing and identifying all parts
Lay everything out before you start building. Trying to identify parts mid-assembly while balancing a post section is frustrating. Here's the full parts list from the manual: The Amazon Basics patio heater manual also lists the included parts, including a “Regulator (1)” and a “Gas hose (1)”, for models B00LILH3V4, B00LILH47C, and B010VFKZEO.
- Base (1)
- Wheel assembly (1)
- Lower post (1)
- Upper post (1)
- Post supports (3)
- Tank housing (1)
- Head assembly (1) — this is the burner unit with the control knob and igniter
- Reflector panel (4)
- Reflector center cap (1)
- Gas hose (1)
- Regulator (1)
- Chain (1)
- Hardware bag: wing nuts, cap nuts, bolts, small screws, small bolts with lock washers, large flat washers
Check everything against this list right now. Missing parts are much easier to resolve before assembly than after. If something is missing or damaged, contact Amazon Basics support before proceeding. A damaged gas hose in particular should be replaced, not used.
Step-by-step heater body and base assembly
Work through these steps in order. Each one sets up the next, and skipping ahead (especially the base fill step) means disassembly later. To reverse the process and safely disassemble a patio heater, follow the same order in reverse and double-check that the propane tank is fully disconnected.
Step 1: Fill the base sandbox
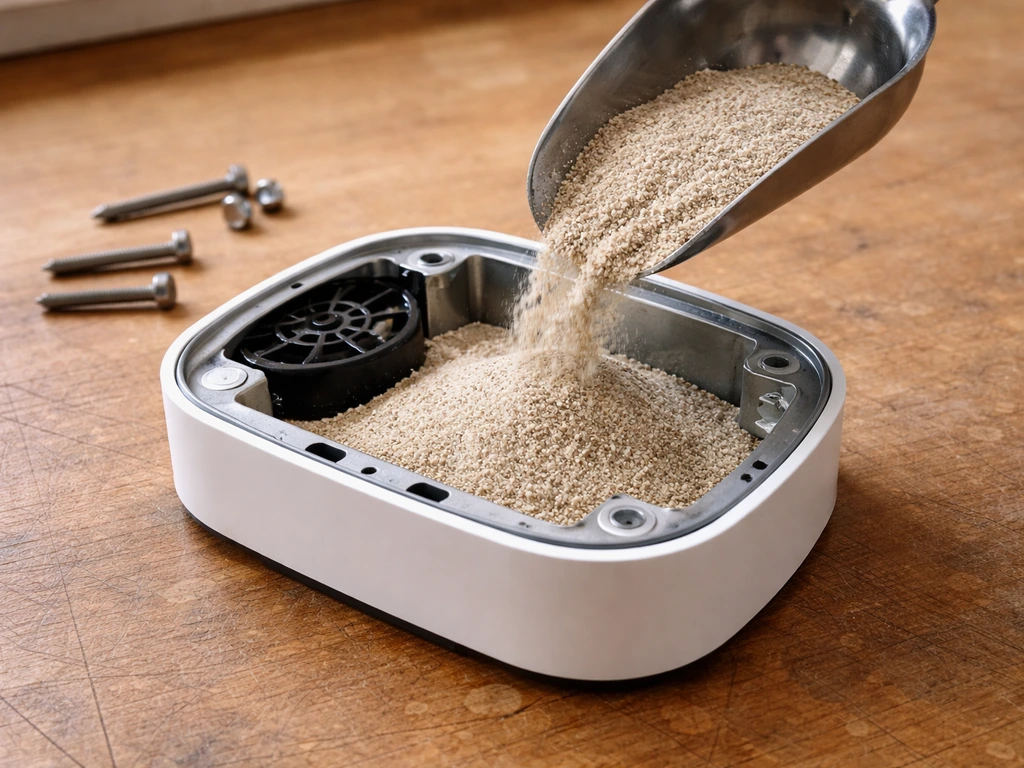
The base has pre-installed large screws and nuts. Remove them, fill the base with water or sand for stability (this is your ballast, it's what keeps the heater from tipping in a breeze), then re-insert and tighten the bolts and nuts securely. Don't skip this. A lightweight base is a tipping hazard, especially with a 20 lb propane tank installed.
Step 2: Attach the wheel assembly
Align the holes in the wheel assembly with the corresponding holes in the base. Insert the two small bolts, hand-tighten them first, then visually confirm the wheel assembly sits parallel to the base before fully tightening with the wrench. If it's crooked, the heater won't roll or stand flat.
Steps 3 through 7: Build the post stack
Stack the lower post onto the base, then add the tank housing (this is where your propane cylinder lives), then the upper post on top. The post supports (there are three of them) brace the structure and attach with the small bolts and hardware from your bag. Tighten everything with the Phillips screwdriver. The posts should feel solid with no wobble before you move on. At this stage, thread the gas hose down through the post assembly from top to bottom so it's in position for Step 8.
Step 8: Mount the head assembly
This is the most important mechanical step. Route the gas hose down through the post assembly if you haven't already. Seat the head assembly onto the upper post so that the control knob ends up positioned above the decal on the post. That alignment matters for the final look and for accessing the knob comfortably. Insert the four small bolts with their lock washers and tighten them securely. A loose head assembly is both an aesthetic problem and a safety one.
Steps 9 and 10: Attach the reflector
Have someone help you here if possible, because you need to support the head assembly while you work. Tilt the head slightly, then slide three large flat washers over the reflector studs. Place the reflector assembly onto the studs, add three more large flat washers on top, then thread on the three wing nuts and tighten by hand. The reflector panels and center cap go on at this stage too. This directs heat downward, so getting it seated evenly matters.
Connecting the propane fuel safely
This section is where you need to be most careful. Don't rush it, and don't skip the leak test that follows.
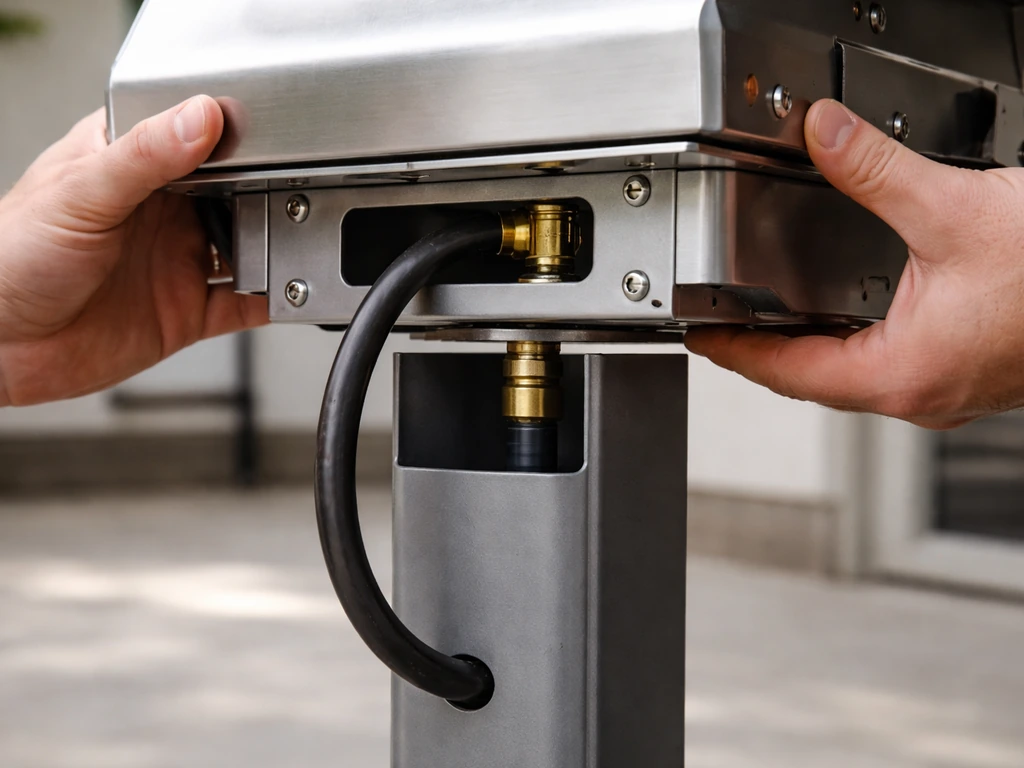
Step 11: Connect the regulator
Take the regulator and screw it onto the gas hose fitting. Go slowly here: cross-threading a regulator fitting is a real risk and creates a leak point. Thread it by hand until it feels snug, then tighten with the wrench. Next, attach the other end of the regulator to the valve on your propane tank. Hand-tighten this connection securely. Note that propane tank fittings are reverse-threaded (left-hand thread), meaning you turn counterclockwise to tighten. If you're not sure, check the markings on your tank valve.
Step 12: Do the leak test before anything else
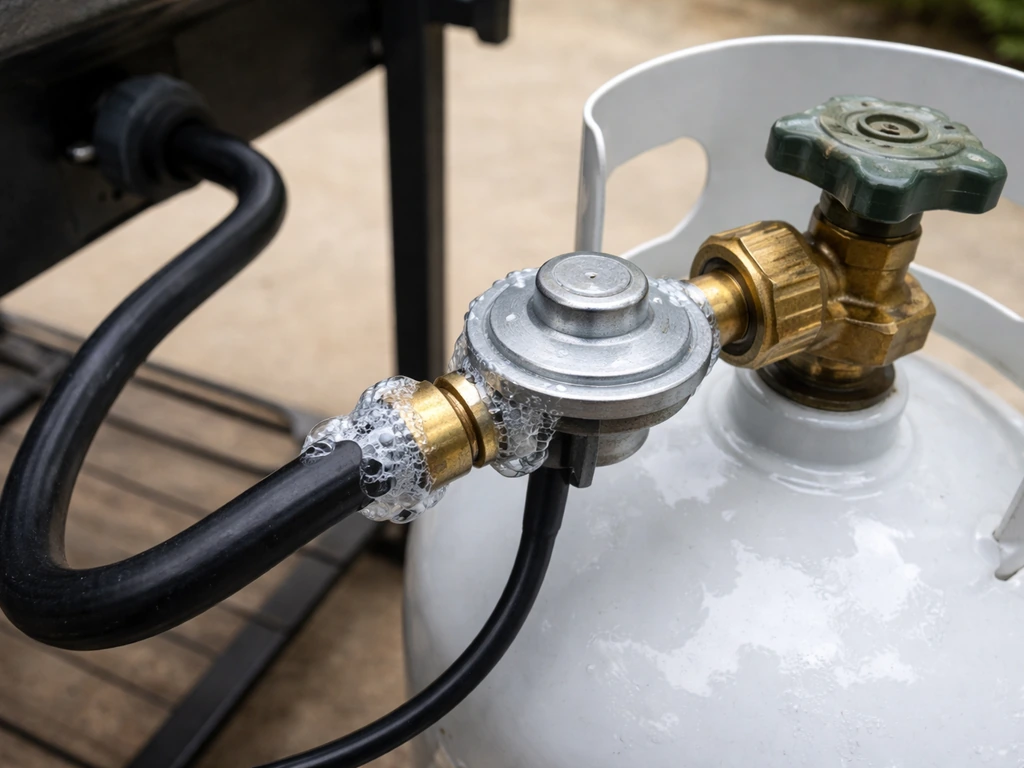
Mix your leak-test solution now if you haven't already. Open the propane tank valve slowly, about a quarter turn. Apply drops of the soapy solution at two specific spots: where the gas hose connects to the regulator, and where the regulator connects to the propane tank valve. Watch both spots for at least 30 seconds. If you see bubbles forming and growing, you have a leak. Close the tank valve immediately, tighten the connection that bubbled, and retest. If bubbles keep appearing after several attempts at the same connection, the fitting, hose, or tank valve may be defective. Do not light the heater. The manual specifically notes that a persistently leaking cylinder valve may indicate a defective tank, and you should call specialized customer service in that case.
You also need to visually inspect the gas hose itself at this point. Look for cuts, abrasion, kinks, or cracked fittings. If the hose shows any damage, replace it with a manufacturer-specified replacement before proceeding. A damaged hose is not a fix-it-yourself item.
Ignition setup and your first-light checklist
Before you try to light it, run through this checklist. Skipping any item is how you end up with a heater that won't stay lit or a situation that's actually dangerous.
- You're outdoors with no obstructions overhead or within the manufacturer's clearance distances
- The area around the heater is clear of combustible materials and flammable vapors
- All gas connections passed the leak test with no bubbles
- The propane tank is secured in the tank housing
- The gas hose is not kinked or pinched
- The tank valve is closed for now (you'll open it in the lighting sequence)
Air purge for a brand-new installation
Because this is the first time gas is flowing through the hose and regulator, there's air in the lines. The manual's instruction here is specific: push and hold the control knob in for two full minutes before you attempt to light. This purges the air and lets propane reach the burner. Skip this and the igniter will just click without catching.
Lighting sequence
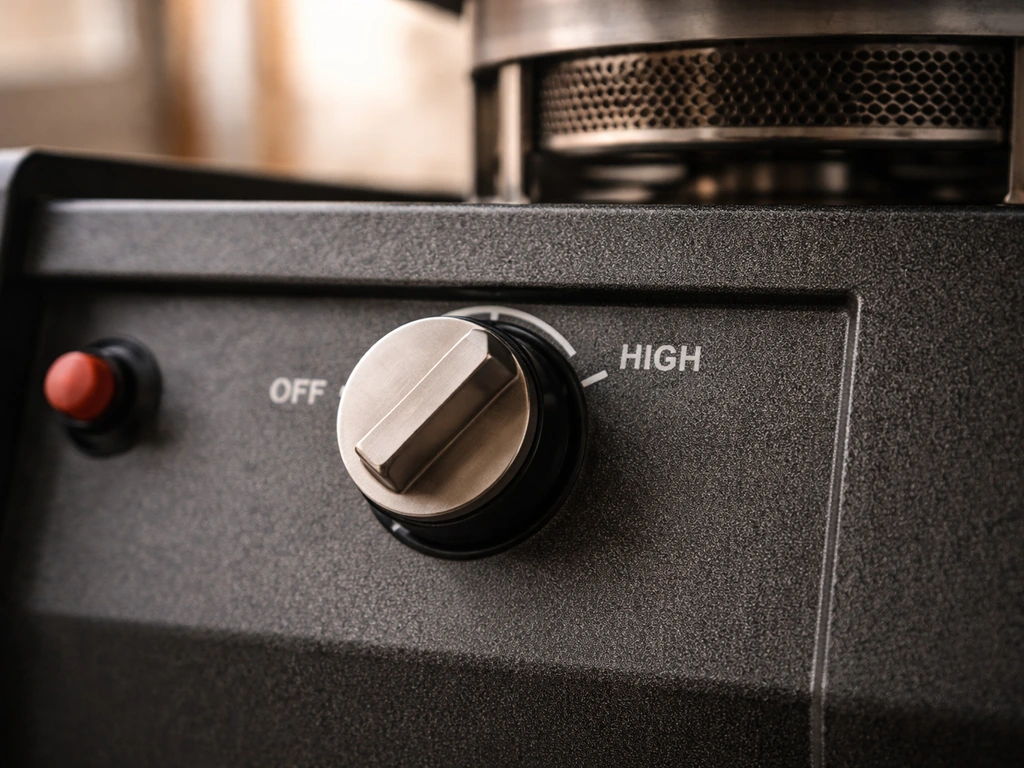
- Push in the control knob and turn it to the OFF position.
- Fully open the propane tank valve.
- Push the control knob in and rotate it to HI.
- While holding the knob in, press the red IGNITOR button repeatedly until the main burner lights.
- Once lit, keep holding the control knob in for 30 more seconds before releasing. This holds the thermocouple open — release too early and the flame goes out.
If the burner doesn't light on the first try, turn the knob back to OFF and wait at least five minutes for any unburned gas to dissipate before trying again. That five-minute wait is a hard rule, not a suggestion.
Common post-assembly problems and quick fixes
Here are the issues that come up most often right after assembly, along with what to actually do about them.
| Symptom | Likely Cause | What to Do |
|---|---|---|
| Igniter clicks but burner won't light | Air still in lines, or LP tank valve not fully open | Purge for 2 to 3 minutes by holding the knob in. Confirm tank valve is fully open. |
| Burner lights then goes out when you release the knob | Thermocouple not heated enough | Hold the knob in for the full 30 seconds after lighting. If it still drops out, the thermocouple may need replacement. |
| Igniter clicks but produces no spark | Dead or corroded igniter, misaligned electrode | Use a stick lighter or long match held near the burner as a manual light. If the igniter never produces spark, the igniter module may be defective. |
| Heater lights but flame is very low or yellow | Low gas pressure or clogged burner orifice | Check propane level (tank may be near empty). If full, the orifice may be blocked — turn off and inspect for debris. |
| Gas smell without visible leak bubbles | Connection not fully seated or cross-threaded | Close tank valve immediately, recheck and re-seat all connections, redo the full leak test. |
| Tilt switch shuts heater off unexpectedly | Heater not on level ground, or tilt switch misaligned during assembly | Ensure the heater is on flat, level ground. If it shuts off on a flat surface, check the tilt switch position during head assembly. |
If the igniter completely fails and you're using a match or lighter to light it manually, that's acceptable as a short-term workaround, but plan to replace the igniter. Running the heater long-term without a working igniter means no safety auto-shutoff if the flame drops, which is a bigger problem than just inconvenience.
Keeping it running: maintenance tips and when to stop DIYing
Amazon Basics patio heaters are durable enough with basic care. Here's what actually matters for keeping yours going season after season.
- Run the leak test every time you disconnect and reconnect the propane tank, not just on first assembly.
- Inspect the gas hose before each season. Any crack, kink, or discoloration is a replacement trigger.
- Clean the burner screen periodically with a soft brush to remove spider webs and debris. Blocked screens cause weak, yellow flames and ignition failures.
- Store the heater with the propane tank disconnected and removed, or cap the tank valve. Never store the heater in an enclosed space with a connected tank.
- Cover the heater when not in use. The reflector and head assembly are the most susceptible to moisture damage.
- Check the base ballast (sand or water fill) each spring. If you used water and the heater was stored outside in winter, the base may have cracked.
When to stop and get help or replace a part
There are a few situations where you should stop and either contact Amazon Basics customer support or a qualified propane service technician rather than pushing through. If the regulator shows any cracks, corrosion, or you suspect internal damage, replace the whole hose and regulator assembly with a manufacturer-specified unit, not a generic substitute. If bubbles persist at any connection despite multiple retightenings, the fitting or valve is likely damaged and should not be used. If the thermocouple is failing (burner drops out every time you release the knob, even after the full 30-second hold), that's a straightforward part replacement that's well within DIY scope, but it does require sourcing the correct thermocouple for this heater family.
If you're comparing the Amazon Basics assembly process to other brands, the structure is fairly consistent across mushroom-style propane heaters. Other guides covering brands like Mainstays and Living Accents follow a similar post-stacking and reflector-mounting sequence, so the muscle memory transfers. If you are also assembling a Living Accents patio heater, the assembly flow and reflector mounting sequence will feel similar to what you do here, and you can follow living accents patio heater assembly instructions as a related option. If you own a Mainstays patio heater, use the same careful sequence and instructions for assembling the unit and connecting the propane safely Mainstays patio heater assembly instructions. The regulator connection and leak test procedure are the same regardless of brand. The main brand-specific detail here is the two-minute air purge requirement on first use, which the Amazon Basics manual calls out explicitly and is worth following exactly.
FAQ
What should I do if my Amazon Basics patio heater model number is different from the ones in this guide?
Check the model number on the base or the box before starting. If it is not one of B00LILH3V4, B00LILH47C, or B010VFKZEO (per document 14-0979), stop and use the correct manual, because regulator or fitting specs can differ across families.
I already assembled the post stack, can I just add ballast later instead of filling the base first?
For these assemblies, the ballast step (filling the base with water or sand and then tightening the bolts and nuts) is what prevents tipping when the tank is installed. If you already skipped it, disassemble and redo that step rather than trying to “make it work” lighter.
The wheel assembly looks slightly off alignment. Should I keep going or fix it now?
If the wheel assembly sits crooked, the heater may not roll properly or may not stand level on uneven ground. Loosen the wheel bolts, realign the assembly so it sits parallel to the base, then hand-tighten and fully tighten after it looks correct.
The posts wobble a bit after tightening. Is that normal or should I redo something?
If you feel wobble after tightening the posts, do not proceed to the head and reflector. Re-check that each post support is fully seated and that the small bolts/hardware were tightened securely with the Phillips screwdriver.
How can I tell if I cross-threaded the regulator connection, and what should I do?
Avoid cross-threading by threading the regulator connection by hand first until it feels snug, then tighten with the wrench. If you accidentally cross-thread or it never seats smoothly, replace the regulator or relevant hose assembly rather than forcing it.
What if bubbles keep appearing at the same spot during the leak test even after I retighten?
A leak test solution is needed at the two connection points named in the instructions (hose to regulator, regulator to tank valve). If you still see growing bubbles after several retighten attempts, close the tank valve, stop using the heater, and get a part check, because a defective valve or damaged fitting is likely.
What is the safe waiting time if the heater does not ignite on the first attempt?
If the burner does not light the first time, set the knob back to OFF and wait at least five minutes before trying again. This reduces the risk of igniting accumulated gas.
Why do I need to hold the control knob in for so long before lighting for the first time?
The manual’s air purge step is a full two minutes of holding the control knob in before lighting on first use. If you shorten that hold, the igniter can click without catching because air remains in the lines.
Is it okay to keep using a match or lighter if the igniter fails?
If the igniter completely fails and you light with a match or lighter temporarily, plan to replace the igniter. Running long-term without a working igniter removes safety functions if the flame drops.
Beyond the leak test, what should I check on the gas hose before I try to light the heater?
Do a physical hose inspection before any light attempt, not just after the leak test. Look for cuts, abrasion, kinks, or cracked fittings, and replace the hose with a manufacturer-specified replacement if any damage is found.
When should I replace the hose and regulator instead of tightening connections further?
If bubbles persist or you see regulator damage like cracks or corrosion, stop and replace the whole hose and regulator assembly with a manufacturer-specified unit, not a generic substitute.
My burner stays lit only while I hold the knob down. Could it be a thermocouple issue?
If the burner drops out when you release the knob, even after following the full hold time, the thermocouple may be failing. The typical fix is replacing the thermocouple with the correct part for this heater family.
What should I do if I smell gas while assembling or before lighting?
If you notice gas smell at any point during assembly or setup, stop immediately, move away from the heater, and do not attempt to light it. A gas odor is a stop-and-check condition, not something to troubleshoot by trial ignition.
Do I need to leak test every time I reconnect the propane tank, even if I assembled it correctly before?
For storage and repeat use, always disconnect propane fully before any disassembly or transportation, and re-do a leak test each time you reconnect the regulator to the tank. Gas connections can loosen or seals can degrade between sessions.