The two most common Patio Caddie gas grill models are the Char-Broil 06601295 and the 07601295, and each has its own manual. If you also need assembly guidance for your Char-Broil electric patio bistro 240, look for the model-matched assembly instructions in your manual or the manufacturer’s support page Char-Broil electric patio bistro 240 assembly instructions. If you can find your model number (it's on a sticker on the back or underside of the grill), you can pull the correct PDF from ManualsDir or Manuals+ right now and get a Troubleshooting table that maps your exact symptom to a cause and a fix. Most Patio Caddie problems, including no ignition, weak flame, and flames that blow out, have a documented cure in those manuals and are fully fixable without a service call.
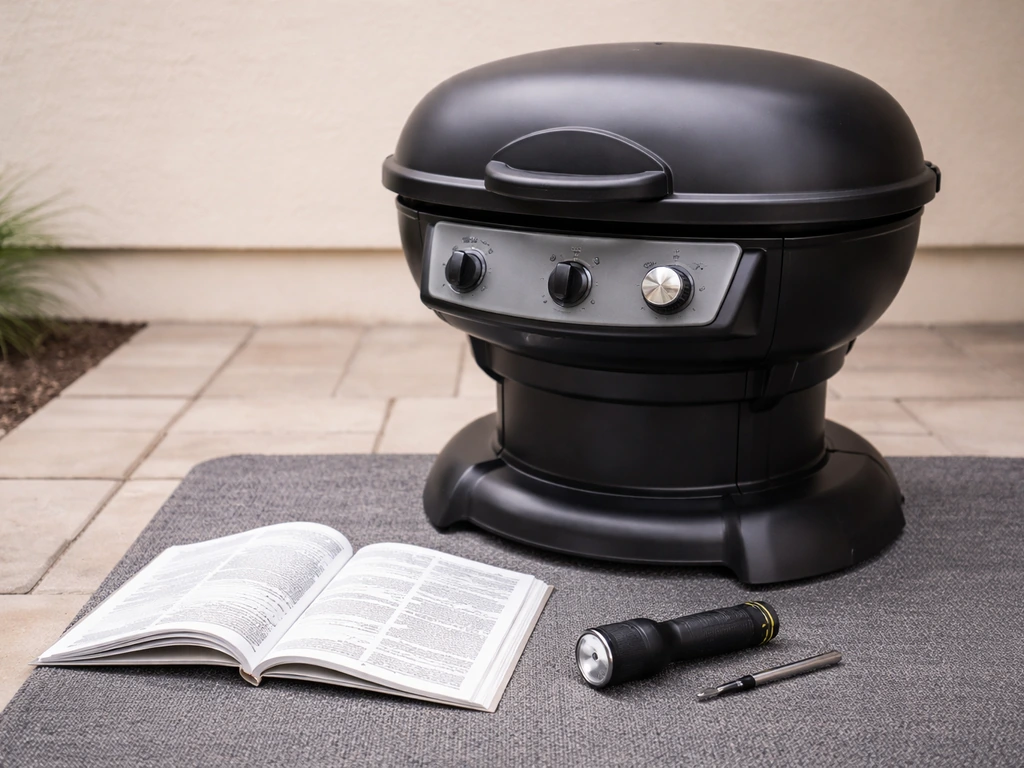
Patio Caddie Gas Grill Manual: Find Yours and Troubleshoot

Find your Patio Caddie model and get the right manual
Before you do anything else, confirm your model number. The Patio Caddie line includes at least two closely related gas grill models, the 06601295 and the 07601295, and their manuals differ enough that using the wrong one can send you looking at the wrong diagram or troubleshooting table.
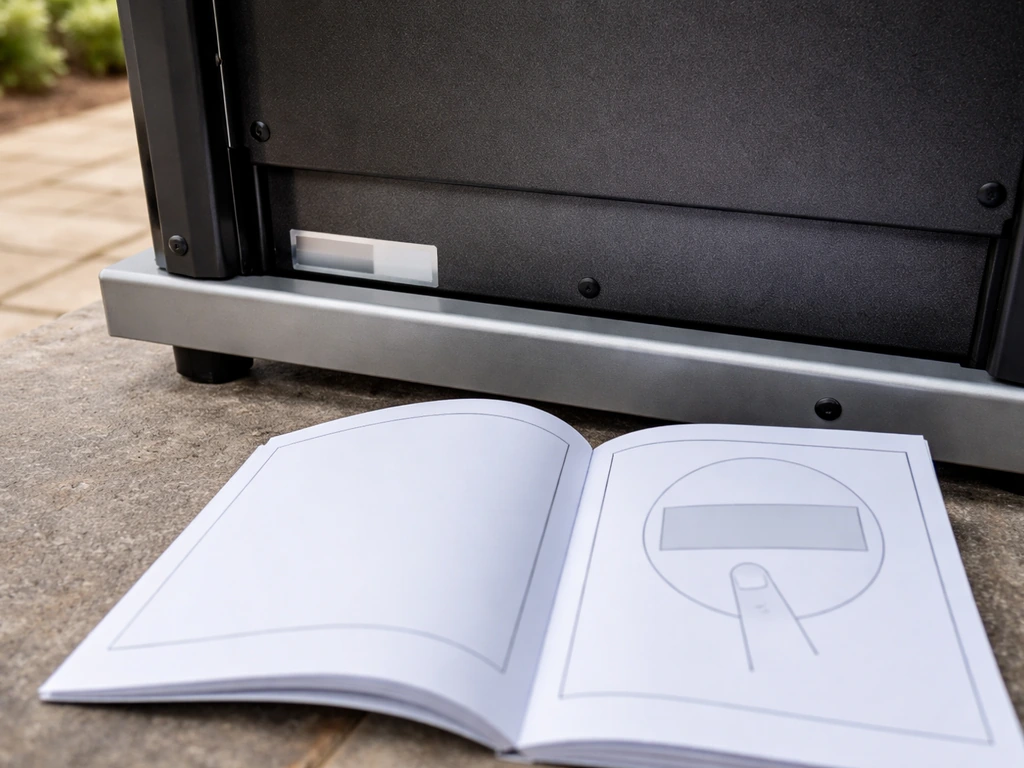
Look for a silver or white sticker on the back panel, the bottom rail, or underneath the drip tray. It will show a model number that starts with 0 and a serial number. Write both down. The model number is the one you need for the manual. You might also see a revision code like "blank" rel="noopener noreferrer">0660129542804181 (05-30-07)" printed on the first or last page of the manual itself, which tells you the document revision date (May 30, 2007 in that example) and can help you confirm you have the right version if you are cross-referencing parts diagrams.
Once you have the model number, search for it on ManualsDir (which hosts the 06601295 user manual with full troubleshooting content) or Manuals+ (which hosts both the 06601295 and 07601295 manuals as browsable pages and PDFs). If you are specifically using a Char-Broil Patio Bistro 240 electric grill, the correct manual can help you diagnose issues and follow the right safety steps Char-Broil Patio Bistro 240 electric grill manual. Search the exact model number, download the PDF, and keep it open on your phone or printed out while you work. The 06601295 manual is 20 pages and includes a dedicated Troubleshooting section. That section is the most useful part of this whole article.
Safety checks before you touch anything
Propane is not forgiving of shortcuts. Run through these checks every single time before you attempt to light the grill or start diagnosing a problem. The manual is explicit about several of these, and they are worth repeating.
- Never use the grill in an enclosed or covered space. The manual is very specific: no carports, garages, porches, covered patios, or under any overhead structure. Carbon monoxide builds up fast in those spaces.
- Keep the grill at least 3 feet from any wall or surface, and maintain 10 feet of clearance from ignition sources and combustible objects.
- Before lighting or diagnosing a gas issue, check that all control knobs are fully in the OFF position.
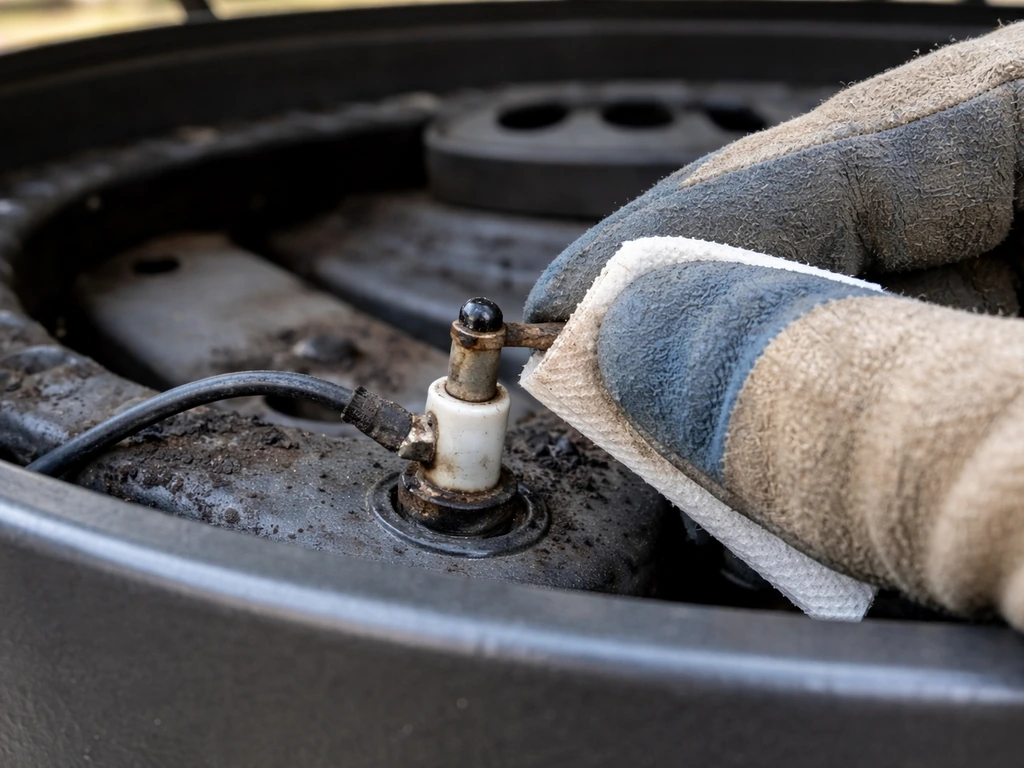
- Check the LP tank connection. The regulator coupling nut needs to be hand-tightened until it hits a solid stop, then turned an additional half to three-quarter turn. Do not use tools. A loose connection is one of the top causes of both no-ignition and weak flame problems.
- Smell for gas before lighting. If you detect a gas odor, do not attempt to light the grill. Close the tank valve, move away from the grill, and let it air out before doing anything else.
- Inspect the hose and regulator for cracks, kinks, or damage before each use. Replace the assembly if you find any.
Common symptoms and quick fixes
The Troubleshooting table in your manual is organized by symptom (called "Problems" in the manual), probable cause, and prevention/cure. Here are the most common ones and what the manual says to do about them.
Burner will not light using the ignitor
This is the most common complaint. If your Char-Broil Patio Bistro is not working at all, start by verifying the model and working through the ignitor and gas flow checks in your manual Char-Broil patio bistro not working. The manual lists several distinct causes, and you should work through them in order rather than jumping straight to replacing parts.
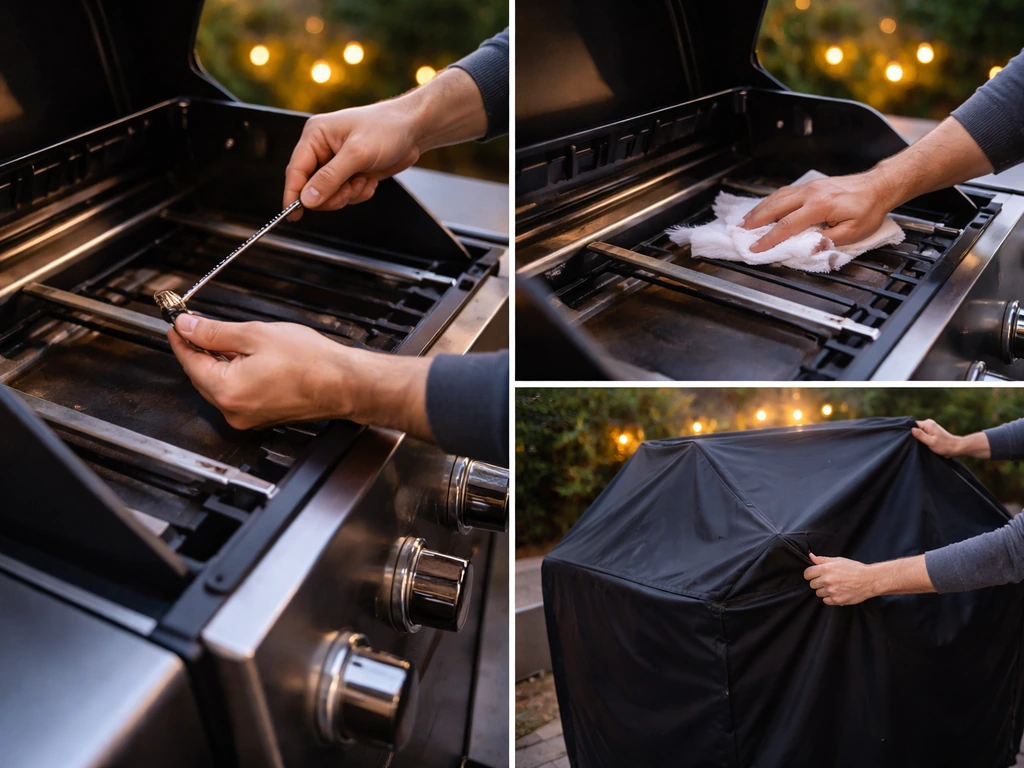
- Check the ignitor wire and electrode for cooking residue. The fix is simple: clean the wire and electrode with rubbing alcohol and a cleaning swab, then wipe dry. Residue buildup is the most common reason the ignitor stops sparking properly.
- Inspect the electrode itself. If it is cracked or broken, you will see sparks jumping at the crack rather than at the tip near the burner. A cracked electrode needs to be replaced.
- Check that the ignitor wire is firmly connected at both ends. A loose or disconnected wire means no spark reaches the electrode.
- Check if the wire is shorting somewhere between the ignitor button and the electrode. If you see a spark jumping in the wrong place along the wire path, the wire is shorted and needs replacement.
- Confirm there is actually gas flow. Open the tank valve, make sure the coupling nut is tight, and verify the tank has fuel.
Sudden drop in gas flow or weak flame
If the flame suddenly gets very small or nearly disappears after you start the grill, the excess flow valve has almost certainly tripped. This is a safety device built into the regulator that activates when it detects a pressure drop, which can happen if you open the tank valve too quickly. The fix: turn the control knob to OFF, close the LP tank valve, and wait a full 30 seconds. Then slowly open the tank valve first, and relight normally. Rushing this process will just trip the valve again.
Flames blow out or keep going out
Wind is the most overlooked cause here. If you are grilling in breezy conditions, turn the front of the grill to face into the wind or increase the flame height. If it is not a wind issue, check for grease buildup on the burner and burner tube. Blocked burner tubes are a reliable cause of uneven flames and blowouts, and the fix is cleaning. The manual is direct about this: clean the grill and clean the burner and burner tube.
Burner will not match light
If you are trying to light the burner with a match or lighter instead of the ignitor and it is not catching, the most common causes are the same gas flow issues covered above (loose regulator, excess flow valve, obstructed burner tube) plus the possibility that the grill is not assembled correctly. The manual specifically calls out "Is grill assembled correctly? Check steps in assembly instructions" as a troubleshooting step, which sounds obvious but catches a surprising number of problems, especially for grills that were recently moved or had parts replaced.
Parts identification and where to find them in your manual
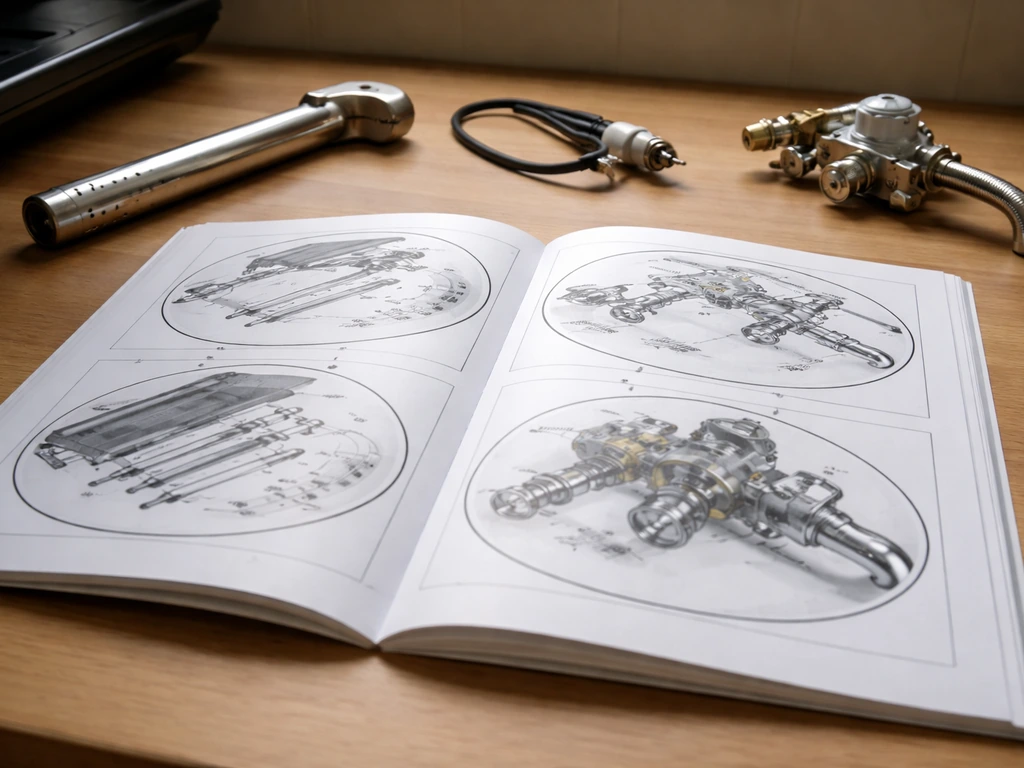
The 20-page 06601295 manual includes a parts diagram and a parts list. When you open the manual, you want to find four main components and understand how the manual references them.
| Component | What it does | Where to look in the manual | Common failure sign |
|---|---|---|---|
| Ignitor / electrode | Generates the spark that lights the burner | Parts diagram + Troubleshooting table | No spark, or spark in wrong location |
| Ignitor wire | Carries the electrical signal from the ignitor button to the electrode | Parts diagram + Troubleshooting table | Loose connection, visible damage, sparking at wrong point |
| Burner / burner tube | Distributes gas for combustion | Assembly section + Troubleshooting table | Uneven flame, no ignition, flashback, blowout |
| Regulator and hose assembly | Regulates LP pressure from tank to grill | Assembly section + Troubleshooting table | Weak flame, excess flow valve trips, no gas flow |
| Gas valve / control knob | Controls gas flow to the burner | Parts diagram | Flame won't adjust, gas odor near knob |
The manual's parts diagram gives each component a callout number, and the parts list next to it gives the part name and typically a part number you can use to order a replacement. If you need a new electrode or ignitor wire, photograph the parts diagram page and use those numbers when ordering. Generic parts sometimes work, but model-specific parts are always the safer choice for a propane appliance.
Step-by-step troubleshooting workflow using your manual
When you sit down with your manual and your grill, use this order. It follows the logic of the Troubleshooting table and rules out the simplest (and most common) causes before you start pulling components.
- Confirm your symptom precisely. Is the ignitor not sparking at all, sparking in the wrong place, or sparking fine but the burner not catching? Is the flame weak from the start or does it drop off after a minute? Matching the exact symptom to the right row in the Troubleshooting table is the whole game.
- Open the manual to the Troubleshooting table. Find your symptom in the "Problems" column. Read every listed cause for that symptom before doing anything. There are often three or four possible causes listed, and the cure for each is different.
- Start with the regulator connection. Turn everything off, disconnect the regulator from the tank, and reconnect it firmly by hand until you reach the solid stop, then add that half to three-quarter turn. This takes 30 seconds and eliminates the most common cause of both no-ignition and weak flame at once.
- Check the ignitor electrode and wire. With the tank valve closed and all knobs at OFF, visually inspect the electrode for cracks. Clean the electrode and wire with rubbing alcohol and a swab. Reconnect any loose wire connections. Try the ignitor again.
- If still no ignition, attempt a match light. Hold a lit long match near the burner port, open the gas valve slowly to low, and see if the burner catches. If it lights on a match but not on the ignitor, the problem is isolated to the ignitor system, not the gas supply.
- If neither the ignitor nor match light works, check for gas flow. Open the tank valve slowly, listen for any hiss at the burner, and check that the burner tube is not blocked. Clear any obstruction per the manual's instruction to "Clear burner tube."
- If the grill lights but the flame then drops off, reset the excess flow valve: knob to OFF, tank valve off, wait 30 seconds, reopen tank valve slowly, then relight.
- If you find a cracked electrode, damaged hose, or a gas valve that feels loose or does not move smoothly, stop here. Order the replacement part using the manual's parts list before continuing.
Maintenance the manual actually recommends
The Patio Caddie manual covers maintenance in both the Use & Care section and indirectly through the Troubleshooting table, since many of the listed cures are really just deferred maintenance tasks. Here is what the manual points to, organized as a practical routine.
After every cook
- Burn off grease residue by running the grill on high for a few minutes after cooking, then brush the grates while still warm.
- Close the LP tank valve before turning off the control knob. This purges the line and reduces the chance of the excess flow valve tripping on your next startup.
- Wipe down the exterior once it is cool.
Monthly or before each grilling season
- Clean the burner and burner tube. The manual specifically calls out blocked burner tubes as a cause of ignition failure and flashback. Use a pipe cleaner or small brush to clear the ports.
- Inspect the hose and regulator for cracks, brittleness, or kinks. If the hose has been stored outside or exposed to UV for a season, look carefully at the full length.
- Clean the ignitor electrode and wire with rubbing alcohol. This prevents the cooking residue buildup that is the number one cause of ignition failure.
- Check all burner ports for spider webs or insect nests. This is a serious one: spiders in particular love to build inside burner tubes during storage, and a blocked tube can cause a flashback (flame burning back inside the tube toward the gas valve).
- Confirm the regulator coupling nut connection is tight and undamaged.
Storage
When storing the grill for any extended period, the manual's guidance points to disconnecting the LP tank and storing it upright outdoors (never inside an enclosed space). Cover the grill to keep insects and moisture out of the burner tubes and ignitor assembly. If you are storing it through winter, clean the grates and burners thoroughly before covering, since grease left sitting over months becomes the kind of blockage that causes a frustrating first-cook-of-the-season failure.
When the manual is not enough
The Patio Caddie manual gives you solid coverage of the most common gas grill problems, and most readers who work through the Troubleshooting table will solve their issue without ordering a single part. But there are a few situations where the right move is to stop DIY work: if you smell gas and cannot identify where it is coming from after tightening all connections, if the hose or regulator is physically damaged, or if the control valve itself is leaking. Those are not cleaning or ignitor problems. A leaking regulator or valve needs a replacement part before the grill gets used again, and if you are unsure whether a connection is safe, a quick call to a propane supplier costs nothing and could save a lot.
If you are also troubleshooting a Char-Broil Patio Bistro, the process is similar but the manuals are separate. The Bistro 240 comes in both gas and electric versions and has its own assembly and troubleshooting documentation, so the same rule applies: confirm your exact model number before pulling a manual.
FAQ
What if I cannot find the model number sticker on my patio caddie gas grill manual?
Check the back panel, underside of the drip tray, and the bottom rail, then look for a model number that starts with 0. If the sticker is missing or unreadable, compare the control panel layout and burner configuration to the manual illustrations, but do not guess the PDF, because the 06601295 and 07601295 use different diagrams and troubleshooting tables.
Do I need to record the serial number too, or is the model number enough?
Use the model number to find the correct patio caddie gas grill manual, but write down the serial number as well. It can help when parts look similar, when you contact support, or when two grills share a model number but have different revisions and component specs.
My grill lights but then goes out right away, what should I check first?
Treat it like a gas flow and burner obstruction issue. Run the same sequence the manual uses for blowouts, confirm the excess flow valve is not repeatedly tripping (slowly reopen the tank valve), and check the burner tube for grease or blockage that can prevent stable ignition.
What does it mean if the flame pattern looks uneven or smoky, is it always a cleaning problem?
Uneven flames often point to burner tube blockage or grease buildup, but if you see persistent flare-ups near the control area or very sooty combustion, also verify that the grill is fully assembled and that burner parts are seated correctly. Reassembly mistakes can mimic clogged-tube symptoms.
How can I tell whether the regulator or the excess flow valve is the issue?
If the flame is extremely small after opening the tank, the excess flow valve likely tripped, the manual’s cure is to go OFF, close the tank, wait 30 seconds, then open slowly. If the grill continues to have low flow even after careful tank opening, inspect for a loose regulator connection and physical damage, since a regulator problem can persist even when the valve is reopened correctly.
Can I use a generic ignitor electrode or replacement wire if I cannot find the exact part number?
It is better to match the model-specific part listed in the parts list. Generic components sometimes fit, but mismatch can cause weak sparking, intermittent ignition, or incorrect routing that interferes with safe operation.
What should I do if I replaced a part and now the ignitor or burner will not work correctly?
Use the manual’s assembly and troubleshooting order again. After a part swap, confirm the burner tubes are unobstructed and seated properly, then re-check the ignitor wiring and connection routing against the diagram, because most “new part” failures come from installation position or loose connections.
Is it safe to troubleshoot with the propane tank attached when I smell gas?
No. Stop immediately if you smell gas and cannot pinpoint the source after tightening visible connections. A damaged hose, regulator, or leaking valve needs replacement, and if you are unsure about a connection’s safety, contact a propane supplier before continuing any further tests.
How should I store the grill and tank during winter to prevent first-use failures?
Disconnect the LP tank and store it upright outdoors, never indoors or in an enclosed space. Clean grates and burners thoroughly before covering, because grease left over months can harden into a blockage that causes ignition failure when you fire it up for the first time.
What is the fastest way to use the troubleshooting table in my patio caddie gas grill manual?
Start with the symptom naming in the manual, then follow the cause sequence rather than jumping to the most expensive part. If your issue involves ignition or flames going out, always re-check gas flow, regulator connection, excess flow behavior, and burner tube cleanliness before ordering replacements.
Does wind always require turning the grill, or should I change settings differently?
Wind is often the cause of weak or unstable flames, the manual’s approach is to face the front of the grill into the wind or adjust flame height upward as allowed. If turning the grill does not solve it, move to cleaning and obstruction checks for the burner and burner tube.