When your patio heater lights up while you hold the knob but goes out the moment you let go, the thermocouple (or thermopile) is almost certainly not getting hot enough to tell the gas valve it's safe to stay open. The fix is usually one of three things: you're not holding the knob long enough, the thermocouple connection at the valve is loose, or the thermocouple itself has failed and needs replacing. All three are things you can check and fix yourself today with basic hand tools.
Patio Heater Turns Off When Knob Released: Fix Guide

Grant Mercer
14 May 2026
First, confirm what type of heater you have
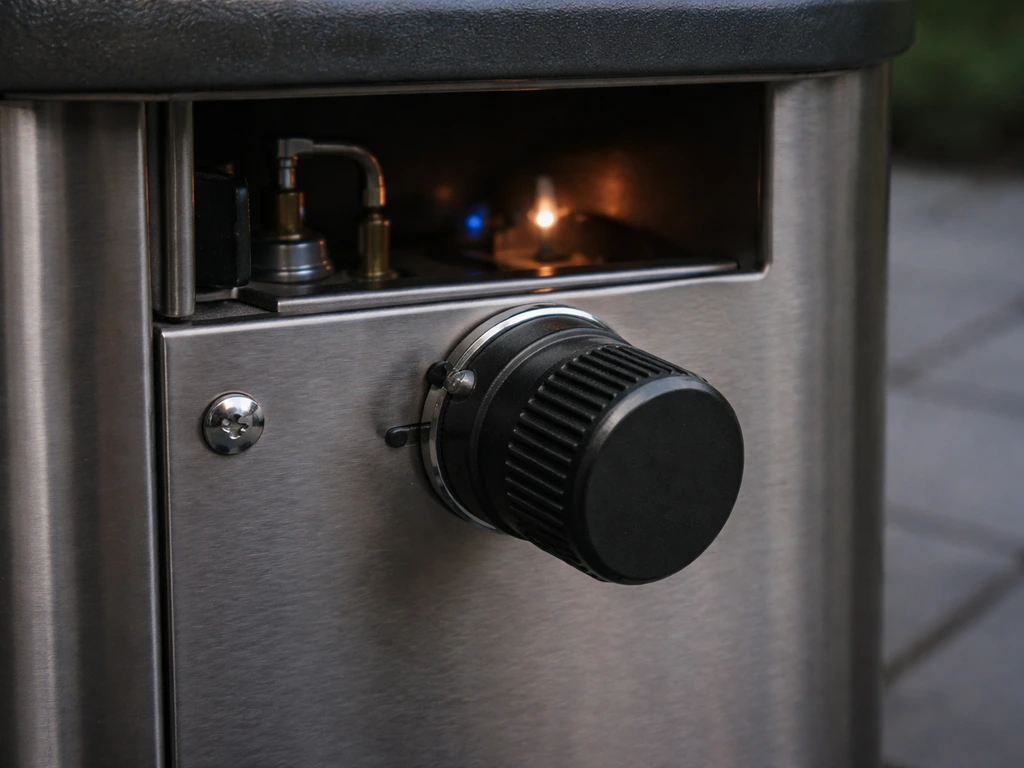
Before you start poking around, make sure you know what ignition system you're working with. Most freestanding propane patio heaters use a standing pilot system: you push the knob in to manually bypass the safety valve, light the pilot, hold the knob for about 30 seconds while the thermocouple heats up, and then release. The thermocouple generates a small millivolt signal (typically around 20 to 30 mV) that keeps the safety valve open. If that signal isn't strong enough or never arrives, the valve closes and the flame dies. That's exactly the symptom you're seeing.
Some higher-end patio heaters use a thermopile instead of a single thermocouple. A thermopile is essentially multiple thermocouples wired in series and generates several hundred millivolts, which can power electronic controls and remote ignition. The same "goes out when released" symptom can happen with a thermopile if the flame isn't properly hitting the sensor. Either way, the diagnostic process is nearly identical. Check your model number on the label near the base or burner housing and look up the manual if you're unsure which sensor your heater uses.
Safety first: shut off the gas, ventilate, and check for leaks
Before you touch anything mechanical, take a minute to be smart about gas safety. This isn't optional. Turn the control knob to the OFF position and close the propane tank valve completely. If you've been attempting to relight the heater multiple times and the flame kept going out, don't keep trying. Repeated failed ignition attempts can release unburned gas around the burner area.
Move the heater to a well-ventilated outdoor area away from any ignition sources. Let it air out for at least 5 minutes before opening any connections or panels. While you're at it, do a basic leak check on the gas hose, regulator, and any fittings you plan to touch: apply a small amount of dish soap mixed with water to the connections and look for bubbles with the tank valve cracked open. No bubbles means no leak at that joint. If you smell gas at any point during your inspection and can't locate the source, stop, leave the area, and contact your gas supplier or fire department. Do not continue troubleshooting.
One more safety note specific to this symptom: if you've been relighting a hot heater, the manual recommendation is to wait at least 5 minutes before attempting to relight. A warm thermocouple can give a false reading during diagnostics, so starting cold is more reliable anyway.
Hold time: the fix most people miss
This is the most common reason a patio heater goes out when you release the knob, and it's the easiest fix. If you cannot depress the control knob or it feels like it is sticking, that's a related mechanical issue to check alongside the normal 30-second hold-time steps patio heater control knob stuck. You have to hold the control knob fully depressed for a full 30 seconds after the pilot flame lights. Not 10 seconds, not 20 seconds. Thirty. The thermocouple is a metal rod that needs to physically heat up from the flame before it generates enough millivolts to hold the safety valve open. If you let go too early, the valve simply closes because it hasn't received the "all clear" signal yet.
Use your phone timer. Push the knob in firmly, light the pilot, and count a full 30 seconds before you release. Keep the knob fully depressed the entire time: many people unconsciously let up a little as they reach for the igniter button. If the flame goes out right at or shortly after 30 seconds, you've moved past the hold-time issue and there's something else going on. But if you've been releasing at 10 or 15 seconds, try this first.
Checking the pilot flame while you hold

While you're holding the knob, take a look at the pilot flame itself. It should be blue with a small yellow tip, steady, and ideally touching (or wrapping around) the tip of the thermocouple rod. If the flame is weak, orange, flickering, or not making contact with the thermocouple, the sensor won't heat up fast enough even if you hold the knob for 30 seconds. A poor flame quality is its own diagnostic finding and leads directly to the next step: cleaning the pilot assembly.
Clean and inspect the pilot and ignition components
Spider webs, dust, and insect debris are genuinely common causes of weak or misdirected pilot flames in patio heaters, especially units that sit outside or in storage for months at a time. A partially blocked pilot orifice produces exactly the kind of small, wandering flame that can't heat the thermocouple consistently.
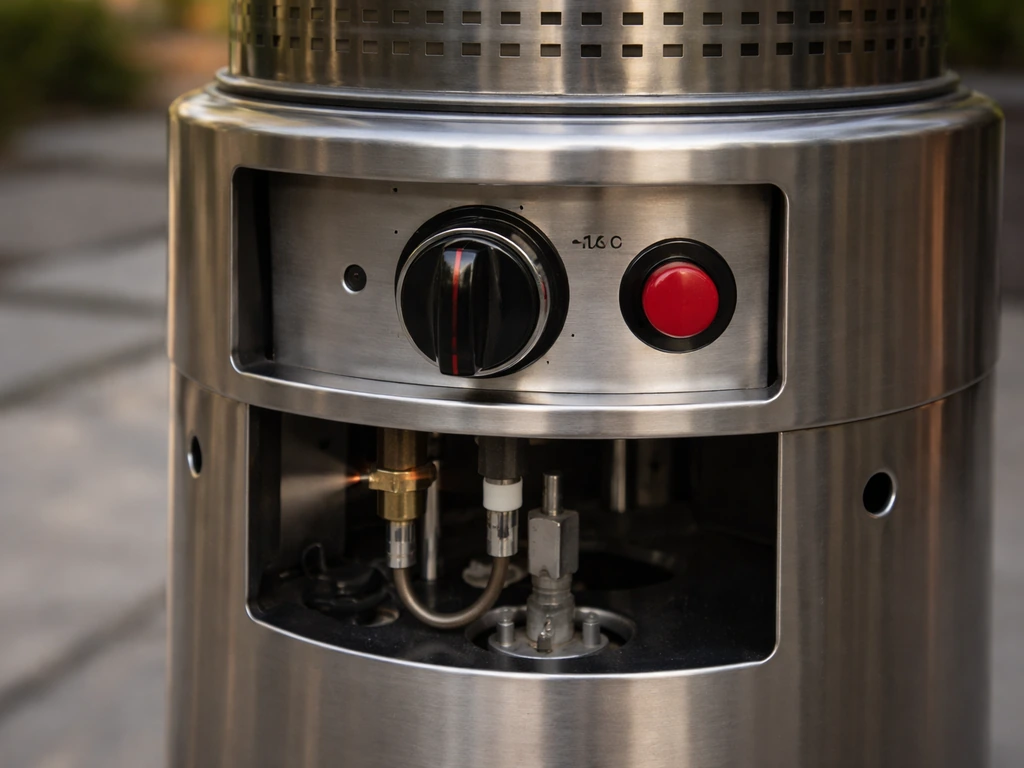
With the gas fully off and the tank valve closed, locate the pilot assembly under the burner housing. It's the small metal bracket with a gas tube, an igniter electrode, and the thermocouple rod. Look for any visible debris or spider webs around the pilot orifice. Use a can of compressed air to blow out the area around the pilot tube and the orifice opening. Do not use a wire or pin to poke into the orifice: you can enlarge it and make the problem worse. Compressed air and a soft brush are your tools here.
While you're in there, check the igniter electrode. It should have a visible gap between the electrode tip and the ground point, typically around 3 to 4 mm. If the tip is cracked, heavily corroded, or the ceramic insulator is chipped, the spark may be weak or misfiring. A weak spark means the pilot takes longer to light, and if you're counting hold time from when you first push the knob (instead of from when the flame actually appears), you're giving the thermocouple even less time to heat up.
After cleaning, relight the pilot and observe the flame again with the knob held down. You're looking for a steady blue flame that contacts the thermocouple rod directly. If the flame is now stronger and properly positioned but the heater still goes out when released after a full 30 seconds, move on to the thermocouple and valve connection checks.
Diagnose the thermocouple and valve connection
The thermocouple is a two-part system: the sensor rod that sits in the pilot flame, and the connection at the gas valve body. Both parts can fail independently, and a loose connection at the valve is actually more common than a dead thermocouple.
Check and tighten the valve connection first
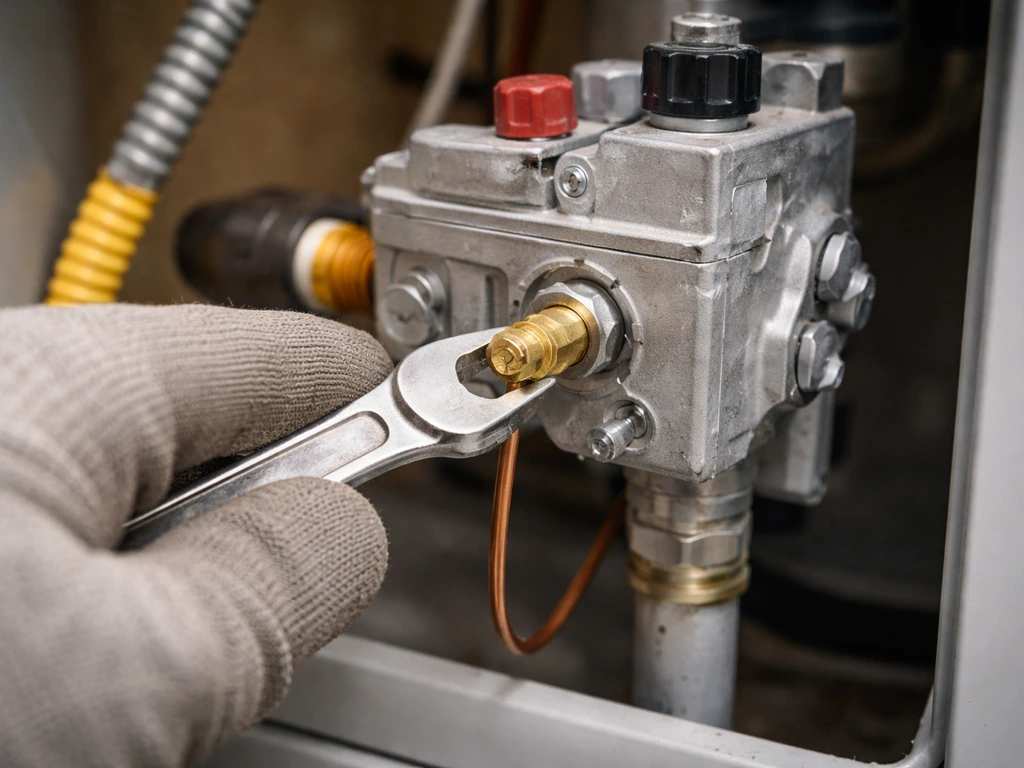
With the gas off and tank valve closed, trace the thermocouple metal tube from the pilot assembly down to where it threads into the gas control valve body. This connection works loose from vibration and thermal cycling over time. The fix is straightforward: hand-tighten the fitting until it's snug, then give it exactly a quarter turn more with a small wrench. Don't overtighten it. That's the manufacturer-recommended torque from multiple manuals, and it's the right call. Over-tightening can damage the valve fitting.
After tightening, do a soap-and-water leak check on that fitting before relighting. Once you confirm no bubbles, retry the lighting procedure with a full 30-second hold. If the heater now stays lit, you found your problem. If it still goes out, the thermocouple itself is likely the issue.
Test the thermocouple with a multimeter
If you have a digital multimeter that reads millivolts (mV), you can test the thermocouple directly. Disconnect the thermocouple from the gas valve, set your meter to the mV DC range, and clip one lead to the thermocouple fitting and the other to the outer body. Light the pilot manually and hold the flame on the thermocouple tip for 30 seconds, then read the meter. A healthy thermocouple should produce around 20 to 30 mV. If you're reading less than 20 mV, or the reading starts high and drops quickly as you watch it, the thermocouple is degraded and needs replacing. A reading of zero or near-zero with a good flame confirms the thermocouple is dead.
If your heater uses a thermopile rather than a single thermocouple, the voltage reading should be much higher, commonly 300 to 750 mV. The same logic applies: a low reading under heat means the sensor has failed. A thermopile that reads well in isolation but doesn't hold the valve open can also point to a failed gas valve safety circuit, which is a harder problem.
Flame position and thermocouple geometry
One specific failure mode that often gets overlooked: the pilot flame is fine and the thermocouple tests okay on the bench, but the flame isn't physically touching the thermocouple rod. This can happen if the pilot bracket bent slightly, if someone reassembled the burner incorrectly, or if cleaning shifted the pilot tube. The thermocouple tip needs to be directly in the pilot flame, not just near it. If the flame sits beside or below the thermocouple instead of wrapping around its tip, it will cool down the moment you reduce gas flow, and the valve closes. Gently adjust the thermocouple rod position or the pilot bracket (with the gas off) so the flame contacts the sensor properly.
How to replace the thermocouple (and what to buy)
Replacing a thermocouple on a patio heater is a beginner-level repair. The part itself usually costs between $10 and $25 depending on length and connector type. You'll need your model number to get the right replacement: measure the length of the existing thermocouple tube from tip to fitting, and note the thread size on the valve connection (most patio heaters use a standard 3/8-inch or M8 fitting, but verify). Universal thermocouple kits are widely available and work with most standing pilot patio heaters.
- Turn off the gas at the tank and let the heater cool completely.
- Remove the burner housing or access panel to reach the pilot assembly (usually 3 to 4 screws).
- Unscrew the thermocouple fitting from the gas valve body using a small open-end wrench.
- Unclip or unscrew the thermocouple rod from the pilot bracket at the other end.
- Route the new thermocouple through the same path as the old one, seat the rod in the pilot bracket so the tip is in the flame path, and thread the fitting into the valve hand-tight plus a quarter turn.
- Perform a soap-and-water leak check on the valve connection before relighting.
- Relight following the 30-second hold procedure and verify the heater stays lit when released.
If the heater still won't stay lit after a new thermocouple, a proper 30-second hold, a clean pilot, correct flame positioning, and a snug valve connection, the gas control valve itself may have a failed safety solenoid. That's a more serious finding and changes the calculus on DIY repair.
Quick comparison: common causes and fixes at a glance
| Cause | How to identify it | Fix |
|---|---|---|
| Not holding knob long enough | Heater stays lit if you hold past 30 sec | Use a timer, hold full 30 seconds after pilot lights |
| Loose thermocouple connection at valve | Fitting is finger-loose or has play | Hand-tighten plus 1/4 turn with wrench, then leak check |
| Weak or blocked pilot flame | Flame is orange, small, or not touching thermocouple | Clean pilot orifice with compressed air, check orifice for blockage |
| Flame not contacting thermocouple tip | Flame burns but misses the rod | Reposition thermocouple rod or pilot bracket |
| Failed thermocouple | mV reading under 20 mV with flame applied | Replace thermocouple ($10–$25 universal part) |
| Failed thermopile | mV reading well below 300 mV under flame | Replace thermopile or head assembly |
| Failed gas control valve | New thermocouple installed correctly, still goes out | Stop DIY, call a technician |
When to stop DIY and call a technician
Most "goes out when released" problems on patio heaters are thermocouple issues, and they're genuinely fixable at home. But there are a few situations where you should put down the wrench and call someone with gas appliance certification.
- You smell gas at any point during your inspection and can't find a leak source with the soap test.
- You've replaced the thermocouple with a correctly-rated part, verified the flame geometry, tightened the valve connection, and the heater still won't stay lit. At that point the gas control valve is the most likely culprit, and valve replacement on a gas appliance is a job for a certified tech.
- The gas control valve body is visibly damaged, corroded, or the fitting is cross-threaded or stripped.
- You notice the hose or regulator is cracked, stiff, or shows any sign of damage.
- The heater is older than 10 years and you're uncomfortable with the condition of the internal gas components overall.
A gas appliance technician can test the valve safety solenoid directly, confirm proper gas pressure from the regulator, and either repair or advise on replacement. For a patio heater that's still within a few years of its original purchase price in repair cost, a valve swap by a tech is often worth it. If the repair quote approaches half the cost of a new heater, it's a reasonable time to upgrade instead.
One related issue worth keeping in mind: if your heater goes out after running fine for several minutes (rather than immediately on release), that's a different problem, likely the tilt switch or an overheat safety switch rather than the thermocouple. If your heater has an electronic control, also confirm the patio heater safety switch is functioning correctly, since faults there can interrupt ignition or shutdown tilt switch or an overheat safety switch. If you suspect the tilt switch, resetting it (and checking the heater is level) can help you confirm the overheat and tip-safety circuit is functioning. The "goes out instantly when released" behavior is the specific sign that the safety valve never engaged, which points squarely back to the thermocouple circuit described throughout this guide. If your patio heater keeps shutting off, check the thermocouple or thermopile and the valve connection, because a weak or loose sensor signal will prevent the safety valve from staying open thermocouple circuit.
FAQ
How can I tell if I’m counting the 30 seconds from the wrong moment?
Start your timer when the pilot flame first appears, not when you first push the knob. If you count from knob-in, you may be giving the sensor less heat time than you think, especially if the igniter takes a few seconds to catch.
What if the pilot lights, but the flame is blue and looks correct, yet it still shuts off when I release?
If the pilot looks right, re-check that the flame is actually contacting the thermocouple tip. A pilot can appear “blue” while still heating the sensor poorly if the flame is slightly beside or low on the rod, often after cleaning or reassembly.
Can a weak battery or bad igniter cause this knob-release shutdown?
It can, but usually indirectly. A weak spark can delay pilot ignition, shortening effective thermocouple heating time, which mimics a sensor failure. If your flame starts consistently, then battery/ignition is less likely than thermocouple signal or valve connection.
Is it safe to keep trying to relight if it keeps turning off right after I let go?
No, repeated failed attempts can release unburned gas near the burner area. If it won’t hold after a couple careful tries (full knob hold and proper pilot contact), stop and move to inspection or professional service.
Do I need to adjust the regulator or gas pressure if it goes out when released?
Not as the first step. Low pressure can contribute to weak pilot flame, but your guide’s fastest checks are pilot contact, pilot cleanliness, and sensor/connection. If those pass, then a technician can verify regulator output and valve performance.
What should I do if the thermocouple fitting is corroded and won’t tighten smoothly?
Stop forcing it. Corrosion can strip threads or damage the valve body. Clean the area gently, ensure the coupling seats properly, and if the fitting still won’t snug, replace the thermocouple or have a tech handle the valve-side connection.
Can I test the thermocouple without a multimeter by watching behavior?
You can only infer. Bench voltage testing is the reliable way to confirm failure. Behavior checks like “weak pilot,” “no flame contact,” or “shuts off after full hold” suggest likely causes, but they do not confirm whether the sensor is electrically degraded.
What reading should I see for a thermopile, and what if it reads fine but the heater still won’t stay on?
Thermopile readings are typically in the hundreds of millivolts range. If the sensor voltage is good in isolation but the valve still closes, the issue may be downstream (gas control safety circuit), which is a more difficult diagnosis than a thermocouple replacement.
Why does my heater sometimes stay lit if I release the knob slowly?
Slow release can accidentally keep the valve bypassed for longer than you think, especially if your hand pressure eases before full release. Use a timer and ensure the knob is fully depressed for the entire 30-second window after the pilot ignites.
If the heater shuts off only after it’s been running for a few minutes, what should I suspect instead?
That pattern points away from immediate thermocouple signal and toward overheat or tip safety circuits (like an overheat/tilt switch). Confirm the heater is level and that any safety switch is functioning before focusing on the thermocouple circuit.