
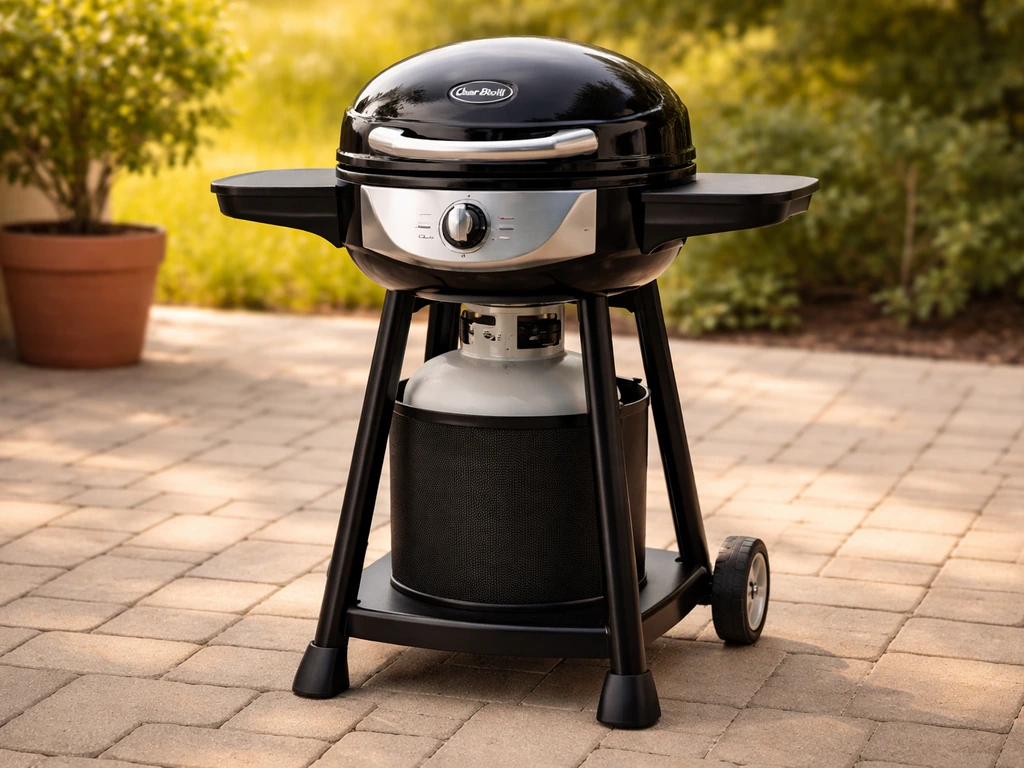
Assembling the Char-Broil Patio Bistro 240 takes about 45 to 60 minutes if you lay out all the parts first and follow the correct order: cart base and legs first, then the firebox body, then the lid, then cooking components from the bottom up (burner, heat tent, grate, warming rack), and finally the propane hose and a leak test before you ever strike the igniter. Get the burner tube seated over the valve opening correctly and check your electrode gap before you close everything up, and you'll avoid the two most common problems people run into.
How to Assemble Char-Broil Patio Bistro 240 Grill

Grant Mercer
11 Jul 2026
What's in the box: your parts checklist
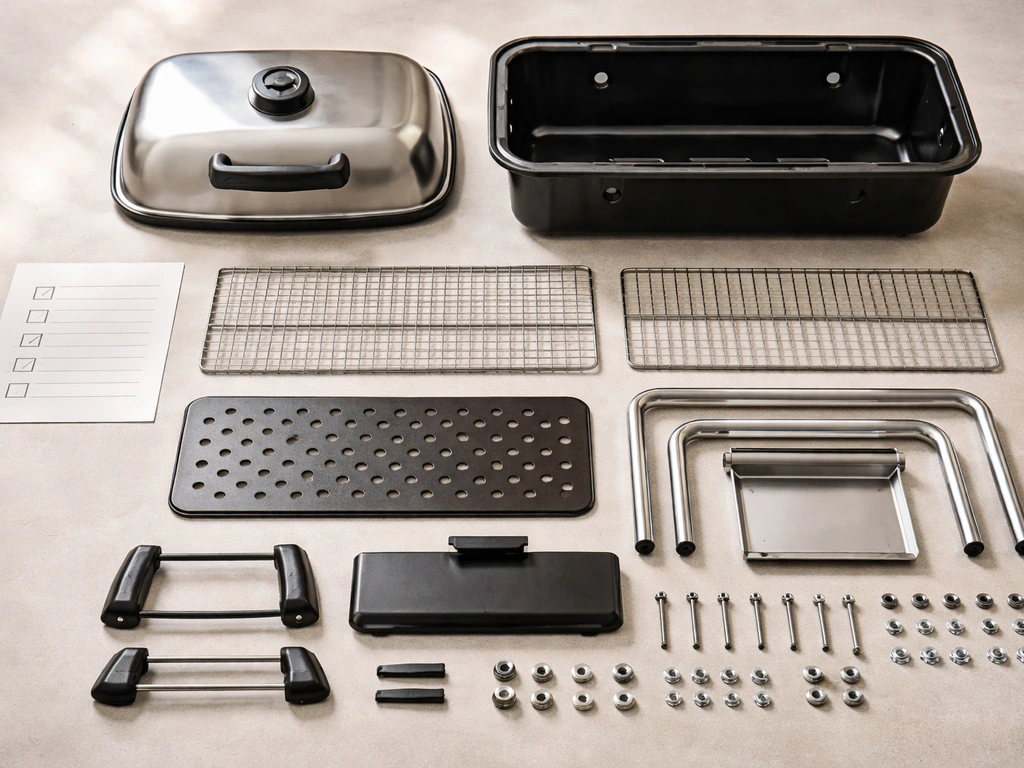
Before you touch a single fastener, pull everything out of the box and identify each part against this list. The Char-Broil Patio Bistro 240 manual parts list shows the expected components and quantities before you start assembly identify each part against this list. Cross off each item as you find it. If something is missing or you find a duplicate, call Char-Broil customer service before you start, because retrofitting parts mid-assembly is a headache you don't need.
| Part Label | Description | Qty |
|---|---|---|
| A | Grill lid | 1 |
| B | Lower body / firebox base | 1 |
| C | Heat tent | 1 |
| D | Burner | 1 |
| E | Tank retainer bolt | 1 |
| F | Igniter switch module | 1 |
| G | Bezel | 1 |
| H | Wind shield | 1 |
| I | Inner reflector | 1 |
| J | Towel bar | 1 |
| K | Lid handle | 1 |
| L | Control panel | 1 |
| M | Control knob | 1 |
| N | Rear leg set | 1 |
| O | Front leg set | 1 |
| Q | Grease tray | 1 |
| R | Hubcaps | 2 |
| S | Hose / valve / regulator assembly | 1 |
| T | Warming rack | 1 |
| U | Heat indicator | 1 |
| W | Cooking grate | 1 |
| X | Match holder | 1 |
| Y | Tank retainer ring | 1 |
| Z | Cart base | 1 |
| AA | Cart bracket | 1 |
| BB | Leg caps | 2 |
| CC | Ignition module | 1 |
| DD | Electrode wire | 1 |
| EE | Ignitor electrode | 1 |
| FF | Lid bumpers | 2 |
| GG | Match light hole cover | 1 |
| HH | Grate cleaning tool | 1 |
| II | Grease tray guide | 1 |
You'll also find a hardware pack with multiple fastener types. Sort them before you start. blank" rel="noopener noreferrer">The assembly uses 3/8-16 nuts, #10 x 3/8" screws, 1/4-20 nuts, 1/4-20 x 1/2" screws, #10-24 nuts, #10-24 x 3/8" screws, and fiber washers near the electrode and battery module area. Mixing these up is the single biggest cause of stripped threads and loose joints, so take two minutes to group them by size now.
Tools you need and how to set up your workspace
You don't need anything fancy. Grab a Phillips-head screwdriver, a flat-head screwdriver, an adjustable wrench or a basic socket set, and a pair of needle-nose pliers for the ignition wire connections. That's it. You'll also want a small bowl, a clean paintbrush, and dish soap for the leak test at the end.
Set up on a flat, firm surface like a driveway, patio, or garage floor. Do not assemble on carpet or an uneven lawn because the cart can tip during assembly when the firebox is being set. Keep the box nearby as a reference for parts diagrams. Lay out a moving blanket or a flattened cardboard box to protect the lid and firebox finish while you work. Make sure you have enough room to walk around all four sides of the grill, and keep kids and pets out of the area.
Step-by-step assembly: base to burner
Follow this order exactly. The Patio Bistro 240 is designed so that each stage supports the next, and skipping ahead (like mounting the firebox before the legs are fully tightened) creates alignment problems you'll have to undo later.
Step 1: Build the cart base
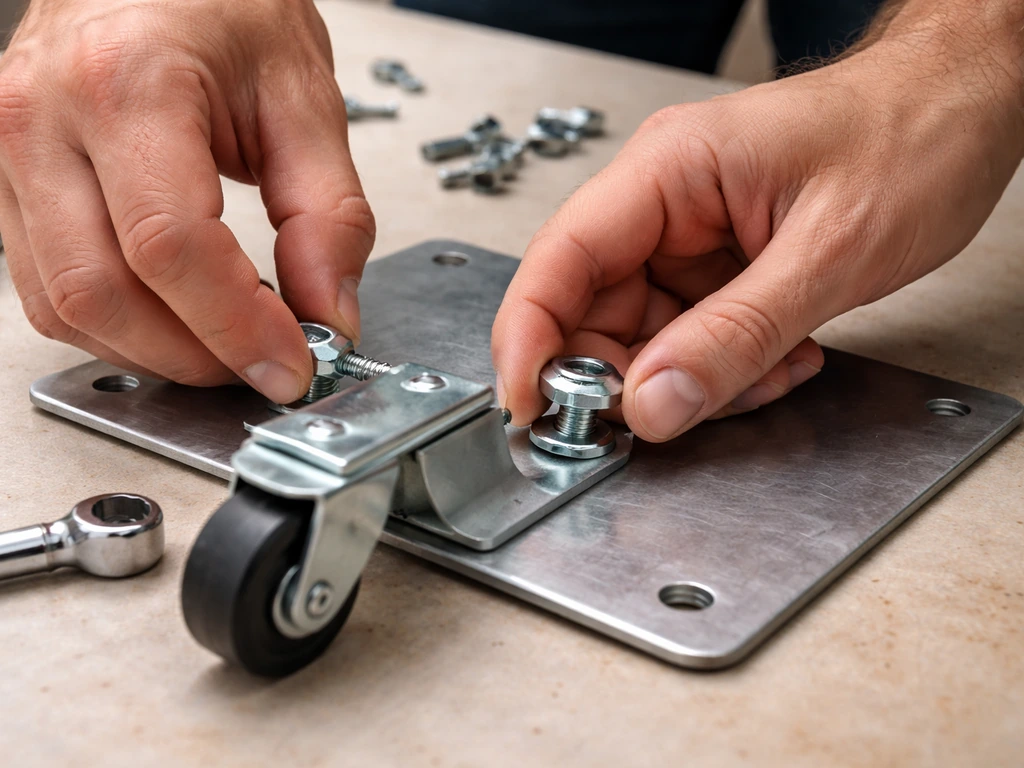
Start with the cart base (Z) on your work surface. Attach the cart bracket (AA) to the base using the 1/4-20 x 1/2" screws and 1/4-20 nuts. Hand-tighten first, then snug everything down with your wrench once you confirm the bracket sits flush and square. Don't crank them fully tight yet, you want a little flex while you attach the legs.
Step 2: Attach the leg sets
The rear leg set (N) and front leg set (O) mount to the cart base. Use the 3/8-16 nuts specified for this stage. Again, hand-tighten first so you can adjust angles, then tighten all leg fasteners once both sets are on and the cart stands level. Press the leg caps (BB) into the bottom of the legs and snap the hubcaps (R) onto the wheels. Give the cart a gentle rock to confirm it's stable before moving on. If it wobbles, check that all four leg attachment points are fully tightened.
Step 3: Mount the firebox (lower body) onto the cart
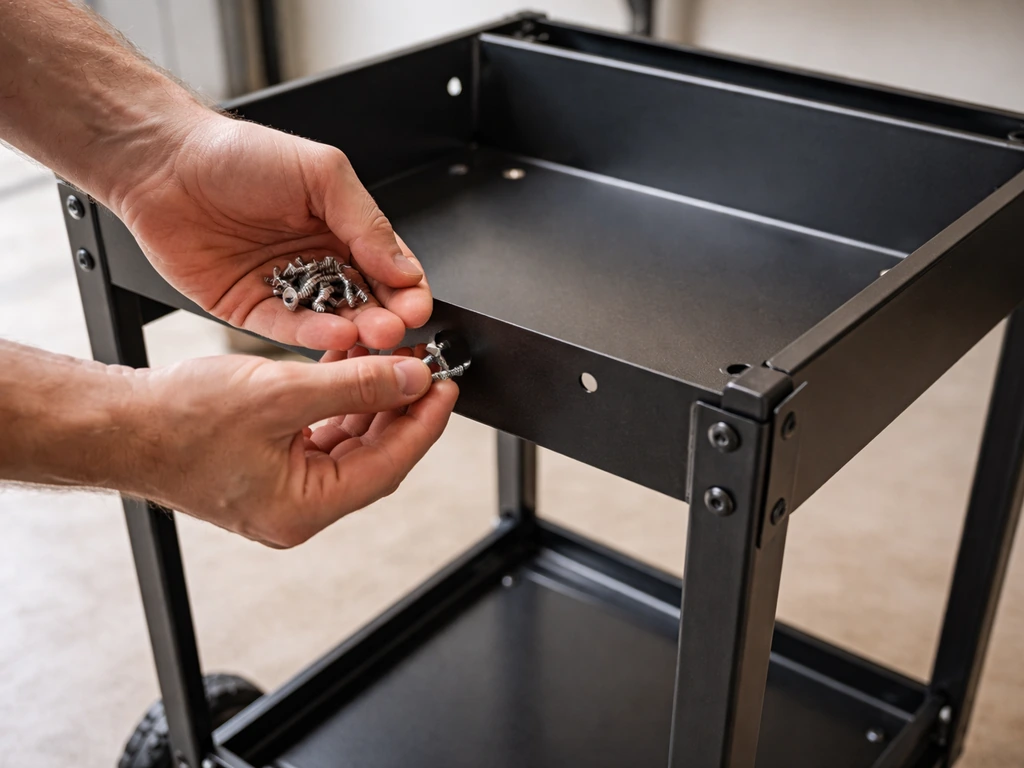
With the cart standing upright, lift the lower body/firebox base (B) onto the cart. Align the mounting holes and use the #10-24 x 3/8" screws and #10-24 nuts to secure it. This is a two-person job if you can manage it, the firebox is awkward to hold and thread fasteners into at the same time. Get all fasteners started before tightening any of them, so the body can self-align.
Step 4: Install the control panel and ignition components
Attach the control panel (L) to the firebox body. The igniter switch module (F), ignition module (CC), and electrode wire (DD) all connect in this area. Route the electrode wire carefully through any guides or clips provided and connect it to the ignition module. The fiber washers go at the electrode and battery module connection points, do not skip these because they prevent electrical shorts. Connect the ignitor electrode (EE) and make sure all connections are snug. Install the battery into the ignition module now, before the cooking components go in and access becomes harder.
Step 5: Install the burner
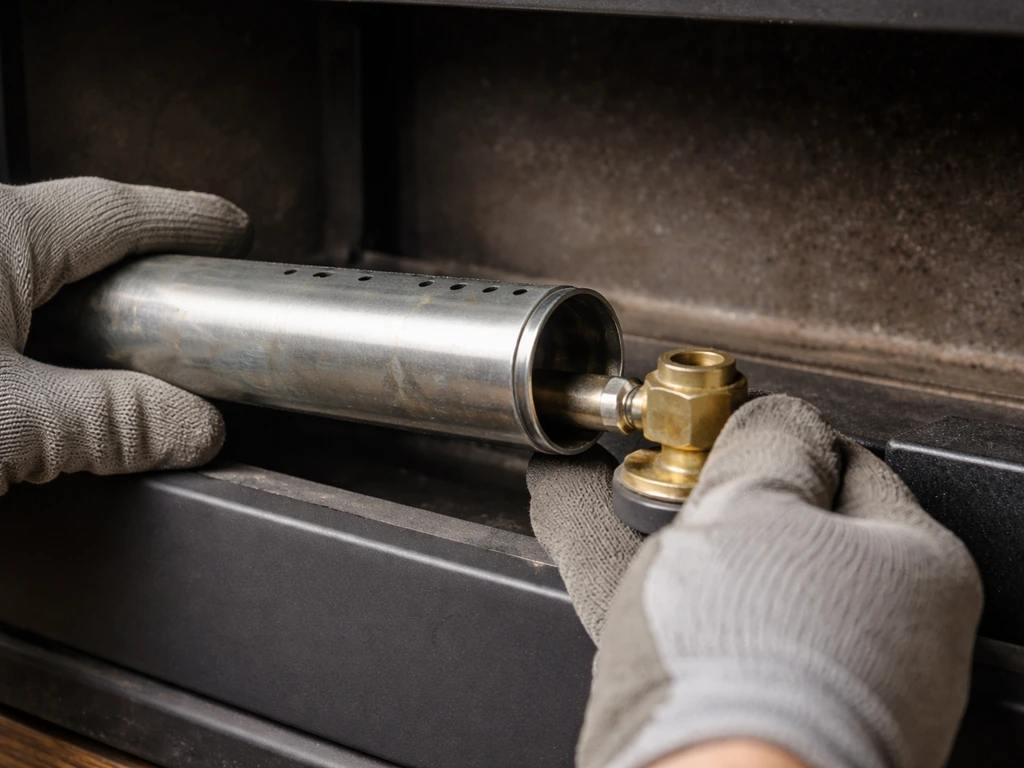
This step is the most critical one in the entire assembly. Lower the burner (D) into the firebox. The open end of the burner tube must slip over and fully engage the valve opening on the gas valve. The manual is explicit about this: the burner tube must re-engage over the valve opening. You should be able to feel it seat. If it's just resting loosely without engaging the valve, gas will leak into the firebox instead of flowing through the burner, which is a serious fire hazard. Secure the burner bracket nuts once you've confirmed the tube is properly seated.
Step 6: Set electrode position
With the burner in place, look at where the tip of the ignitor electrode (EE) sits relative to the gas port openings on the burner. The tip should point toward a gas port opening and sit between 1/8" and 1/4" away from it. If it's further away than 1/4" or touching the burner, adjust it now before everything else goes on top. This gap is what allows the spark to ignite the gas reliably. Getting it wrong here means frustrating no-ignition issues on first startup that are hard to diagnose once the grate is installed.
Step 7: Attach the lid and remaining exterior parts
Mount the grill lid (A) using the hinge hardware, making sure the hinge pins are fully seated. Press the lid bumpers (FF) into place on the firebox rim so the lid closes evenly without rattling. Attach the lid handle (K). Install the heat indicator (U) in the lid if it's not pre-installed. Attach the inner reflector (I) and wind shield (H) according to the diagram in your manual. Mount the bezel (G) around the control panel area. Install the match holder (X) and match light hole cover (GG). Attach the towel bar (J) and the control knob (M) last.
Install cooking components and grease management
With the burner and ignition set, you can now install the cooking layers in order from bottom to top. Drop in the heat tent (C) directly over the burner. The heat tent sits between the flame and the cooking grate, it distributes heat and catches drips. Make sure it's centered and lying flat. Next, set the cooking grate (W) on the grate supports inside the firebox. It should sit level without rocking. Finally, drop in the warming rack (T) above the cooking grate.
Now handle the grease system. Slide the grease tray guide (II) into position inside the lower body. This guide channels drippings toward the grease tray (Q), so if it's not seated correctly you'll get grease pooling where you don't want it. Slide the grease tray (Q) into its slot at the bottom of the firebox until it stops. The manual is clear: the grease tray must be inserted into the appliance every time you use it, and it needs to be emptied after every cook. A full, ignored grease tray is a grease fire waiting to happen.
Connecting the propane and running a leak test
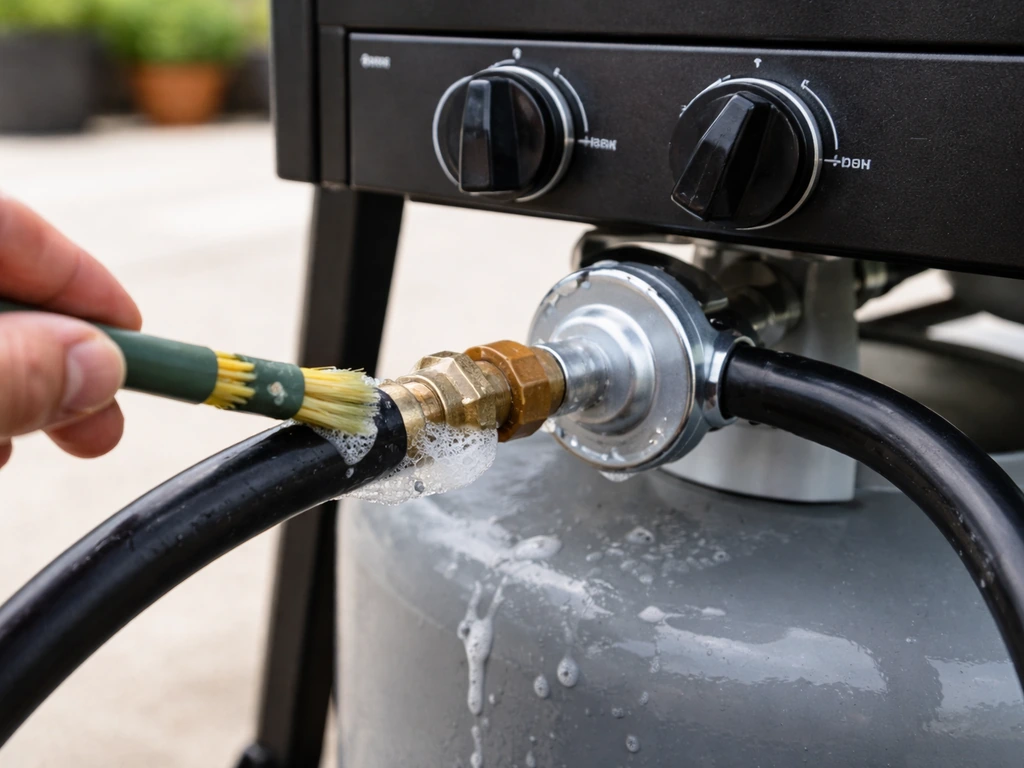
Do not skip the leak test. This is not optional. The Char-Broil Patio Bistro 240 is a single-burner propane grill, and a leak in the hose, regulator, or valve connection before you light it the first time can cause a flash fire. If you need a complete walkthrough, these Char-Broil Patio Bistro 240 assembly instructions cover each stage from the cart base through the final leak test char broil patio bistro 240 assembly instructions. Take 10 extra minutes and do this right.
Connecting the regulator
Route the hose/valve/regulator assembly (S) so it reaches your propane tank. Mount the tank using the tank retainer ring (Y) and secure it with the tank retainer bolt (E). Hold the regulator straight (not at an angle) and insert the nipple into the LP cylinder valve. Hand-tighten the coupling nut clockwise. Once hand-tight, add an additional half to three-quarters turn by hand only. Do not use a wrench on this connection. Cross-threading is the most common connection mistake and it will cause a leak that you can't fix with more tightening.
How to do the leak test
Do this outdoors, away from any ignition sources, and do not smoke during the test. Mix a 50/50 solution of mild dish soap and water in a small bowl. Do not use household cleaning agents or multi-purpose sprays, they can damage rubber components.
- Turn all grill control knobs to the OFF position.
- Confirm the regulator is fully tightened to the LP cylinder.
- Slowly open the LP cylinder valve all the way.
- Listen immediately: if you hear a rushing or hissing sound, shut the gas off right now and find the major leak before doing anything else.
- Using the clean paintbrush, apply the soapy solution to every connection point: the regulator-to-cylinder coupling, the length of the hose, and the hose-to-valve connection at the grill.
- Watch for growing bubbles. Static foam from applying the solution is normal. Bubbles that grow and expand mean gas is escaping.
- If you see growing bubbles, close the LP cylinder valve immediately and retighten the leaking connection, then repeat the test.
- If you cannot stop a leak by retightening, do not use the grill. Contact Char-Broil for replacement parts.
- If no growing bubbles appear after 30 seconds at all connection points, your connections are good.
One important habit: repeat this leak test every single time you swap or refill the propane cylinder. It only takes a few minutes and it's the difference between a safe cookout and a dangerous one.
Ignition alignment and common assembly problems
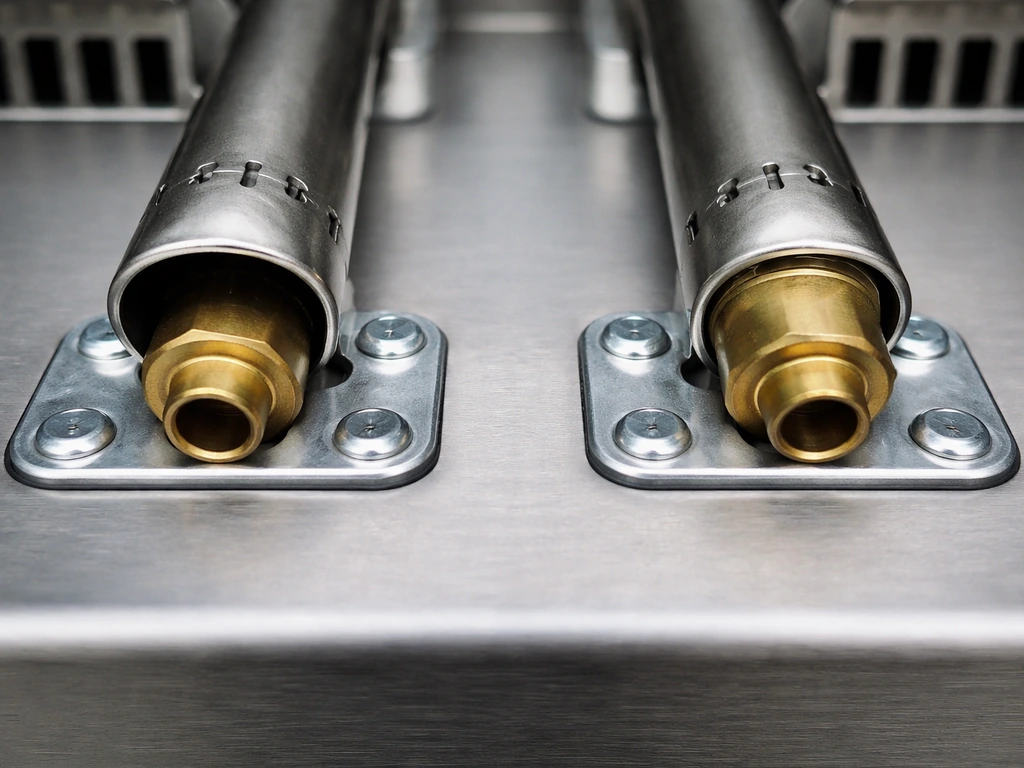
Even when assembly goes smoothly, a few specific problems come up regularly on this grill. Here's what to look for before your first startup.
Burner tube not seated over the valve
This is the most serious assembly mistake. If the burner tube isn't engaged over the valve opening, gas escapes into the firebox cavity instead of flowing through the burner ports where it can ignite safely. Symptoms include gas smell without a flame, flames appearing in strange locations outside the main cooking area, or the grill producing an abnormally large, uncontrolled flame. If you see any of these, turn everything off immediately, disconnect the propane, let the grill air out for at least 10 minutes, then lift out the cooking components and heat tent to inspect the burner tube engagement.
Electrode gap is wrong
If you press the igniter and hear clicking but get no ignition, the electrode tip is likely too far from the burner's gas port, or it's touching the burner metal and shorting out. If your Char-Broil Patio Bistro won’t ignite, confirming the electrode gap is set to the right distance is a quick troubleshooting step to try char-broil patio bistro not working. Pull the cooking grate and heat tent and re-examine the gap. It needs to be 1/8" to 1/4" from the gas port opening, pointing directly toward it. Gently bend the electrode tip to adjust. Don't force it sharply or it can crack the ceramic insulator.
Wrong hardware in the wrong place
The 1/4-20 and #10-24 fasteners look similar at a glance. If a screw won't thread in smoothly by hand, stop and check you have the right size. Forcing a wrong fastener will strip the threads in the sheet metal, and stripped threads in the firebox body are not easy to fix. When in doubt, try a different fastener from the pile before applying any force.
Lid hinge misalignment
If the lid hits one side of the firebox rim before the other, the hinge pins aren't fully seated or one side's hinge hardware is loose. Open the lid fully and check both hinge pin locations. The lid bumpers (FF) should compress evenly on both sides when closed. Loosen the hinge fasteners slightly, re-seat the lid so it closes evenly, then retighten.
Ignition wire connection issues
The electrode wire (DD) must be fully connected at both ends: at the ignition module (CC) and at the ignitor electrode (EE). A loose connection at either end gives you clicking with no spark. Check that the fiber washers are in place at the module connection and that no insulation is pinched between metal parts. Routing the wire incorrectly so it contacts the firebox body can also cause intermittent sparking or no spark.
Missing or misplaced grease tray guide
If the grease tray guide (II) isn't installed, the grease tray won't sit at the right angle to drain properly. Grease will pool and can ignite during cooking. Double-check that the guide is seated before the tray goes in.
Final inspection and your first startup
Before you light the grill for the first time, run through this checklist. It takes about five minutes and confirms everything is right. If you want the exact steps and diagrams for your patio caddie gas grill manual, follow the manual alongside this walkthrough.
- All fasteners are tightened, not just hand-snug.
- The cart does not rock or wobble on a flat surface.
- The burner tube is visibly engaged over the valve opening.
- The electrode tip is positioned 1/8" to 1/4" from a gas port on the burner.
- The electrode wire is connected at both ends with fiber washers in place.
- The heat tent is centered over the burner and lying flat.
- The cooking grate sits level on both supports.
- The grease tray guide is installed and the grease tray is inserted.
- The lid closes evenly and the bumpers contact the rim on both sides.
- The propane tank is secured in the retainer ring with the retainer bolt in place.
- The regulator is connected hand-tight plus a half to three-quarters turn.
- The leak test passed with no growing bubbles at any connection.
First-time startup procedure
Open the lid before turning on any gas. This is important: lighting a grill with the lid closed traps gas in the firebox and can cause a flash when you ignite. With the lid open, turn the control knob to the HIGH position, then immediately press the igniter button. You should hear a click and see a flame establish within one or two clicks. If it doesn't light within five clicks, turn the knob to OFF, wait at least five minutes for any accumulated gas to clear, then try again.
On the very first use, run the grill on high for about 15 to 20 minutes before cooking. This burns off any manufacturing residues, oils, and protective coatings from the interior surfaces and cooking grate. You'll likely see some smoke and smell a slight odor during this burn-in, which is normal. Let it air out and cool completely before cooking food on it. After the burn-in, wipe the cooking grate with a paper towel dampened with a little cooking oil.
If the igniter clicks repeatedly but won't light, try using a long match or lighter through the match light hole (the cover for it is part GG) while holding the knob to HIGH. If the burner lights this way but not with the igniter, the issue is in the electrode gap, electrode wire connection, or the battery in the ignition module. Check those three things in order. If the grill won't light at all even with a match, go back and confirm the burner tube is seated over the valve opening. That one missed step is responsible for most new-assembly no-light situations on this grill.
If you run into ongoing issues after assembly, the char-broil patio bistro not working troubleshooting guide covers flame, flow, and ignition failures in detail. If you run into ongoing issues after assembly, the Char-Broil Patio Bistro 240 manual can help you confirm part placement at any stage. And if you want to reference the original documentation directly, the Char-Broil Patio Bistro 240 manual has the official diagrams that can help you confirm part placement at any stage.
FAQ
What should I do if a screw or nut does not thread in smoothly while assembling my Patio Bistro 240?
Yes. If any fastener feels like it is catching, stop and verify the screw size before tightening. Sheet metal threads strip quickly on thin grill bodies, and once stripped you may need replacement hardware or a different approach to secure the joint safely.
When is the best time to check and adjust the ignitor electrode gap during assembly?
Use the electrode gap check before installing the grate and heat tent. After those parts are in place, access is limited, and bending the electrode tip without removing components can make it easy to misalign the gap or damage the ceramic insulator.
Can I assemble the grill on a garage floor rug or soft mat to protect the finish?
Do not assemble on carpet or an uneven surface, and also avoid setting the grill on soft padding that can shift the cart during firebox mounting. The firebox placement depends on alignment from the legs and base, so movement while the firebox is being attached can cause hinge and burner alignment issues later.
My grill smells like gas but will not light, what is the safest next step during first-time testing?
If you smell gas or notice symptoms like gas odor with no flame, or flames that appear in abnormal areas, do not keep testing the igniter. Turn the control to OFF, disconnect the propane, and let the grill air out before you open up and inspect burner tube engagement and hose connections.
Why does the order of installing the battery into the ignition module matter?
Verify the ignition module battery is installed before installing cooking layers. Once the heat tent and grate are on, you lose access to the module area, and you may have to partially disassemble components to correct a dead or missing battery.
If the leak test shows bubbles at the propane cylinder connection, can I tighten the coupling with a wrench?
Yes, the hose and regulator connection should be hand-tightened only at the cylinder coupling. After a correct hand-tight connection, you still must perform the soap-and-water leak test and never “fix” a leak by using a wrench on the coupling nut.
Where exactly should I apply the soap-and-water leak test so I do not miss a small leak?
Look for bubbles at every connection you tested, not only at the cylinder coupling. Pay attention to the hose/regulator area and where the hose connects to the valve, and re-test after any change, since leaks can reappear if a connection is disturbed.
Should I clean off soap residue after the leak test before lighting the grill?
After a leak test, wipe off any soap residue and let components fully dry before attempting ignition. Soap residue left in place can attract grime and make it harder to confirm whether a future check is truly clean.
Do I need to leak test again each time I change my propane tank?
Do a full leak test every time you swap or refill the propane cylinder, even if the prior test passed. Regulators and valves can seal slightly differently after cylinder changes, and a few minutes of testing is far safer than repeated ignition attempts.
How can I tell whether my lid is misaligned due to hinge pin seating versus lid bumper placement?
If the lid does not close evenly, check both hinge sides for fully seated hinge pins and confirm lid bumpers compress evenly. Misalignment can also indicate hardware is loose on one side, which can lead to rattling and uneven closure during cooking.
What causes grease to pool instead of draining properly on this grill?
If grease drips or collects where you do not expect, confirm the grease tray guide is seated and the grease tray is fully inserted into its slot. A tray that is only partially seated can change the drain angle and lead to pooling, which increases smoke and fire risk.
If I suspect the burner tube is not seated correctly, should I keep assembling or stop and re-check it?
Do not try to adjust the burner tube engagement once you have tightened everything without first checking seating. The burner tube must be correctly engaged over the valve opening, if it is not seated you can get gas leaks into the firebox and unsafe ignition behavior.
What is the most efficient troubleshooting order if the igniter clicks but the burner will not light?
No, if ignition is not working after correct assembly steps, start with the simplest checks in order: electrode gap distance, electrode wire connections at both ends, then battery condition. After that, re-confirm burner tube engagement since a missed seating step can produce no-light even when the igniter clicks.
How long should I run the grill on HIGH for the first burn-in, and what smoke level is normal?
During the first burn-in, keep the control on HIGH for about 15 to 20 minutes, then allow the grill to cool completely and ventilate afterward. If you see heavy smoke that does not taper, stop, let it cool, and check for grease residue or improper grease tray placement.