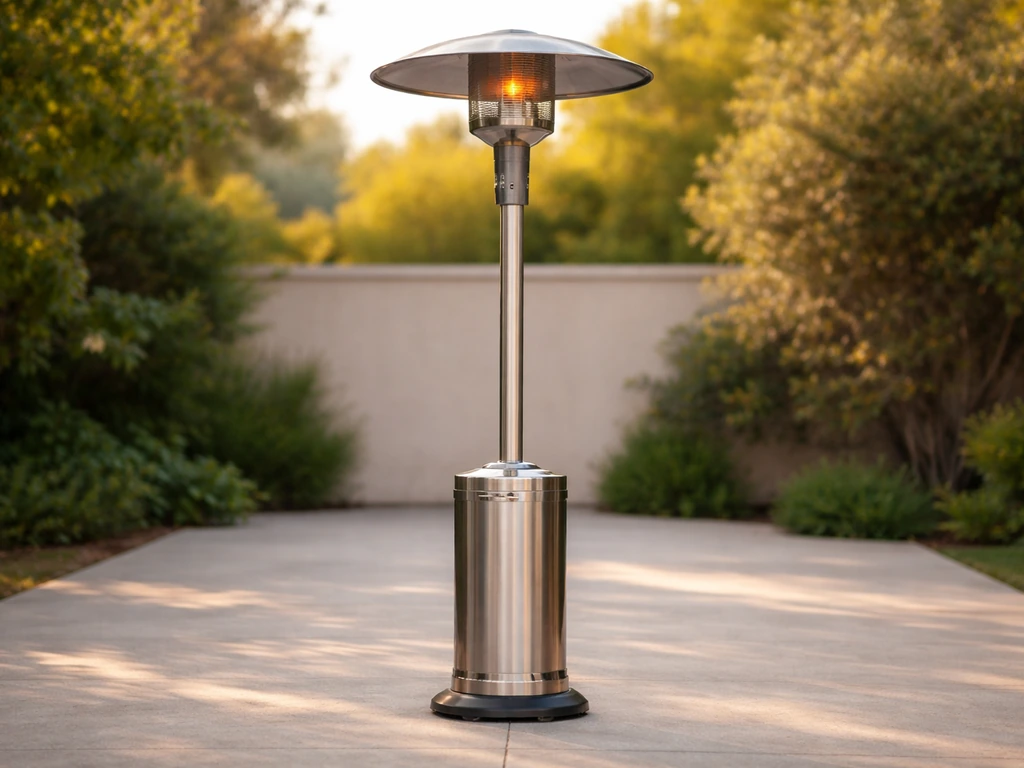
To get your HeatMaxx patio heater running safely, start by finding your exact model number on the label (usually on the base or pole), then pull up the matching manual online. The three most common models are the SRPH33A, SRPH33A-645F (both directional propane heaters), and the SRPT03 tabletop propane unit. If you also have a Thermacell patio shield, you can turn it on after the heater is set up safely by following the shield's control steps in its instructions how to turn on thermacell patio shield. Each has its own parts list, assembly sequence, and troubleshooting guidance, so using the right manual matters. Once you have it, assembly takes about 30 minutes, the safety check adds another 10, and most ignition problems people hit right after setup have straightforward fixes you can handle yourself. For Thermacell patio shield instructions, follow the setup and safety steps in your specific Thermacell manual based on the model you have.
HeatMaxx Patio Heater Instructions: Setup, Ignition, Fixes

Find your HeatMaxx model and the right manual
Before you touch a single bolt, confirm which HeatMaxx model you have. Flip the heater base over or check the sticker on the pole. You're looking for a model number like SRPH33A, SRPH33A-645F, or SRPT03. These are not interchangeable names for the same product. The SRPH33A and SRPH33A-645F are both standing directional propane heaters, but their manuals differ in specific hardware callouts and assembly diagrams. The SRPT03 is a compact tabletop unit with a completely different parts layout.
Once you have the model number, search for it directly. The SRPH33A manual is available as a PDF through True Value's hosting (search 'SRPH33A Instruction manual PDF'). The HeatMaxx SRPH33A instruction manual PDF is hosted by True Value and is specific to the “SRPH33A” model identifier. The SRPH33A-645F has a detailed HTML manual on Manuals Plus. The SRPT03 owner's manual is indexed on ManualsLib. All three are free to access. If you lost the paper manual that came in the box, this is how you get it back. Don't try to wing assembly from memory or a generic patio heater guide since the bolt sizes, assembly order, and safety steps are model-specific.
| Model | Type | Where to find the manual |
|---|---|---|
| SRPH33A | Standing directional propane | True Value / Sirv PDF host |
| SRPH33A-645F | Standing directional propane | Manuals Plus (manuals.plus) |
| SRPT03 | Tabletop propane | ManualsLib |
Unboxing and parts checklist
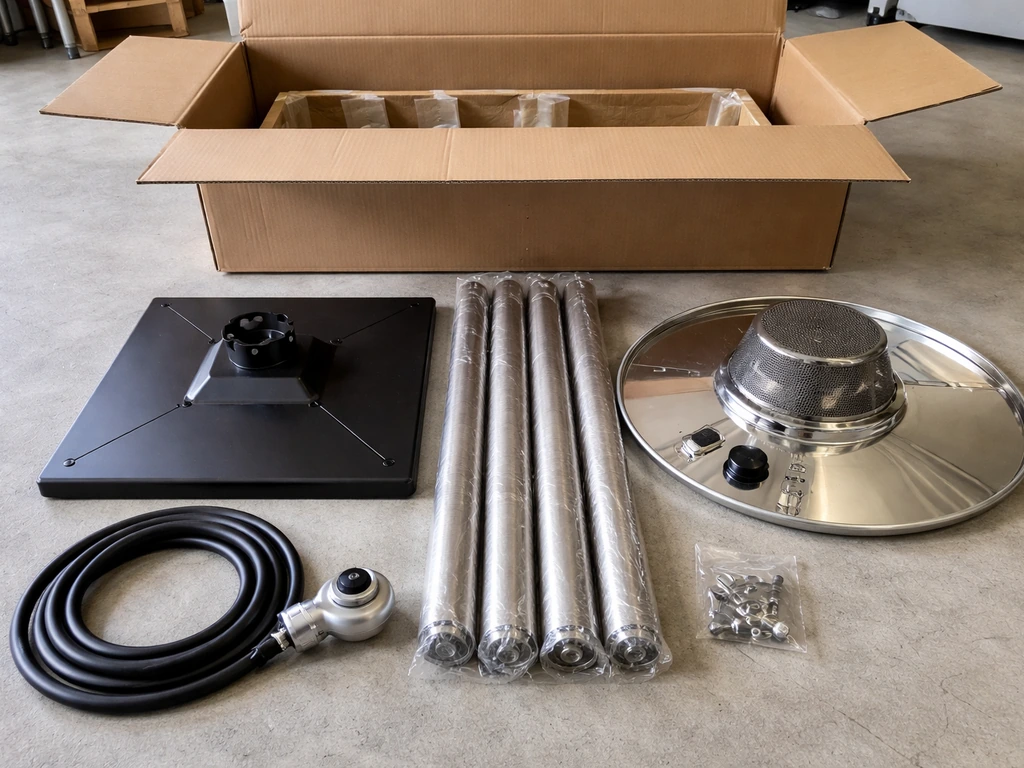
Every HeatMaxx manual includes an exploded view diagram and a parts and hardware list near the front. Open the box, lay everything out on a flat surface, and check it against that list before you start assembling anything. This is not busywork. Missing a small bolt or the regulator hose now means tearing the heater back down later, which is genuinely annoying and occasionally strips threads.
For the SRPH33A and SRPH33A-645F directional models, you'll typically find the base assembly, pole sections, the head assembly with burner and emitter, a hose and regulator, reflector dome, emitter screen, and a hardware bag containing various bolts. The SRPT03 has a similar layout scaled for a tabletop footprint, with the reflector dome attaching to the emitter screen using three M6 x 10 bolts as one of its early assembly steps. For the SRPT03, the owner’s manual shows this early assembly step, attaching the reflector dome to the emitter screen with three M6 x 10 bolts reflector dome attaching to the emitter screen using three M6 x 10 bolts. Count your hardware bag contents against the parts list in your specific manual. If anything is missing, contact the retailer before assembly since getting a replacement bolt from HeatMaxx is much easier than explaining the problem after you've assembled and partially used the unit.
- Base and base cover (standing models)
- Pole sections (typically 2 to 3 pieces for standing directional models)
- Head assembly with burner and emitter grid
- Reflector dome
- Emitter screen
- Hose and regulator assembly
- Hardware bag: check your manual's parts list for exact bolt sizes and counts
- Igniter battery (some models require a AA or AAA battery installed separately)
- Control knob and panel
Step-by-step assembly instructions
Budget about 30 minutes for assembly on the SRPH33A-645F and similar standing models. You'll need basic hand tools: typically a Phillips screwdriver and a wrench or pliers. Do not overtighten hardware since the sheet metal components can deform, which causes alignment issues with the emitter and dome.
- Assemble the base first and secure it to the lowest pole section according to your manual's diagram. On standing models, the base needs to be fully locked before you build upward.
- Attach pole sections in order, threading each into the next. Tighten connections firmly but without forcing them. Misaligned pole threads are a common pitfall here: if it feels like you're forcing it, stop and realign.
- Route the hose and regulator down through the pole before you attach the head assembly. This is the most commonly skipped step. If you attach the head first, you cannot thread the hose correctly.
- Attach the head assembly to the top of the pole and secure with the hardware specified in your manual.
- Install the emitter screen and reflector dome. On the SRPT03, for example, the reflector dome attaches to the emitter screen using three M6 x 10 bolts. Your standing model manual will show the equivalent step with its specific hardware.
- Install the igniter battery if your model requires one (check the 'Igniter Battery Installation' section in your manual). The SRPH33C-546S manual calls this out as a dedicated step. Some models use a piezo igniter that doesn't need a battery, so confirm this in your specific manual.
- Connect the regulator to the hose and set it aside without connecting to the propane cylinder yet. You'll do that after the safety check.
The most common assembly mistake on HeatMaxx standing models is attaching the head assembly before routing the hose through the pole. The second most common is skipping the exploded view and assembling pole sections in the wrong order, which puts connection points in the wrong position relative to the base. Keep your manual's diagram open while you work.
Safety checks before first use
Do not connect the propane cylinder until you've done these checks. This section is not optional. Every HeatMaxx manual has a dedicated safety check section for a reason, and skipping it is how people end up with gas leaks they don't notice until there's a problem.
Hose and regulator inspection
On the SRPH33A-645F, the manual tells you to unscrew the M6 x 14 screw from the pole and pull out the head assembly, hose, and regulator to visually inspect the hose for cracks or worn sections before every season. If you see cracking, fraying, or any damage at all, replace the hose and regulator before connecting any gas. This is a hard stop. Don't tape it, don't wrap it, don't try it and see. Replace it.
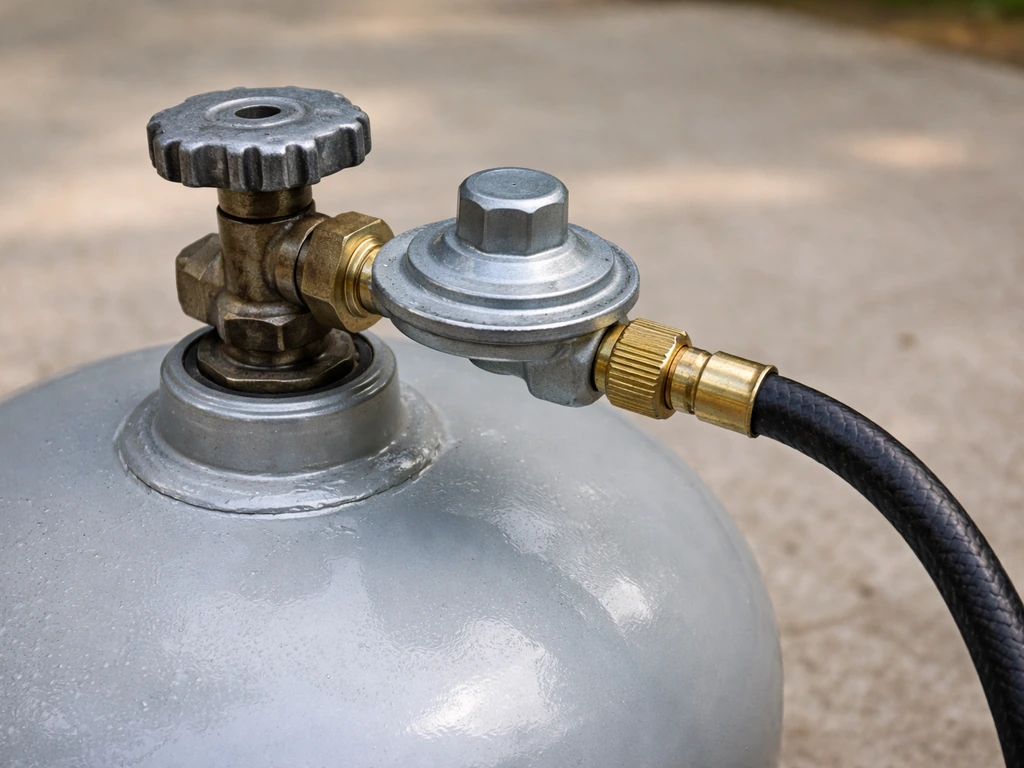
Leak test
Once the hose is confirmed undamaged, connect the regulator to a propane cylinder and do a leak test before you attempt to light the heater. The SRPH33A-645F manual specifies the exact solution: 1 part liquid dish soap mixed with 3 parts water. Apply this mix to every connection point, including the hose-to-regulator connection, the automatic valve connection, and the injector connection. Then slowly open the propane cylinder valve. Watch every connection point for bubbles. Bubbles mean a gas leak. If you see any, close the cylinder valve immediately, tighten or reconnect the fitting, and retest. If bubbles persist after tightening, shut everything off and contact HeatMaxx customer service. Do not attempt to light the heater with a known leak.
Placement, clearances, and ventilation
Place the heater on level, firm ground before lighting. This matters because these heaters have a tilt switch that shuts off gas flow if the unit tips, and an unlevel surface increases tip risk significantly. The manual requires adequate fresh-air ventilation and specifically warns against operating in enclosed spaces, near explosive atmospheres, or in areas where flammable liquids or vapors are stored. Outdoors on a patio is the intended environment, not a garage or enclosed porch. If you're working on an egg-style patio diffuser, follow the diffuser-specific instructions alongside your HeatMaxx manual patio egg diffuser instructions. Keep the heater away from overhead structures, awnings, and low-hanging tree branches.
Starting, lighting, and operating your HeatMaxx heater
With the leak test passed and the heater placed correctly, you're ready to light. The process is the same for the SRPH33A and SRPH33A-645F. Work through these steps in order and don't rush them.
- Open the propane cylinder valve fully by turning it counterclockwise.
- Turn the control knob to the PILOT or LOW position (check your manual for the exact label).
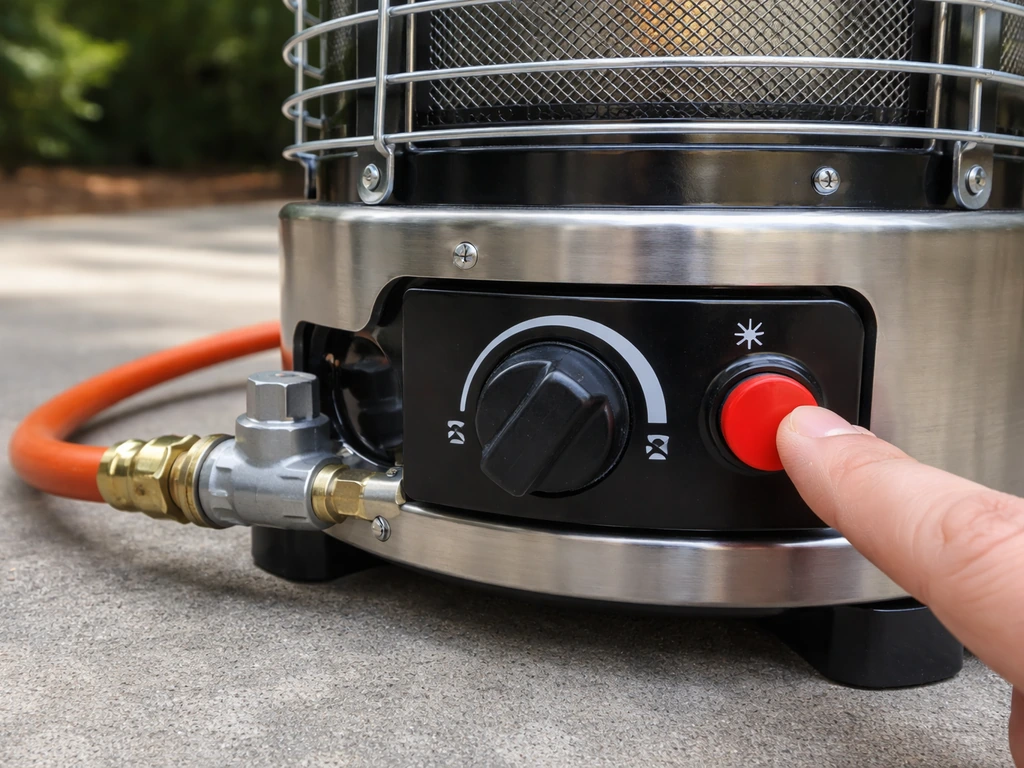
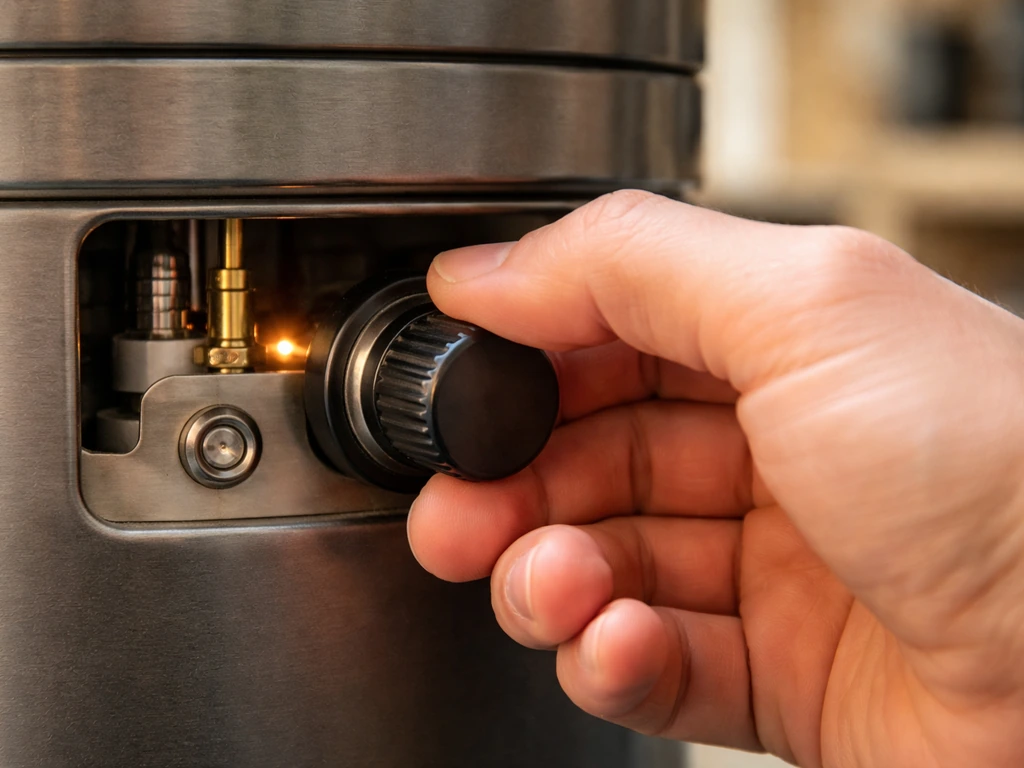
- Press the control knob in and hold it depressed. This opens the gas valve to the pilot.
- While holding the knob in, press the igniter button to spark the pilot. You should hear a click and see ignition.
- Keep the control knob fully depressed for at least 30 seconds after the flame lights. This is critical. The thermocouple needs to heat up before it will hold the gas valve open on its own. Releasing early is the number one reason heaters won't stay lit right after assembly.
- After 30 seconds, slowly release the knob. If the flame stays lit, turn the knob to your desired heat setting.
- If the flame goes out when you release, wait 5 minutes before trying again. This lets gas dissipate and lets the thermocouple cool back to baseline.
During operation, watch the flame behavior. The manual is clear: if flames extend beyond the surface of the emitter grid, if you notice flame lift or light-back, or if a black spot is accumulating on the emitter grid or reflector dome, turn the heater off immediately. These are signs of a combustion problem that needs to be diagnosed before you run the heater again.
After you're done using the heater, turn the control knob to OFF and close the propane cylinder valve. Then leave the heater alone for at least 45 minutes before touching or moving it. The emitter and dome stay extremely hot long after the flame is out.
What to do when it won't ignite or won't stay lit
This is the section most people actually need after assembly. The vast majority of post-assembly ignition failures on HeatMaxx heaters come down to one of four things: the thermocouple not heating long enough, low gas pressure, a leak somewhere in the system, or a faulty piezo igniter. Work through the diagnostics in this order.
Won't stay lit after ignition
If the heater lights but goes out when you release the control knob, you almost certainly released too early. The thermocouple in HeatMaxx directional heaters needs a full 30 seconds of heat before it generates enough voltage to hold the safety valve open. Hold the knob in for the full 30 seconds, even if it feels like a long time. If it still won't stay lit after a proper 30-second hold, turn the knob to OFF, wait 5 minutes, and try again from the beginning.
Igniter clicks but won't light
If the piezo igniter clicks but you can't get a flame within about 1 minute of trying, stop, turn the knob to OFF, and wait 5 full minutes before trying again. This is the manual's explicit protocol, and it exists because unburned propane can accumulate around the burner assembly. If you smell gas at any point, back away from the heater and wait the full 5 minutes with the cylinder valve closed before doing anything else. If the gas smell persists even with the cylinder valve closed, keep away from the area and call your gas supplier or fire department.
If the igniter clicks but consistently fails to produce a spark visible at the burner, the fallback lighting method is a long-stem lighter. Turn the knob to LOW, hold it depressed, insert a long-stem lighter into the ignition hole on the emitter screen, and light manually. Once the flame catches, keep holding the knob in for the full 30 seconds before releasing. This method confirms whether your problem is the igniter itself (a cheap part, easily replaced) or something further upstream like gas flow.
Flame is very small or weak
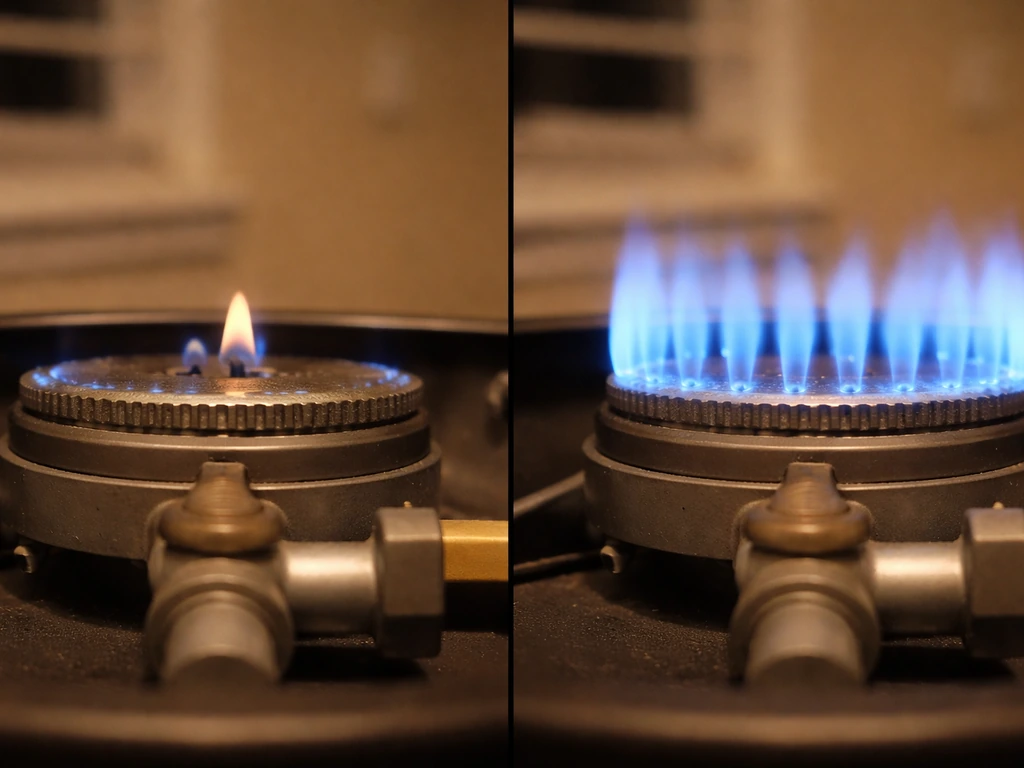
A very small, weak flame almost always means insufficient gas pressure. Check the propane cylinder: if it's low, refill it or swap it for a full one. This is by far the most common cause of a weak flame on a heater that was working fine before. The SRPH33A-645F manual calls this out directly as an 'operation pressure' issue.
Tilt switch shutting off the heater
If the heater lights and then shuts off a few seconds later without you touching anything, check that the unit is sitting perfectly level. The tilt switch is a safety device that kills gas flow if the heater leans past a certain angle. Even a slightly unlevel surface or a base that isn't fully assembled can trigger it. Recheck your base assembly and placement surface before assuming the tilt switch itself is faulty.
Still not working after all of the above
If you've confirmed gas pressure, done the leak test, attempted both the piezo and manual ignition methods, held the knob for 30+ seconds, and the heater still won't stay lit, the thermocouple is the most likely culprit. Thermocouple replacement is a manageable DIY job on most patio heaters, including HeatMaxx models, but it does require disassembling the head unit. If you're not comfortable with that, or if any part of the gas system looks damaged or corroded, this is the point to contact HeatMaxx customer service rather than push further.
Keeping it working: maintenance, cleaning, and storage
Every HeatMaxx manual includes a maintenance and storage section that's worth reading once a season, not just when something goes wrong. The checks are straightforward and catching a problem early almost always means a cheaper, easier fix.
Annual inspection checklist
- Pull the head assembly and hose from the pole and visually inspect the entire hose length for cracks, wear, or brittleness. Replace the hose and regulator as a set if you find any damage.
- Remove the observation window panel (two bolts on the SRPH33A-645F) and do a full leak test on all gas connections using the dish soap solution before the first use of each season.
- Check the emitter grid and reflector dome for black soot buildup. Soot means incomplete combustion, which means something in the gas delivery or burner needs attention.
- Check all pole connection bolts for tightness. Vibration and temperature cycling can loosen them over a season.
- Inspect the igniter wire and electrode for corrosion or positioning issues if you had spark problems.
- Check the tilt switch actuator (visible when the base panel is removed) for any debris or binding.
Cleaning
Wipe down the reflector dome and emitter screen with a damp cloth when the heater is fully cool. Do not use abrasive cleaners or steel wool on the dome since they'll scratch the reflective surface and reduce heat output. The burner ports can be cleared with a soft brush if you notice uneven flame patterns. Never use water directly on the burner assembly or any gas components.
Storage
Before storing for the off-season, close the propane cylinder valve and disconnect the regulator. Store the propane cylinder outside in a well-ventilated area, never inside a garage or shed. Cover the heater with a fitted patio heater cover to keep moisture and insects out of the burner assembly. Spiders nesting in the venturi tube are a surprisingly common cause of ignition problems the following spring, so a cover that seals the top of the unit is worth the few dollars it costs.
If you're also working with other brands, the assembly and troubleshooting logic for HeatMaxx heaters maps fairly closely to other propane standing heaters like the Gardenline and Costco models, though the hardware sizes and specific knob sequences differ. The same 30-second thermocouple hold rule and the leak-test-before-use discipline apply across most propane patio heater designs.
FAQ
How can I tell whether my HeatMaxx ignition problem is a spark issue or a gas-flow issue?
If your heater is the SRPH33A or SRPH33A-645F, you can usually confirm a weak spark versus no spark by watching for a visible spark at the burner after you attempt ignition. If you cannot see any spark, use the long-stem lighter fallback exactly as described (LOW, hold knob, light through the ignition hole) to determine whether the issue is the piezo igniter or the gas flow upstream.
What should I do if the soap-water leak test shows bubbles at a connection?
Do not add oil, tape, or sealant to any connection to stop bubbles during the soap-water leak test. If bubbles appear, close the cylinder valve, tighten or reseat the fitting, and retest. If bubbles persist after tightening, stop and contact customer service rather than trying to “patch” the leak.
I smell gas while trying to light the heater, what is the correct next step?
If you smell gas at any point, back away and wait with the cylinder valve closed for the full 5 minutes before attempting anything else. If the odor continues even with the valve closed, keep away and contact your gas supplier or local emergency services instead of troubleshooting.
How long should I wait before I move or inspect the heater after turning it off?
After the heater is OFF, leave it untouched for at least 45 minutes before moving or disassembling, since the emitter and reflector remain hot long after shutdown. In practice, if you need to inspect the system, wait until it is fully cool before attempting any hose, regulator, or head-unit checks.
Why does my HeatMaxx light briefly then go out when I release the knob?
Thermocouple hold time matters most when the heater first lights. Hold the control knob in for the full 30 seconds even if it seems stable early, because releasing early is a common reason the heater goes out right away.
My HeatMaxx shuts off after a few seconds, could it be the tilt switch?
A tilt-switch shutdown is often caused by placement or base assembly, not the tilt switch itself. Ensure the heater is on firm, level ground, recheck that the base is fully assembled, and confirm the unit is not sitting on sloped pavers or a partially assembled pole section.
Can I use a Thermacell patio shield with my HeatMaxx immediately after setup?
Yes, but only if you use the exact Thermacell patio shield model instructions, since control steps and sequencing can differ. As a safe rule, do not activate the shield until the heater has passed the safety checks and is already set up correctly.
What does it mean if the flame looks wrong or black spots show up on the emitter grid or dome?
If you run the heater with visible abnormal flame behavior, like flame extending beyond the emitter grid or black spots increasing on the grid or dome, turn the heater off immediately. Continuing to operate can worsen combustion issues, so diagnose before relighting.
Why do I have to wait 5 minutes after a failed ignition attempt?
If your manual ignition attempts fail, remember the waiting intervals are part of the safety procedure. Stop and turn to OFF, wait 5 full minutes before trying again (especially after repeated piezo attempts) to avoid accumulated unburned propane around the burner area.
What is the safest way to clean the HeatMaxx reflector dome and burner area?
Do not clean the reflector dome or emitter screen with abrasives or steel wool, since scratches reduce reflective performance. Use a damp cloth on cool surfaces, and only use a soft brush to clear burner ports if you see uneven flame patterns.
How should I store my HeatMaxx patio heater for the winter to prevent next-season ignition issues?
Before off-season storage, disconnect the regulator and close the cylinder valve, then store the cylinder outdoors in a well-ventilated area. Use a fitted cover that seals the top to reduce spider and debris buildup in the burner venturi tube, which commonly causes spring ignition problems.
At what point should I stop troubleshooting and consider replacing the thermocouple?
If your HeatMaxx won’t stay lit and you have already done the leak test, used both piezo and long-stem ignition, and confirmed you held the knob for 30 seconds, the thermocouple is the most likely cause. Plan for head-unit disassembly for replacement, and if you are not comfortable or you see damaged or corroded gas components, contact customer service.