Most tabletop patio heaters stop working for one of five reasons: dead igniter batteries, a tripped tilt switch, a thermocouple that hasn't warmed up enough, a regulator in flow-lock, or an empty or under-pressured propane tank. Work through those five things first and you'll fix the problem in under 15 minutes the majority of the time.
Tabletop Patio Heater Not Working: Troubleshooting Guide

Grant Mercer
10 Jun 2026
Safety checks before you touch anything
Gas appliances earn extra respect. Before you start poking around, run through this short list every single time, even if you've done it before. Mr. Heater manuals also stress shutting off gas to the unit and waiting for gas to clear, fully ventilating the area, and stopping operation if a gas leak is suspected shut off gas to the unit and wait for gas to clear.
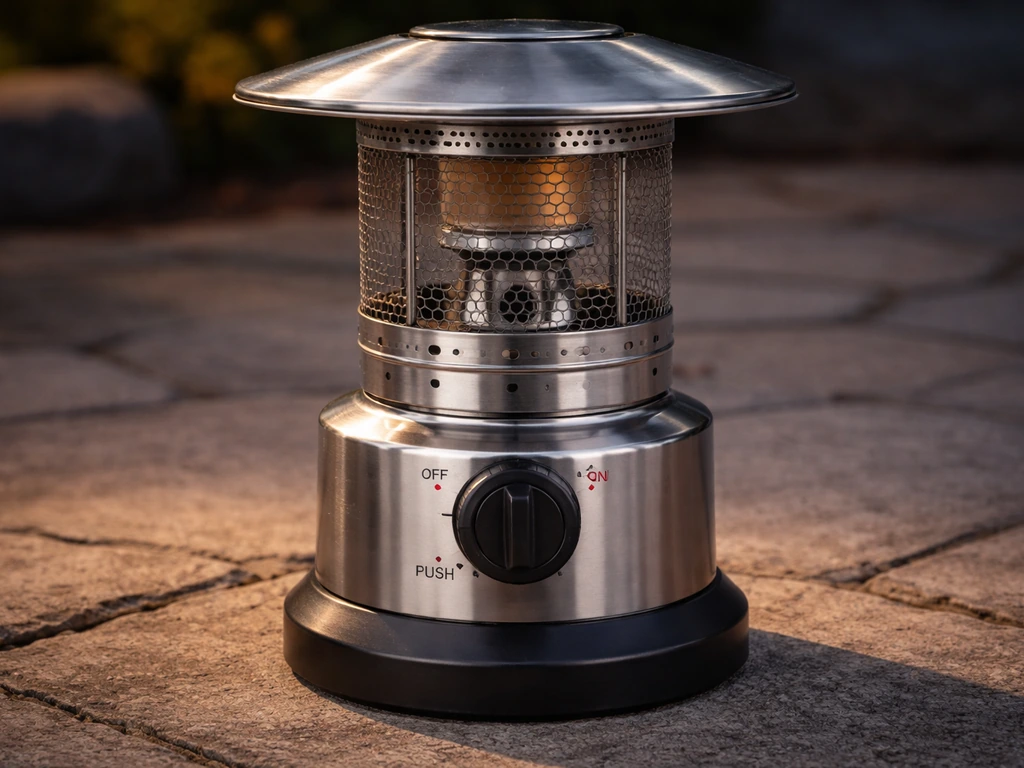
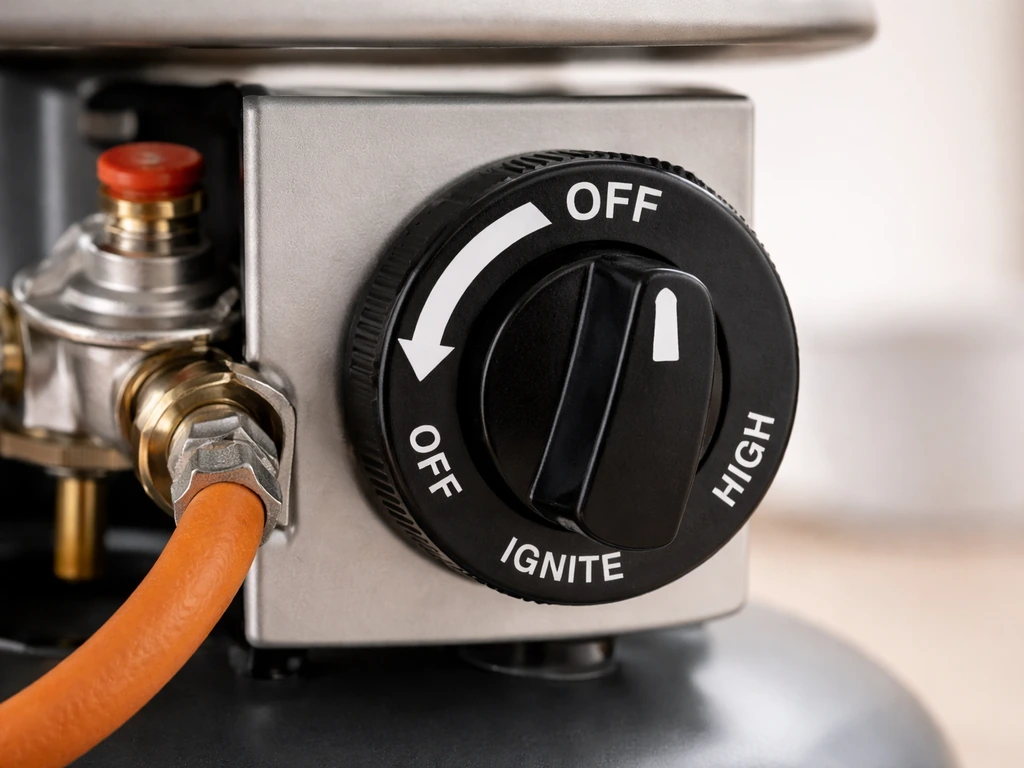
- Turn the control knob fully to OFF and confirm it clicks into position.
- Sniff around the burner, regulator, and hose connections. If you smell gas, stop. Don't try to light anything. Shut the tank valve off, move the heater outside if it isn't already, and ventilate the area for at least 5 minutes before doing anything else.
- Check that the tank, hose, and regulator are all at room temperature and not frosted over before testing connections.
- Never use an open flame to check for gas leaks. A 50/50 mix of dish soap and water applied to connections is the right tool.
- Keep a fire extinguisher rated for gas fires within reach when you're doing any work involving the fuel supply.
- After any work on gas connections, always perform a leak test before relighting.
One specific warning worth calling out: don't push the safety shut-off valve plunger in before you have a lit match or working igniter ready. Multiple manufacturer manuals flag this explicitly because doing it with nothing lit just floods the combustion area with unburned gas.
Figure out exactly what type of heater you have and what 'not working' means
Tabletop patio heaters are almost always propane-fueled and use either an electronic piezo igniter or a manual standing pilot. A handful of newer models run on natural gas via a fixed line, but for portable tabletop units, assume propane until your manual says otherwise. Electric tabletop patio heaters are a completely different animal with their own failure modes, so if yours has a power cord instead of a gas hose, the diagnosis path is different entirely.
Before diving into fixes, get specific about the symptom. 'Not working' can mean several very different things, and each one points to a different part of the heater.
| Symptom | Most likely cause area |
|---|---|
| Nothing happens at all when you turn the knob | Igniter battery, electrode, or tilt switch |
| You hear clicking but no flame appears | Gas supply, regulator lock, or empty tank |
| Flame lights but goes out within 30 to 90 seconds | Thermocouple not warmed, or thermocouple failure |
| Heater runs then shuts off after a few minutes | Tilt switch tripped, overheat cutoff, or OPD valve |
| Flame is weak, yellow, or lazy | Clogged orifice, low tank pressure, or air/gas mix problem |
| Pilot lights but main burner won't open | Safety valve, thermocouple not generating enough millivolts |
Common causes matched to each symptom
No spark or ignition at all

If you press the igniter button and hear nothing, or just a dull click with no visible spark, the battery in the igniter module is almost always dead. If your hampton bay patio heater igniter not working, start by checking the igniter battery before moving on to the electrode gap or wiring. Most tabletop heaters use a single AA or AAA battery tucked under a small cover near the control knob. Replace it and test again before doing anything else. If there's still no spark after a fresh battery, the issue moves to the electrode gap or the igniter wire.
Clicking with no ignition
A strong spark but no flame usually means gas isn't reaching the burner. The most common culprit is a regulator that's gone into flow-lock mode, which happens when the tank valve is opened too quickly or when the heater was previously lit and then the tank valve was shut off while the control knob was still open. To reset it: turn everything off, disconnect the regulator from the tank, wait 30 seconds, reconnect it, then open the tank valve slowly (about a quarter turn per second).
Lights then shuts off in under 90 seconds
This is almost always the thermocouple. The thermocouple is a safety device that has to heat up and generate a small electrical signal (around 15 to 30 millivolts on most units) before it tells the safety valve to stay open. The fix here isn't a replacement, at least not yet: hold the control knob depressed in the PILOT position for a full 30 to 45 seconds after the pilot lights. Don't rush it. If you release the knob too soon, the thermocouple hasn't reached temperature and the valve closes. If it still won't stay lit after holding it long enough, the thermocouple itself may be failed or misaligned.
Runs for a few minutes then shuts off
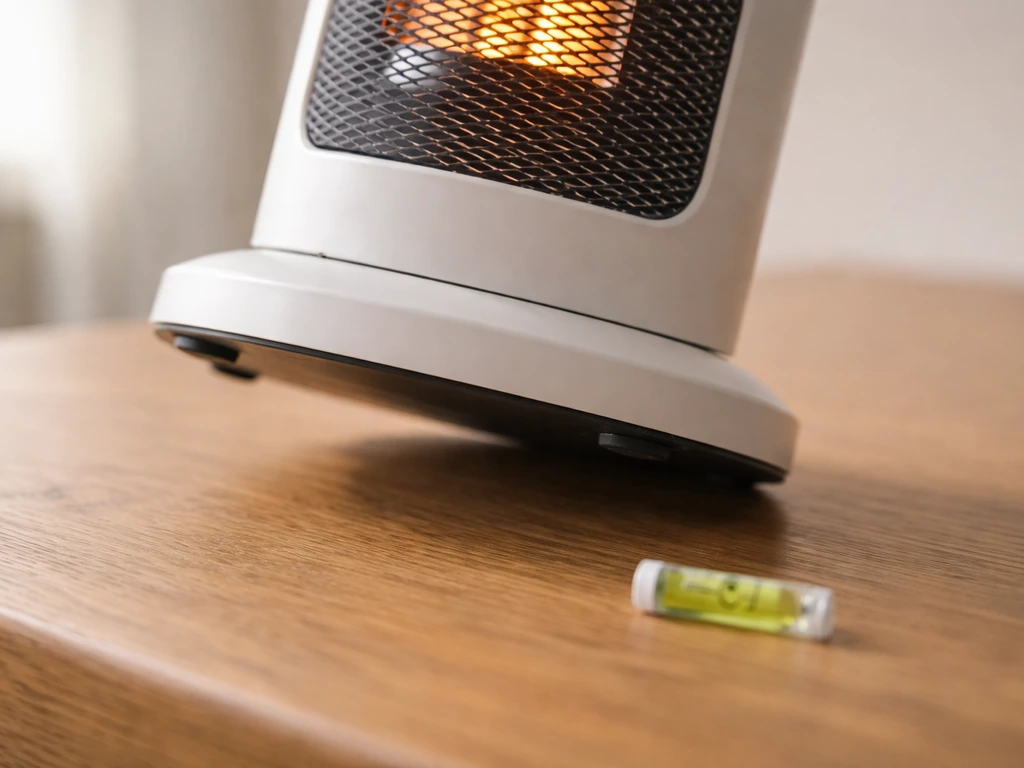
A heater that runs for 5 to 20 minutes then cuts out points to a tilt switch, an overheat shutoff, or an OPD (overfill protection device) on the tank. A wobbly table surface or uneven placement is often all it takes to trip the tilt switch. The overheat cutoff triggers when airflow around the combustion head is restricted. If the unit won't relight immediately after shutting off, let it cool for 10 to 15 minutes first.
Weak, yellow, or uneven flame
A healthy tabletop heater flame should be blue at the base with a consistent output across the burner ring. Yellow, lazy, or patchy flames point to a clogged burner orifice or restricted gas ports. A nearly empty tank can also cause this since propane pressure drops significantly in cold weather or when the tank is below about 20 percent full.
Fixing the ignition system
Battery and igniter module
Locate the igniter battery compartment (usually on the side of the control panel or underneath it) and swap the battery for a fresh one. Even batteries that test at partial voltage can fail to produce a strong enough spark. After replacement, press the igniter button in a darkened area and look for a crisp blue-white spark at the electrode tip near the pilot or burner.
Electrode gap and positioning
The electrode is the small metal rod that produces the spark near the pilot tube or burner orifice. The gap between the electrode tip and the ground point should be between 3 and 5 millimeters on most tabletop units. If it's been bent out of position by cleaning, transport, or a fall, you can carefully bend it back using needle-nose pliers. Make sure the tip is clean and free of carbon buildup. Use fine sandpaper or an emery cloth to scrub the tip if it's coated with black residue.
Igniter wire and connections
Trace the igniter wire from the push-button module to the electrode. Look for cracks in the insulation, a loose push-on connector at the electrode end, or corrosion on the connector contacts. A corroded or disconnected wire is a surprisingly common failure on heaters stored outdoors or in humid conditions. Clean connector contacts with a cotton swab dipped in rubbing alcohol, reseat the connector firmly, and test again.
Gas supply, regulator, thermocouple, and valve problems
Start with the tank and gas supply
Check the obvious first: is there actually gas in the tank? A standard 1-pound camping cylinder feels meaningfully heavier when full (about 1.4 lbs total) versus empty (about 0.4 lbs). For larger tabletop units connected to a 20-pound exchange tank, look for the float gauge on top. Also confirm the tank valve is fully open. Once you’ve confirmed the gas supply and tank pressure, you can move on to the most common fixes for an outdoor propane patio heater that won’t ignite, shuts off, or has a weak flame tank valve is fully open. Partially open tank valves can restrict flow enough to cause weak flames or intermittent ignition.
Regulator reset and hose inspection
Propane regulators have a built-in flow-limiting device that trips when it senses a sudden pressure surge. This is the single most common reason a heater that worked fine last week suddenly won't produce a flame. The reset procedure is simple: turn the control knob off, close the tank valve, disconnect the regulator, wait 30 seconds, reconnect everything, open the tank valve very slowly, then attempt to light. If your patio heater not working comes down to gas flow, start by checking the tank fuel level and whether the regulator is in flow-lock mode. If the regulator trips repeatedly, inspect the hose for kinks, cracks, or blockages. A cracked hose needs to be replaced, not taped.
Leak testing after any connection work
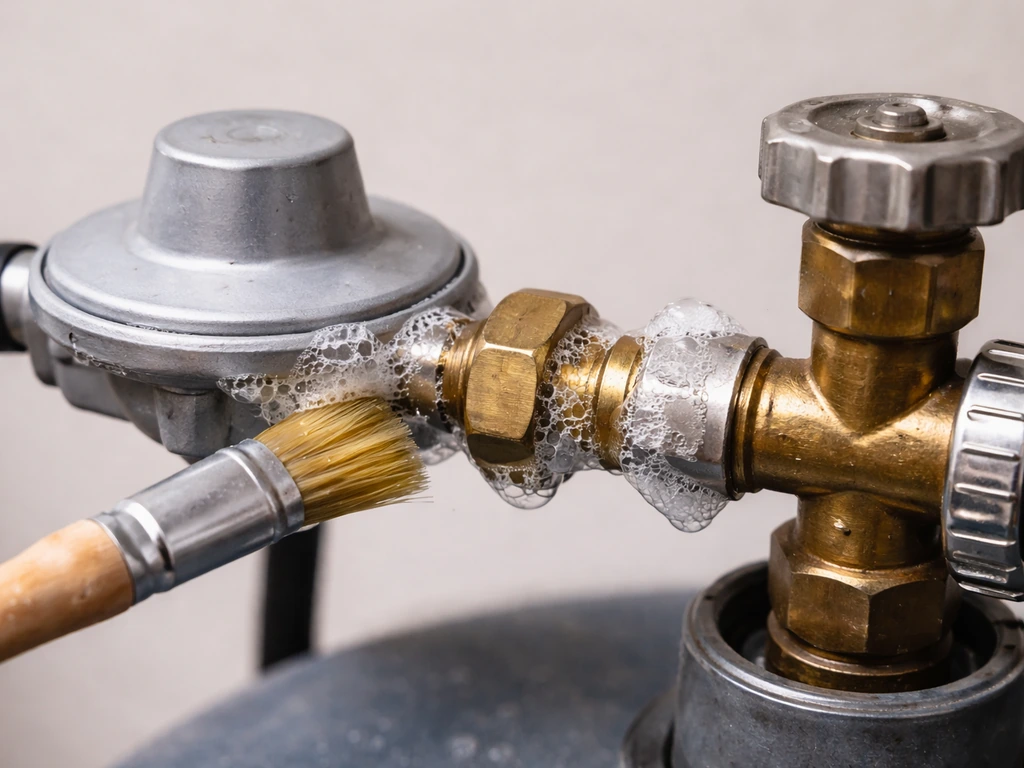
Any time you disconnect and reconnect the hose or regulator, you must leak test before relighting. Mix dish soap and water in a roughly equal ratio, brush it onto every connection (regulator-to-tank, regulator-to-hose, hose-to-heater body), and then open the tank valve slowly. Bubbles indicate a leak. Tighten the connection and retest. Don't light the heater until zero connections show bubbles. This is non-negotiable.
Thermocouple diagnosis and replacement
The thermocouple is a thin metal probe positioned so its tip sits directly in the pilot flame. When heated, it generates a small DC voltage (millivolts) that holds the safety valve open. If the tip is coated with carbon, bent away from the flame, or the probe itself has failed, the safety valve won't stay open and the flame dies. To test: use a multimeter set to DC millivolts.
With the pilot lit and the thermocouple tip fully in the flame for 60 seconds, you should read at least 15 mV and ideally 25 to 30 mV. Below 10 mV means the thermocouple needs replacement. Above 10 mV but the flame still dies: check that the thermocouple connection at the valve body is tight and not corroded. Thermocouples for tabletop heaters are widely available and typically cost $8 to $20 depending on the model.
Pilot tube and safety valve
A pilot that produces a flame but can't hold the main burner open usually means the thermocouple isn't generating enough signal (covered above) or the pilot flame itself is too small and not fully engulfing the thermocouple tip. A small pilot flame often comes from a partially blocked pilot orifice. Use a thin strand of wire or a soft bristle to clear the pilot orifice opening. Never use a drill bit or hard tool as you'll enlarge the orifice and permanently change the fuel-to-air ratio.
Tilt switch, flame sensor, and overheat cutoffs
How the tilt switch works and why it trips
Almost every tabletop propane heater has a tilt-over safety switch, usually a mercury or ball-bearing switch mounted near the base. If the heater tilts more than about 10 to 15 degrees from vertical, the switch opens and cuts off gas flow or kills the ignition circuit. This is intentional and important. But the switch can also trip on a surface that's uneven, a table that vibrates from wind, or if the heater was jostled during transport and the switch hasn't reset. If your heater shuts off unexpectedly during use, place it on a flat, stable surface and try again. If it trips consistently on what seems like a level surface, the switch itself may be stuck or failed.
Testing and resetting the tilt switch
With the heater fully off and cool, locate the tilt switch (usually a small component near the base or attached to the burner assembly frame). On most models you can test it with a multimeter set to continuity: the switch should show continuity when the heater is upright and open circuit when tilted. If you get an open circuit when the unit is perfectly upright, the switch is stuck open and needs to be replaced. Replacement tilt switches are inexpensive, generally under $10, and are a straightforward swap on most models.
Overheat cutoff
Some tabletop heaters include a thermal cutoff fuse or high-limit switch that opens permanently if the heater exceeds a safe operating temperature. Unlike the tilt switch, a blown thermal cutoff won't reset by waiting. If your heater ran hot (perhaps with blocked ventilation around the burner) and now does nothing at all electrically, test the thermal cutoff for continuity. A failed thermal cutoff means the component needs to be replaced. More importantly, figure out why it overheated before relighting, as restricted airflow or a blocked combustion head is usually the root cause.
Flame sensor (on electronic models)
Some newer tabletop heaters with electronic control boards use a separate flame sensor rather than a traditional thermocouple. These work on a different principle (flame rectification) and fail in similar ways: carbon buildup on the sensor rod, physical damage, or a cracked sensor body. Cleaning the sensor rod with fine steel wool often restores function. If cleaning doesn't help and the sensor tests open with a multimeter, replacement is the fix.
Step-by-step testing, cleaning, and when to stop
The cleaning steps that directly fix most problems
A surprising number of 'broken' tabletop heaters just need a thorough cleaning. Debris, spider webs, and carbon deposits in the burner ports are among the most common causes of ignition failure and weak flames, especially on heaters that have been stored over winter. Here's how to clean the combustion system properly.
- Turn the gas off at the tank and disconnect the hose. Let the heater cool completely.
- Remove the burner head or emitter screen (usually held by two to four screws). Set the hardware aside in a small container.
- Use a can of compressed air to blow out the burner ports, pilot tube, and any visible orifice openings. Work from the inside out to push debris clear rather than deeper into the orifice.
- Inspect the burner ports visually. Blocked ports will be dark and show no opening. Use a thin wire strand or sewing needle to clear individual blocked ports. Do not drill out orifices.
- Wipe the electrode tip clean with a cotton swab and fine sandpaper or emery cloth if corroded or carbon-coated.
- Inspect the thermocouple tip for carbon buildup and clean it with fine steel wool or sandpaper. The tip should be shiny metal.
- Reassemble, reconnect the gas supply, perform a soap-water leak test, then attempt to light.
How to test after each fix
Fix one thing at a time and test after each step. This keeps you from replacing parts that don't need replacing. After a battery swap, test ignition before touching anything else. After a regulator reset, attempt to light before cleaning the burner. After cleaning the thermocouple, hold the pilot knob for a full 45 seconds and see if it holds. Document what you changed so that if the problem comes back, you know what already worked once.
A logical order to work through if you're starting from scratch
- Check the tank: is there fuel? Is the valve fully open?
- Replace the igniter battery and confirm there's a visible spark.
- Reset the regulator by disconnecting, waiting 30 seconds, and reconnecting slowly.
- Hold the pilot control knob down for 45 seconds after the pilot lights. Don't release early.
- Check the electrode gap and clean the tip if needed.
- Clean the thermocouple tip and confirm it's fully in the pilot flame path.
- Test the tilt switch for continuity with the heater upright.
- Clean the burner ports and pilot orifice if flame is weak or patchy.
- Perform a leak test on all gas connections.
- If none of the above resolves it, test the thermocouple with a multimeter at the millivolt setting.
When to stop and call a professional
There are a few situations where you should stop the DIY work and bring in a qualified technician or simply replace the unit. If you smell gas at any point during troubleshooting and can't identify the source after a thorough leak test, stop. If the main gas valve or safety valve body is corroded, cracked, or visibly damaged, that's a job for a professional. If the thermocouple tests within spec but the safety valve still doesn't hold, the valve itself has failed internally and that's not a DIY repair on most tabletop units. Tabletop propane heaters are generally inexpensive enough that a failed valve on an older unit often makes replacement more sensible than repair.
If your heater uses natural gas through a fixed supply line rather than a portable propane tank, any work on the supply line, fittings, or valve should be done by a licensed gas technician. The stakes are different with a fixed line than with a portable cylinder you can simply shut off and carry away.
For readers dealing with larger standing floor models, igniter failures on specific brands, or electric tabletop heater problems, the diagnostic process has some meaningful differences worth exploring separately since those heater types involve different components and failure modes. If your issue is an electric patio heater not working, start by confirming power delivery and checking the control and heating components for common faults before moving to deeper troubleshooting. But for the vast majority of portable tabletop propane units, the steps above will get you from 'not working' back to a reliable flame in a single troubleshooting session.
FAQ
My tabletop patio heater sparks, but it won’t stay on, what should I check first?
If the igniter sparks but the burner never stays lit, the problem is usually safety-side, not ignition. Hold the control knob in the PILOT position for the full 30 to 45 seconds after the pilot lights, then release slowly (no immediate release). If it still drops out, test the thermocouple output in millivolts and inspect that the thermocouple tip is centered in the pilot flame.
Why does my tabletop patio heater not work in cold weather even though the tank seems full?
Don’t rely on a single “feels full” check. Cold-weather causes propane pressure to sag even with a tank that isn’t truly empty, so confirm tank level and approximate fill by weight if you can (for a 1-pound cylinder, roughly 1.4 lb full versus 0.4 lb empty). If you have noticeable cold on the tank or regulator, warm the tank area and retry after ensuring the regulator is not in flow-lock.
My tabletop patio heater starts, then stops intermittently, what usually causes that?
A “works sometimes” pattern often points to intermittent flow-lock or a marginal regulator connection. If it fails right after turning the tank on, open the tank valve slowly, reset the regulator procedure (disconnect, wait 30 seconds, reconnect), then leak test before relighting. Also check the hose for slight kinks from storage, kinks can create intermittent restrictions.
What’s the best way to diagnose a weak or no-spark condition?
If you hear a dull click with no visible spark, replace the igniter battery first, even if the old battery “tests partially okay.” Many igniter modules need enough voltage to create a strong arc, partial battery voltage can still produce a weak signal. After replacing, test in a dark area for a crisp blue-white spark at the electrode tip.
I cleaned the burner, now it flames yellow or unevenly, what might I have done wrong?
When you clean burner parts, stop short of reshaping anything. Burner ports can be cleared with a soft brush or careful brushing, but the pilot orifice should never be drilled or enlarged. If flame behavior is patchy after cleaning, it can mean you disturbed alignment or left debris; recheck carbon buildup on the electrode and thermocouple position.
Do I really need to do a leak test every time I reconnect the regulator or hose?
Yes, you must leak test after any disconnection or reconnection, including if you only removed and reseated the regulator once. Brush soap solution on every connection while opening the tank valve slowly. If you see bubbles, do not light, tighten the connection and retest until there are zero bubbles.
How can opening the propane tank valve too fast affect my heater, and how do I open it safely?
For tank valves with excess resistance, forcing them quickly can contribute to flow-lock. Open the tank valve slowly at about a quarter turn per second, then attempt to light. If your heater won’t ignite repeatedly, stop after one or two attempts and perform the regulator reset (disconnect, wait 30 seconds, reconnect) before continuing.
What should I do if the pilot flame is small or I can’t get the main burner to ignite?
If the pilot lights but the main burner won’t stay on, the pilot may be too small to fully engulf the thermocouple tip, or the thermocouple may be misaligned or carbon-coated. Clear a partially blocked pilot orifice gently with a thin wire or soft bristle, then make sure the thermocouple tip sits fully in the pilot flame before timing the 30 to 45 seconds hold.
My heater shuts off after 10 minutes and won’t relight immediately, what’s the safe next step?
If your tabletop heater shuts off after it has been running and it won’t relight right away, don’t immediately keep trying. Turn it off and let it cool for 10 to 15 minutes, then place it on a stable flat surface and ensure airflow around the burner head is not blocked by windbreaks, covers, or nearby objects.
How do I tell if it’s a thermal cutoff issue versus a tilt switch?
If the heater “won’t do anything” electrically and it ran hot previously, a blown thermal cutoff fuse or high-limit can be the cause, and it won’t reset just by waiting. Test it for continuity with a multimeter. If it is open, replace the component and address why it overheated, usually restricted airflow or blocked combustion airflow.
My heater trips the tilt safety even when I set it level, how can I confirm the tilt switch is faulty?
A tilt switch can appear fine visually but still be stuck, especially after jostling or storage on an uneven surface. Place it fully upright on a flat surface, then test the switch with a multimeter for continuity. If it shows open circuit when upright, replace it, replacement tilt switches are typically inexpensive.
What if my thermocouple test is within spec but the safety valve still won’t stay open?
If troubleshooting points to a failed safety valve, you may still get a pilot but the burner won’t remain open reliably. In that case, a technician is the safer route, and replacement is often more sensible on older, lower-cost tabletop units because valves are hard to repair correctly and failure can be internal.