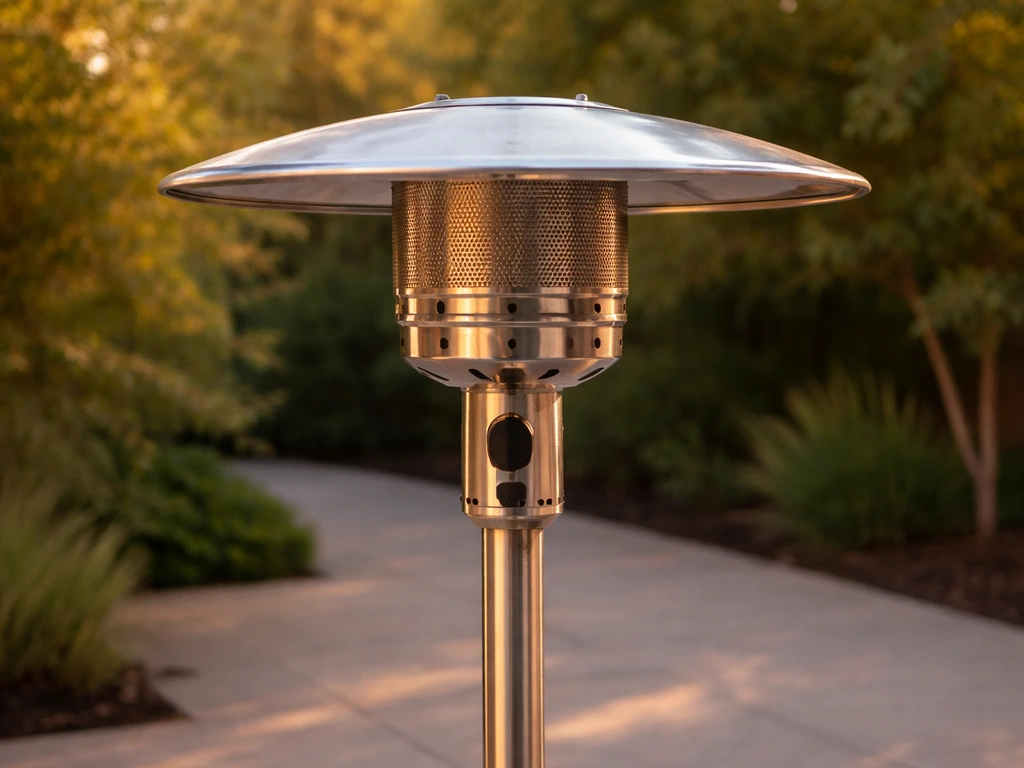
On most Fire Sense patio heaters, the reflector hood goes together in two stages: first you assemble the individual reflector sections into a complete hood, then you drop that assembled hood over three threaded bolts on top of the heater's head unit and lock it down with wing nuts and washers. For complete patio heater assembly instructions, follow the reflector hood steps through mounting, alignment, and final tightening assembled hood. The whole job takes about 15 minutes with just a basic wrench or pliers, and the trickiest part is usually getting the sections aligned before you fully tighten anything.
How to Assemble a Fire Sense Patio Heater Reflector Hood

Grant Mercer
6 Jun 2026
Identify your Fire Sense reflector hood and confirm the parts list
Before you touch a bolt, pull out your manual and match the model number printed on the rating plate (usually on the back of the heater pole or the burner unit itself). Fire Sense makes a wide range of models, including the popular 60485 and several related units that share nearly identical reflector hood hardware. If you bought the heater from a big-box store, know that Fire Sense has published a consolidated manual PDF covering multiple model numbers, so one document often applies to several heaters in the same family. If you can't locate a physical manual, search the model number plus "Fire Sense owner's manual" and you'll usually find the PDF on the manufacturer's site or a retailer's support page.
Once you have the right manual open to the reflector assembly section, verify you have all the parts from the box before starting. A standard Fire Sense reflector hood kit includes:
- Two or three curved reflector sections (stamped or spun aluminum, usually with a polished inner face)
- A center cap or top cap piece that covers the very peak of the assembled hood
- Three reflector support bolts (these are the bolts that pass through the reflector sections and thread into or align with the head unit)
- Three wing nuts (one per bolt) for hand-tightening the hood in place
- Three flat washers to sit between the wing nut and the reflector surface
- A hardware bag with any additional small screws or clips specified in your model's diagram
If any piece is missing, contact Fire Sense customer support before proceeding. The wing nuts and washers are especially important because the hood relies on even clamping force across all three bolts to sit flat. Using a mismatched fastener here is a common cause of the wobbling and gap problems covered later in this guide.
Tools and workspace setup before you start
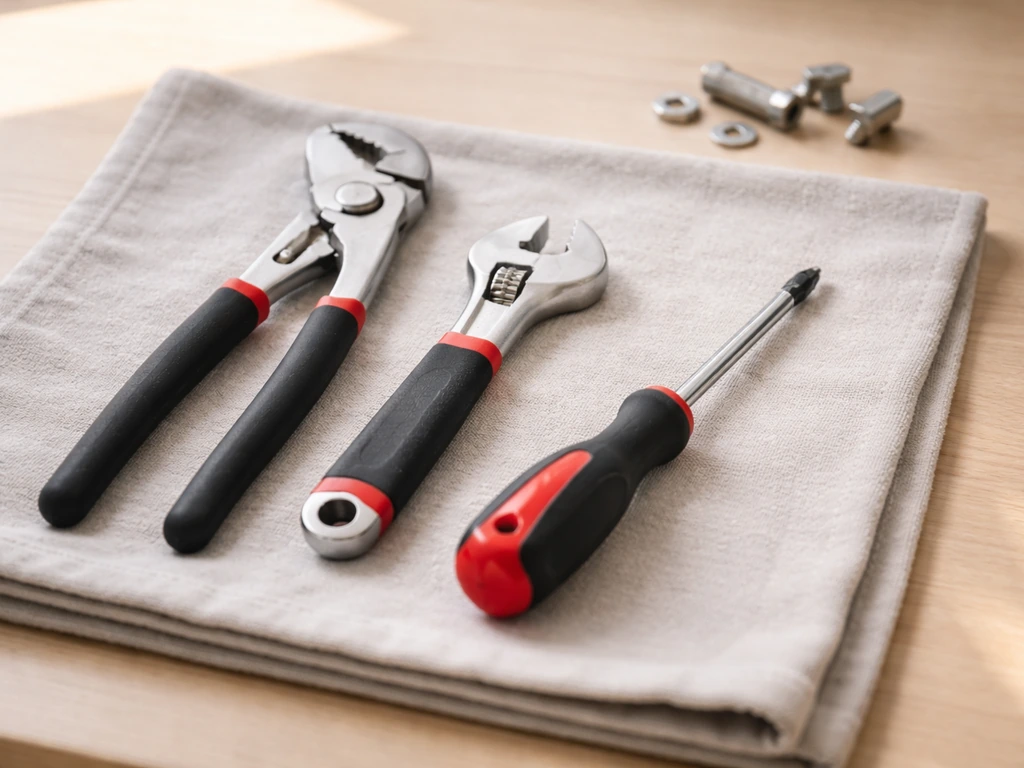
You don't need specialized tools, but having the right ones on hand keeps things smooth. Gather these before you start:
- A pair of adjustable pliers or a small adjustable wrench (for snugging wing nuts if your fingers aren't enough)
- A Phillips-head screwdriver (some models use small screws to lock reflector sections together before mounting)
- A clean, flat surface like a patio table or workbench to lay out and pre-assemble the hood sections
- A soft cloth or towel to rest the reflector on without scratching the finish
For workspace setup: keep the heater upright during final mounting but do all the reflector section pre-assembly on a flat table. Make sure the propane tank is disconnected from the heater before you start, and confirm the gas valve is fully closed. You'll be working near the burner head, and even residual gas in the line is a hazard if you accidentally bump the control knob. This is a straightforward mechanical job, but treating propane connections as live until proven otherwise is just a good habit.
Step-by-step: assembling the reflector hood sections
This is the stage most people rush through and then wonder why the hood looks uneven. Take your time here and the mounting step becomes much easier.
- Unbox all reflector sections and lay them face-up on your soft cloth. Before doing anything else, peel off all protective plastic film or protective covers from each reflector piece. The manual calls this out explicitly for a reason: the plastic will melt when the heater runs and creates a fire and smoke hazard. Check both the inner (shiny) face and the outer (painted or brushed) face of every section.
- Identify how the sections fit together. Most Fire Sense hoods use two matching curved halves that overlap at tabbed or slotted edges, or three sections that nest together like orange slices. Hold them up to each other before inserting any fasteners so you understand the geometry.
- Align the sections and insert the reflector support bolts through the pre-drilled holes in the overlapping flanges or tabs. The bolt heads typically face outward (away from the heater center) and the threaded ends point inward and downward toward the heater head.
- Thread on the washers and wing nuts finger-tight only at this stage. You want everything held together but still movable so you can adjust alignment in the next step.
- Check that the outer edges of all sections form a smooth, continuous curve with no section sitting higher or lower than its neighbor. If you see a step or offset between sections, this is the moment to fix it. Loosen the affected bolt, shift the section until the edge lines up, then finger-tighten again.
- Once all sections are visually flush and the hood looks like a complete, even dome, give each wing nut a final snug tighten. You don't need to crank hard on wing nuts, but they should be past finger-tight so a light pull doesn't spin them back off.
- Set the assembled hood aside and move on to mounting.
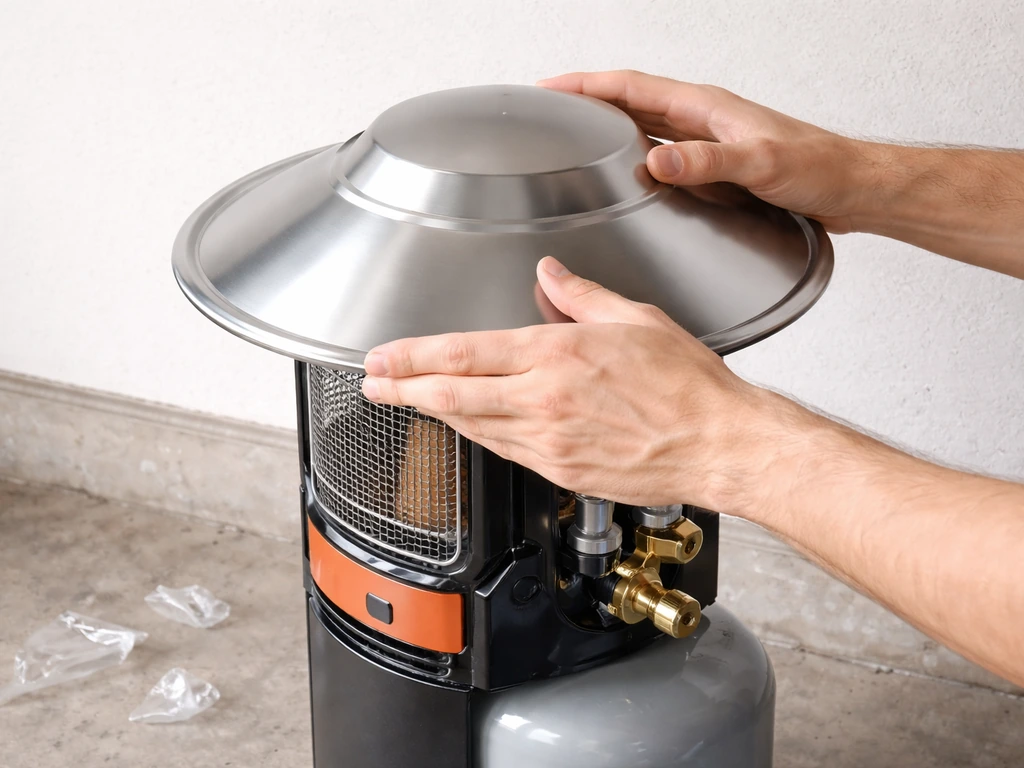
Mounting, aligning, and securing the hood to the heater body
With your hood pre-assembled, mounting it onto the heater head is straightforward. These steps are a helpful starting point for mainstays patio heater assembly instructions as well. The key is finding the three threaded bolts on top of the head unit and dropping the hood down onto all three simultaneously so it seats level. In the Fire Sense Fire Sense 60485 assembly instructions, the reflector hood is installed by placing it over the three securing threaded bolts on top of the head unit and tightening the wing nuts on each reflector support bolt with washers dropping the hood down onto all three simultaneously so it seats level.
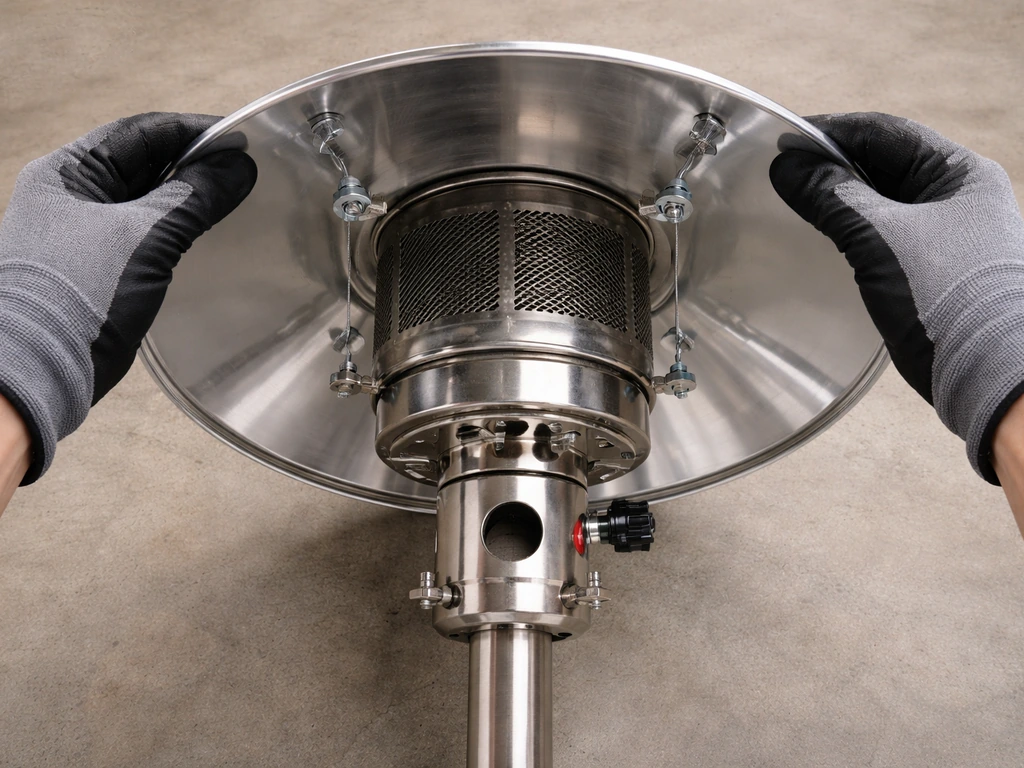
- Look at the top of your heater's head unit (the burner assembly). You should see three threaded bolts or studs projecting upward from that surface, spaced roughly equidistant around the center. These are what the hood hangs from.
- Hold the assembled reflector hood above the head unit and orient it so the holes in the inner support ring or center hub of the hood line up with all three bolts. On most Fire Sense models there's a natural 'keyed' orientation, meaning one bolt position is slightly offset so the hood can only go on one way. If yours doesn't have that feature, any orientation that seats all three bolts is fine.
- Lower the hood straight down over all three bolts. It should drop a short distance and then stop when the inner hub or mounting plate contacts the top of the head unit.
- Thread a flat washer and then a wing nut onto each of the three bolts. Again, go finger-tight on all three before fully tightening any one of them. Starting with one bolt and fully tightening it before the others are threaded on almost always causes the hood to sit cocked.
- Check that the bottom rim of the reflector hood is level all the way around and sits at a uniform height above the burner. If one side is lower, back off the wing nut on that side slightly, re-seat, and try again.
- Tighten the wing nuts evenly, alternating between them in a star pattern (similar to tightening lug nuts on a wheel) until all three are snug. If your fingers aren't enough, use your adjustable pliers with light pressure, just enough that the wing nut won't vibrate loose.
- Give the hood a gentle shake to confirm it doesn't rattle or shift. It should feel solidly attached with no movement.
Fixing common fitment problems
Even with careful assembly, a few issues come up regularly on Fire Sense reflector hoods. Here's how to diagnose and fix the most common ones.
Gaps between reflector sections

If you see a visible gap or split between two sections of the hood after mounting, the sections weren't properly aligned before you tightened the bolts. The fix: loosen the wing nuts on the section bolts enough to let the pieces shift, push the gapping edges together by hand, then retighten. The manual specifically recommends loosening each bolt prior to any further alignment adjustment and retightening only once the sections are correctly positioned. Don't try to force a gap closed by overtightening the wing nut on one side, as that just distorts the section.
Hood sitting crooked or tilted
A tilted hood almost always means one of the three wing nuts is either over-tightened or not seated on the bolt. Loosen all three wing nuts, lift the hood slightly, confirm all three bolts are actually poking through the corresponding holes in the hub (not just resting on the surface), then re-seat and re-tighten evenly. If the tilt persists, check whether the head unit's three bolts are all at the same height. Occasionally a bolt gets bent during shipping, which prevents the hood from sitting flat.
Wing nuts won't stay tight or keep spinning loose
This usually happens when you're using the wrong size wing nut for the bolt diameter, or the bolt threads are slightly stripped. If the supplied wing nuts are the culprits, take one to a hardware store and match the thread size, then pick up replacements. If the bolt itself is stripped, contact Fire Sense support because replacing a head-unit bolt is more involved than a reflector hood swap.
Hood won't drop down onto the bolts
If the hood physically won't slide down over the bolts, the most likely culprits are: the protective plastic film is still on the inner hub (adding thickness), the reflector sections aren't fully seated against each other before mounting, or the hood is oriented so one bolt hole isn't lining up. Try rotating the hood 60 or 120 degrees and lowering again.
Safety checks before you light the heater
Once the hood is mounted and tight, run through these checks before reconnecting the propane and lighting the heater. When it is time to take the unit apart, the disassembling process is essentially the reverse of mounting and should start with loosening the wing nuts before removing the hood disassembling the reflector hood. This is non-negotiable, especially for propane appliances.
- Confirm all protective plastic film and packaging material is removed from every reflector surface. Any plastic left on will melt and potentially ignite at operating temperatures.
- Check that the hood doesn't contact or pinch any wiring, thermocouple leads, or gas tubes running to the burner head. There should be clear space between the hood's inner surfaces and those components.
- Tug the hood from the top and sides with moderate force. It should not shift, rattle, or rotate. If it moves at all, retighten before lighting.
- Verify clearance: the reflector hood directs heat outward and downward, so anything directly above or beside the heater within about 36 inches (check your specific model's manual for the exact minimum clearance) is a burn hazard. Move any overhead structures, umbrellas, or hanging lights before use.
- Once the propane tank is reconnected, apply a soapy-water solution (dish soap and water in a spray bottle) to the tank valve connection and the regulator hose before lighting. Bubbles mean a gas leak. If you see bubbles, turn the valve off immediately, tighten the connection, and retest before proceeding.
- The first time you run the heater with the new reflector hood, stay nearby for at least 10 minutes and watch for any smoke, unusual smell, or visible damage to the hood. A mild burning smell from a brand-new heater is normal (manufacturing oils burning off), but acrid plastic smell means you missed some film somewhere and you should shut down and inspect.
A note on other patio heater brands and assembly guides
The three-bolt, wing-nut reflector hood design used on Fire Sense heaters is fairly common across the industry, so if you've ever dealt with a similar assembly on a Mainstays, Living Accents, or Amazon Basics patio heater, the process will feel familiar. The main variable between brands is the number of reflector sections (two versus three) and whether the sections overlap or butt up against each other at the edges. Fire Sense's approach of overlapping flanges secured by the same bolts that mount the hood to the head unit is actually one of the cleaner designs in this price range, as long as you follow the alignment step before final tightening. If you are looking for living accents patio heater assembly instructions, the same basic sequencing applies: verify parts, pre-assemble the reflector components flat, then align and tighten evenly reflector hood.
FAQ
Can I assemble the reflector hood without fully tightening anything at first?
Do a “dry fit” first, with the propane disconnected and the gas valve fully closed. Lower the hood onto the three bolts without tightening, confirm the hood sits flat and all three bolts pass through their holes, then remove and do the final seat-and-tighten sequence. If anything binds during dry fit, fix alignment before the wing nuts touch down.
What happens if I use different wing nuts or washers from my toolbox?
The kit should include the exact wing nuts and washers intended for the three head-unit bolts. Even if the bolt threads look similar, mixing different nut sizes can cause uneven clamping, which leads to gaps, wobble, or a tilted hood. If you cannot confirm the provided hardware matches the bolt diameter, stop and match replacements to the supplied bolt threads.
How far should I loosen the wing nuts when fixing a gap between reflector sections?
Yes, but only for normal alignment. Loosen all three wing nuts evenly, push or pull the reflector section edges together by hand so the seams close naturally, then retighten evenly. Avoid “forcing” a perfect seam by overtightening one side, that can distort the reflector section and create new gaps elsewhere.
How can I tell whether the tilt problem is a warped bolt versus an alignment mistake?
If the bolts are genuinely bent, you will usually see it when you loosen the wing nuts and the hood will not sit level even after re-seating. Another quick check is to compare bolt height by sight before lowering the hood. If any bolt appears higher or lower than the others, treat it as a bent or damaged bolt and contact support rather than trying to compensate with uneven tightening.
If the hood won’t slide down completely, could protective film be the cause, and what should I do?
Start by removing the protective film only from the reflector area that contacts the hub and inner surfaces. If film remains on the inner hub, the hood can feel “too tight” or not fully seat. Use a clean cloth to wipe the area if you suspect residue, then try mounting again with the hood rotated to find a clean alignment.
What safety checks should I do after mounting before reconnecting propane and lighting?
Before first lighting after assembly, verify the hood is level and all three wing nuts are tightened evenly, with washers seated flat. Also confirm the propane connection was reattached correctly and not cross-threaded, then visually check that the hood does not interfere with the burner area. If you notice any rubbing or the hood looks unstable, do not light until you recheck seating.
Is disassembling the reflector hood the exact reverse of mounting?
Yes, reverse disassembly first means loosening the wing nuts before removing the hood. After removal, store the hood flat if possible and keep washers with their bolts so you can reassemble with the same orientation. Before remounting later, recheck that the reflector sections are still aligned, since shipping movement can open seams slightly.
What should I do if the hood won’t line up with the three bolts even after rotating it?
Try rotating the hood by 60 or 120 degrees only after confirming all three bolts are visible and uncovered. If it still won’t slide, stop and check whether the reflector sections are fully seated against each other, because mis-seated sections change the geometry and prevent the hood from lining up to the three-bolt pattern.
What if my kit is missing washers or I suspect I got the wrong hardware for my model?
If the supplied parts are missing or wrong, do not proceed with makeshift hardware. Contact Fire Sense support to request the correct wing nuts, washers, or reflector sections for your exact model number, since thread fit and flange geometry affect how the overlapping sections clamp. Keeping the match to the rating plate model number is the simplest way to avoid compatibility issues.